


Technique- Raised Texture Using Saltwash

by
Fiona Debell
4 Materials
$10
4 Hours
Easy
This is a FUN project. I mean super fun, because I got to play with a product I have wanted to try for ages! And play I did.
In fact I even got my friends involved! But you don't need me to wax lyrical about it...you can simply watch the other 2 videos I made during the 'Saltwash Week' over on How to Paint Like a Pro!
But first up...raised texture.
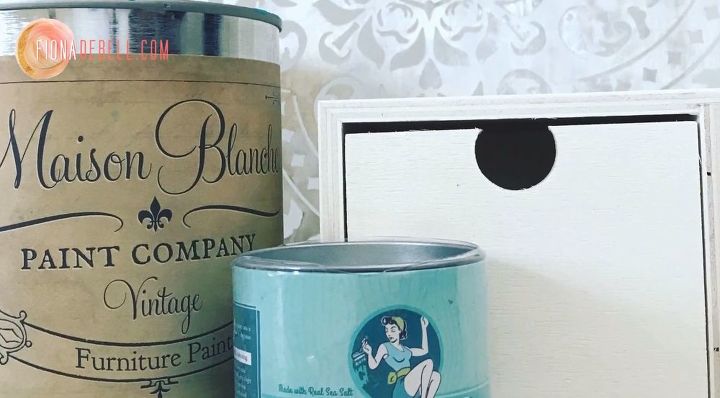
I used Maison Blanche Paint in Collette and Oyster (you'll want contrasting colors!), a stencil and a wooden storage box from the dollar store.
Oh, and my Saltwash!
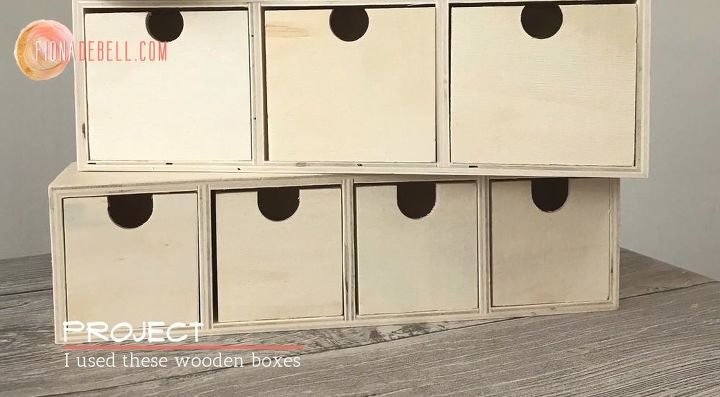
Look at these. Pretty boring, huh? Let's change that!
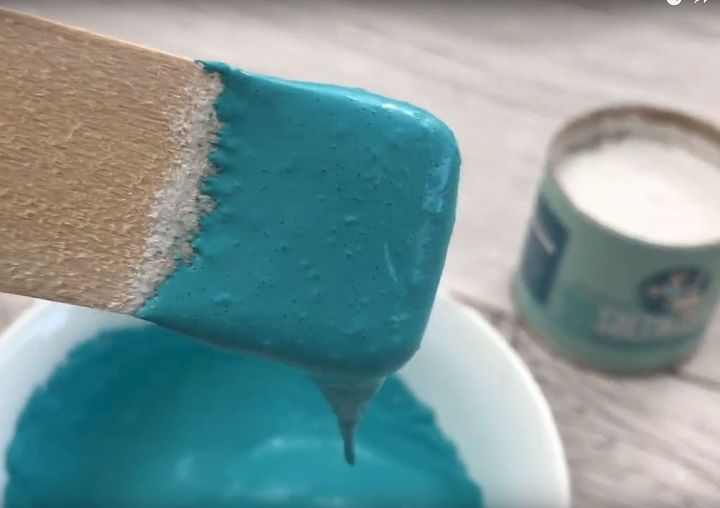
Start by adding your saltwash into your base paint (I chose this beautiful blue!)
You'll want to mix until it reaches brownie batter consistency.
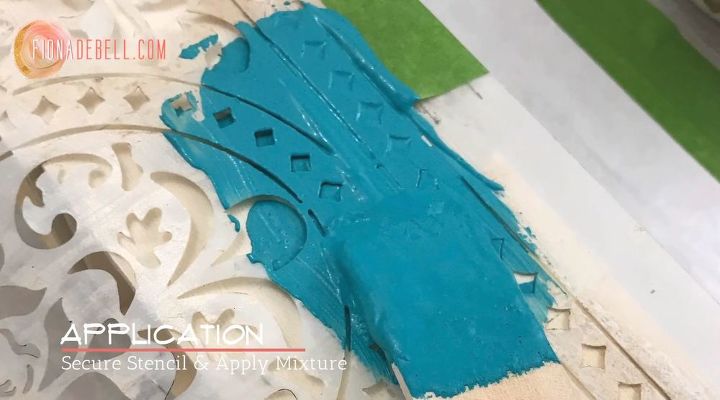
Grab your stencil and secure it to your box. Then apply the saltwash+paint mixture.
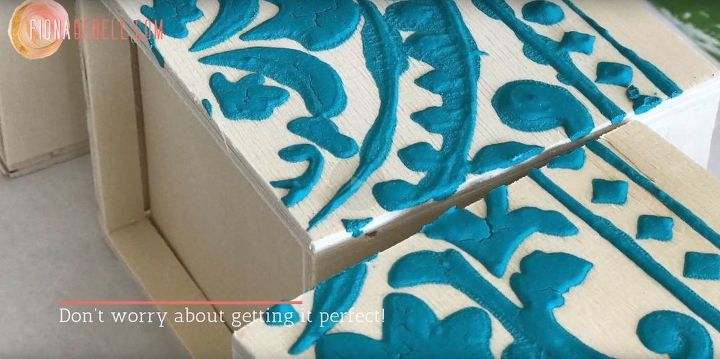
Remove the stencil- look at that texture!!
Don't worry about getting it perfect! You'll be able to hide and imperfections later.
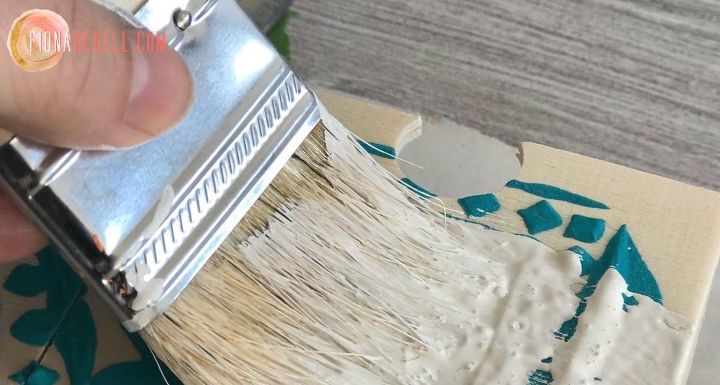
Once everything is dry, it's time to apply the contrasting color.
Let dry
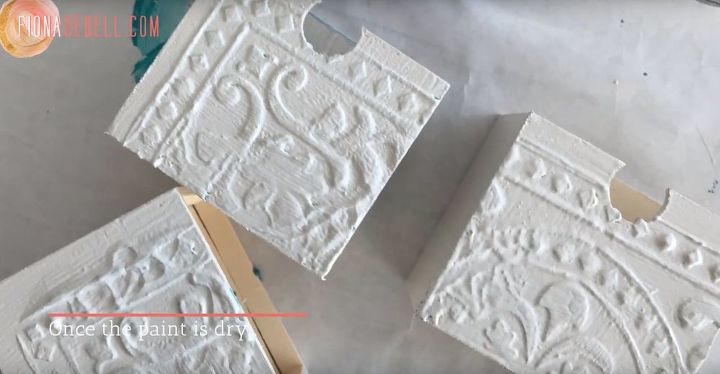
You could leave it like this, or take it one step further, like I did!
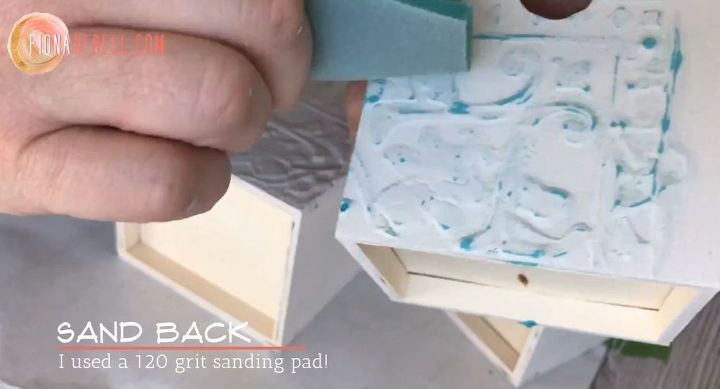
Bust out your sand paper and start sanding the raised parts to uncover that beautiful blue! (I used a 120 grit sanding pad)
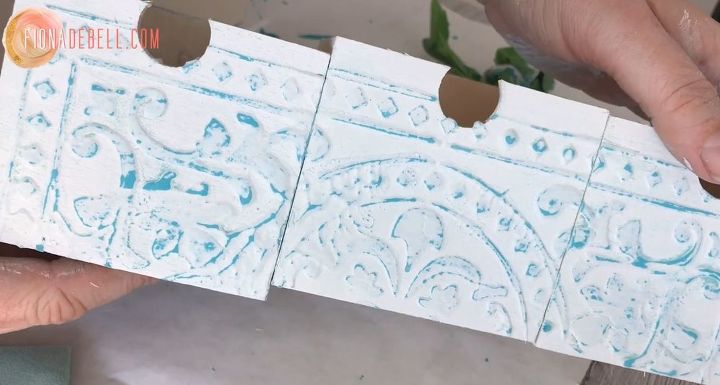
Keep going until you happy with the amount of color showing through!
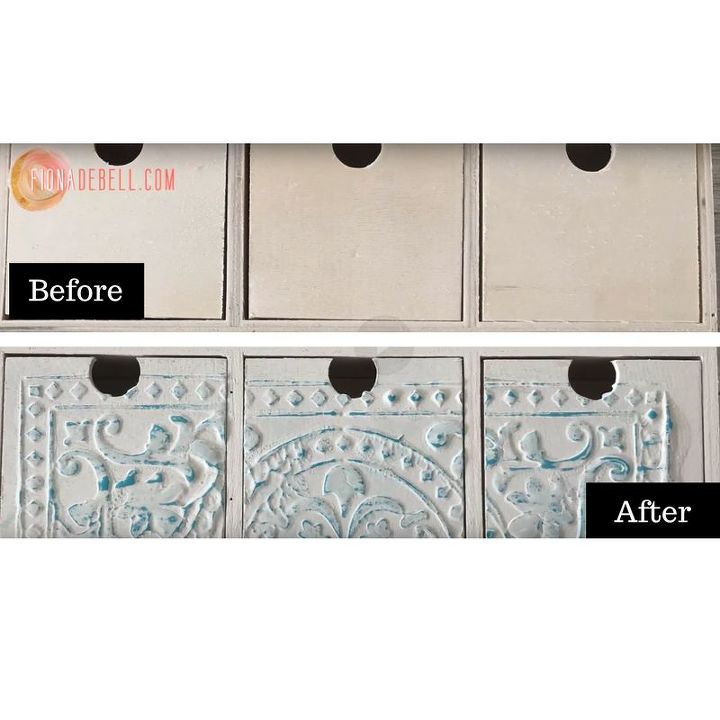
And that's it!! Look how much better they look now!
{
"id": "4695576",
"alt": "",
"title": "",
"video_link": "https://www.youtube.com/embed/PB79vFGsF9M",
"youtube_video_id": "PB79vFGsF9M"
}
{
"width": 634,
"height": 357,
"showRelated": true
}
Want more details about this and other DIY projects? Check out my blog post!


Frequently asked questions
Have a question about this project?