


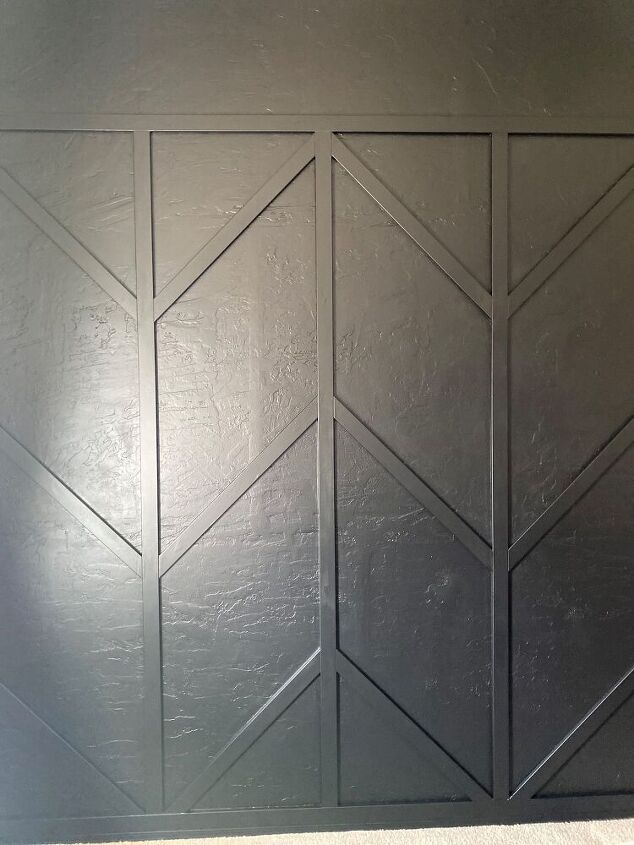
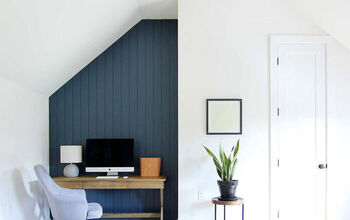
How to Build a Wood Accent Wall for Under $100!

I am so excited to have partnered with Wooodgran to build this accent wall as part of an accent wall challenge for the Haven Conference! Woodgrain is a family owned and operated company located in the US and Chile. It is one of the largest millwork operations in the world. You can purchase their products on their website, and at Home Depot. Their products are high quality, and affordable, a rare combination! We chose 11/16 x 2 1/2″ MDF casing from their Timeless Craftsman collection. It is only 79 cents a foot in our area, and this is how we were able to build a wood accent wall for under $100!
Disclosure: The products and materials were gifted by Woodgrain, however, all opinions are my own.
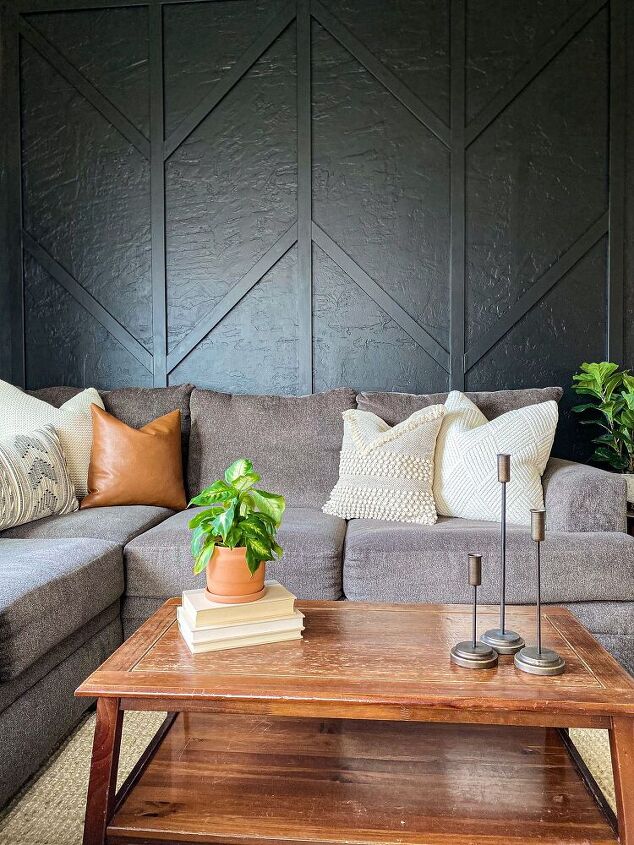
I had my followers vote for the paint color in my Instagram stories, and they voted for Limousine Leather by Behr. Honestly, I was a little nervous about using black. I was even more nervous because I hadn’t use Behr paint in years, but it went on like butter!!! Black can be a tricky color to work with, and it went on like a dream! I only had to do one coat, and then touch up.
Supplies Needed to Build a Wood Accent Wall:
- Level or laser level
- Speed square
- Miter Saw
- Brad nailer or nail gun
- Brad nails
- Paint
- Caulk
- Sponge
- Small bucket of water
- Painter’s tape
- Roller
- Roller cover
- Tray
- Angle brush
Directions:
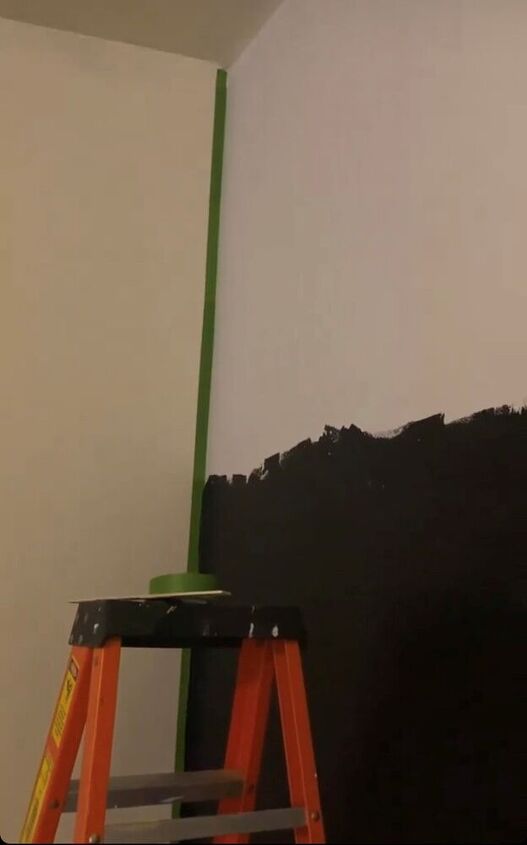
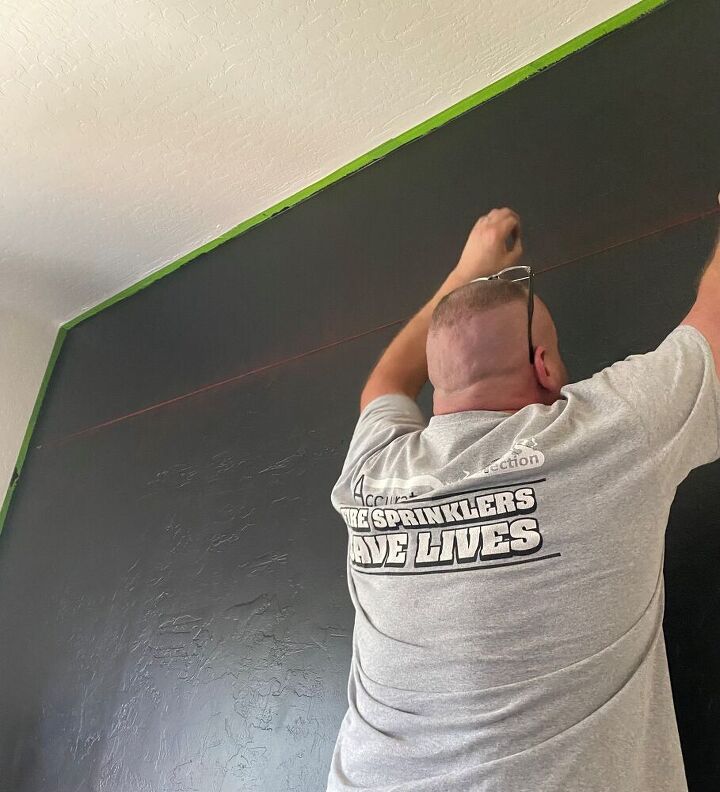
1) Choose a paint color and paint the wall
We painted the wall first, which may seem counterintuitive. But painting the whole wall first, then just having to paint the design later was much quicker!
2) Choose a pattern for the wood accent wall
Gather inspiration from Pinterest to find a design that you like, and that matches your skill level.
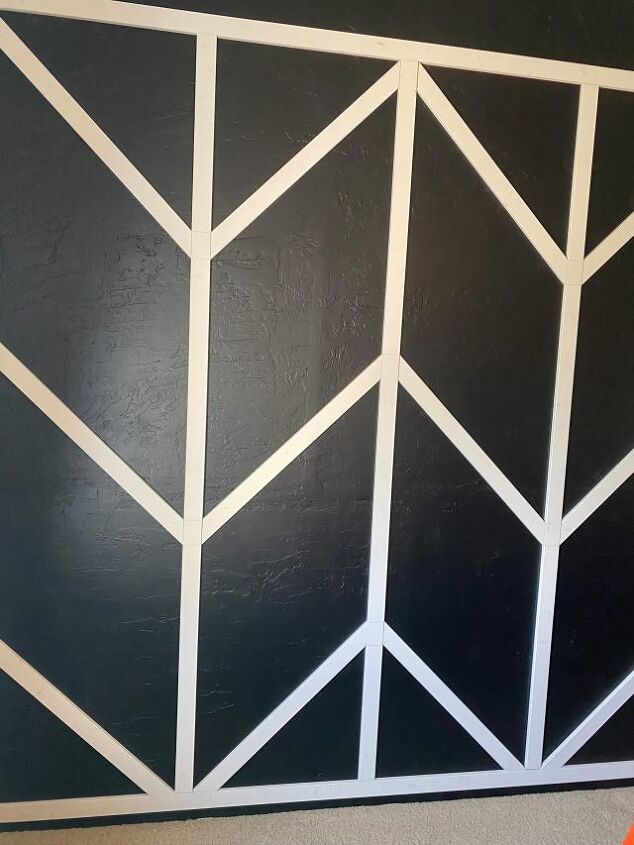
We chose this herringbone accent wall by Newbuild Newlyweds as our inspiration! The design was perfect for us, and I knew it wouldn’t be that hard to re-create, or show you how to do it yourself!
3) Take into consideration if the design will work on your wall, and if any modifications need to be made.
Our floors, ceiling, and walls are not level, and we have rounded corners. So we knew we’d have to build a framework first to level everything off from. We chose a 9×9 foot space because we could center it within the wall.
4) Measure out how much material needs to be purchased, and choose the material.
We chose to do the pattern within a 9×9 space, so I looked at our inspiration picture and broke it down by the pieces we would need. (3) 9′ pieces were needed for the frame-we let the baseboard be the 4th piece. We needed (3) 9′ pieces for the center planks.
Then some math comes in. There are four “columns” in the herringbone pattern, and we had 9′ of width to work with. 9 divided by 4=2.25. So we knew that we would need the diagonal pieces 2.25′, or 28″ long. To keep things simple, and cut down on cost, we chose to only have 3 diagonal pieces in each column. I did all of the math and calculated the total feet of material we needed to purchase. We did not take out for the width of material-we hadn’t chosen a material at this point, and I purposely did not take out the width so that we would have a little extra in case of error!
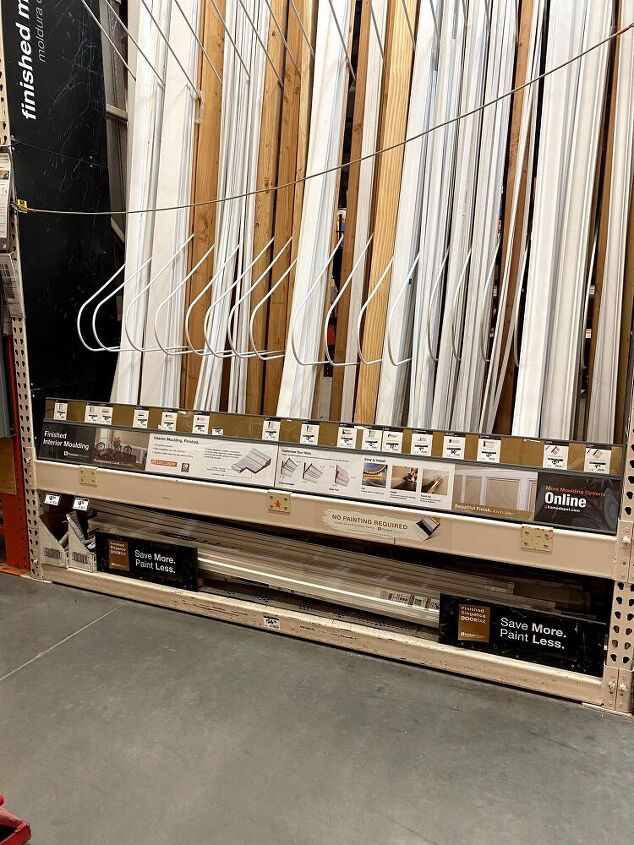
Then we went to Home Depot to purchase the material. Because this project was with Woodgrain, we of course chose one of their materials. I put a picture of what the aisle looks like above, because in a sea of lumber, it can be hard to find!!! Woodgrain’s material was more cost-effective than the material in the general lumber aisles, and we could tell that it was a MUCH higher quality product!
As I said previously, we chose 11/16 x 2 1/2″ MDF casing from their Timeless Craftsman collection. It is only 79 cents a foot in our area, and this is how we were able to build a wood accent wall for under $100! It came pre-primed, was much less than lumber, and was already sanded and super smooth! This saved us so much prep time!!! When choosing materials for this project-think outside the box! We chose casing, which would be typically put around windows or used to make baseboard.
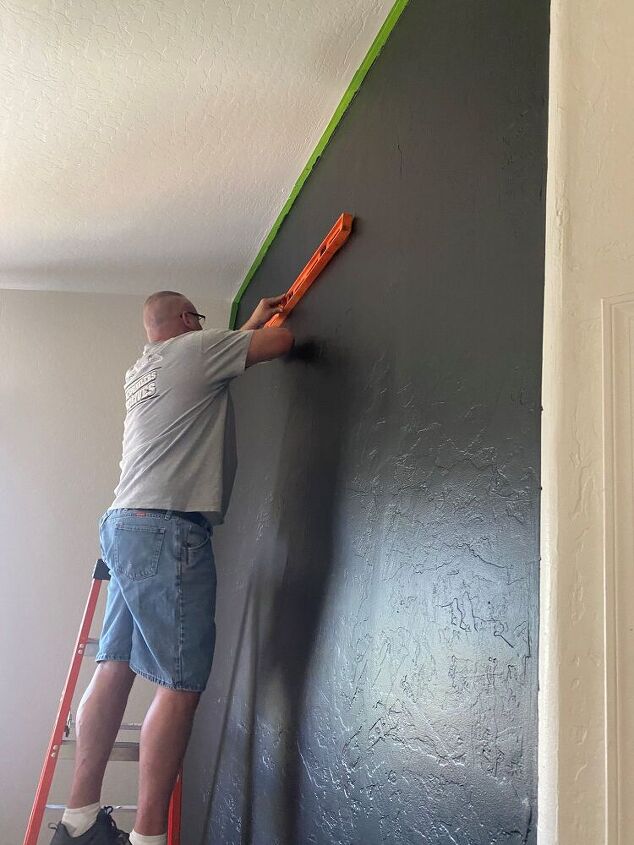
5) Draw out the design on the wall.
Draw out your design on the wall. Make sure all of your lines are very level. Use one of the pieces of the wood you will be using to trace so that you have the exact size.
My husband used a chalkline to make a control line for the top. You can easily use a pencil and level. This step is only needed if you are going to do your pattern inside a frame.
We repeated the process of drawing out the frame on each side, making sure that the lines were very level. We then outlined the board that would be the center piece, again making sure that it was very level and exact.
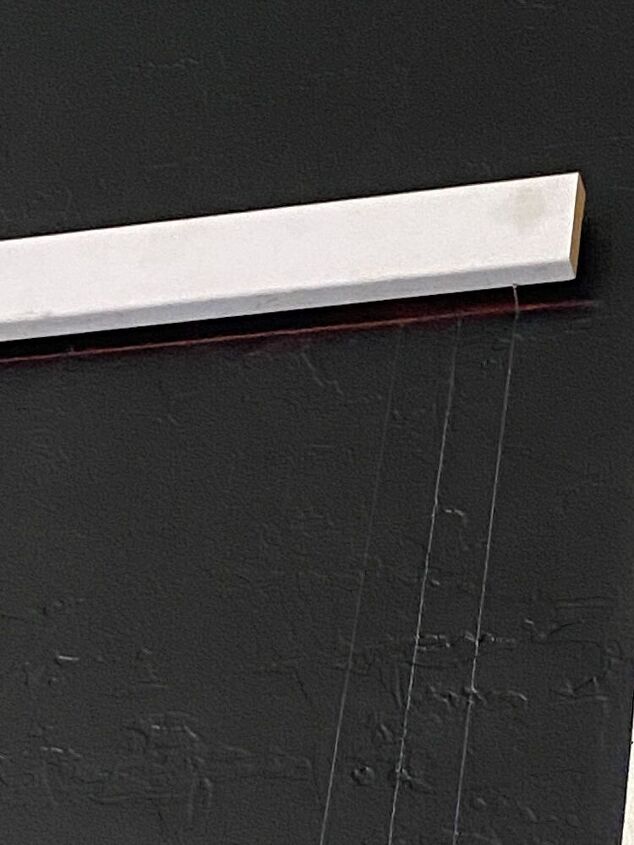
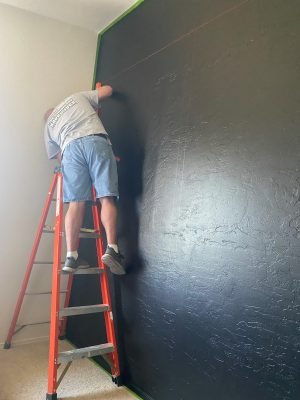
6) Place and nail the framework pieces, or the top rail
Once our frame was all drawn out, we placed and nailed the top rail first, on the control line that we already drew.
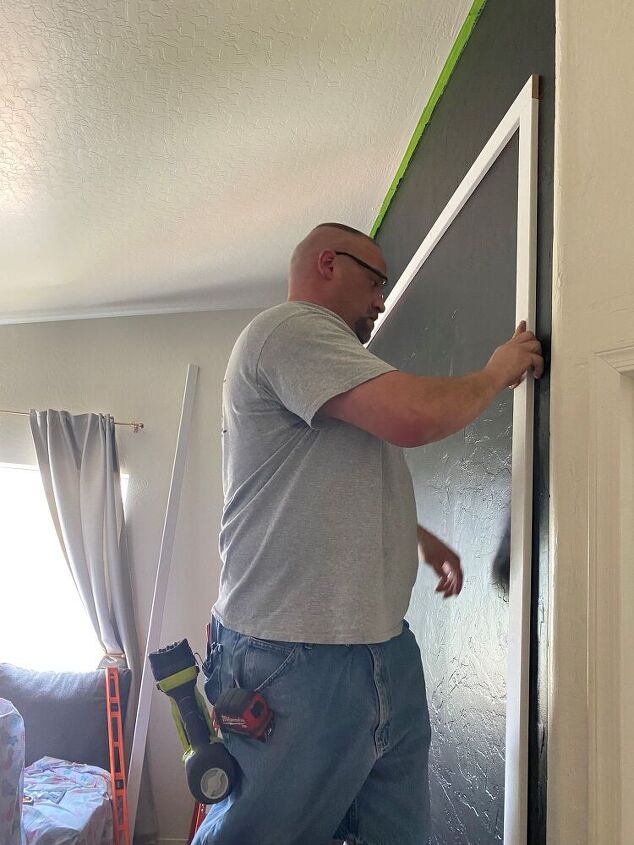
Then we placed and nailed each side piece.
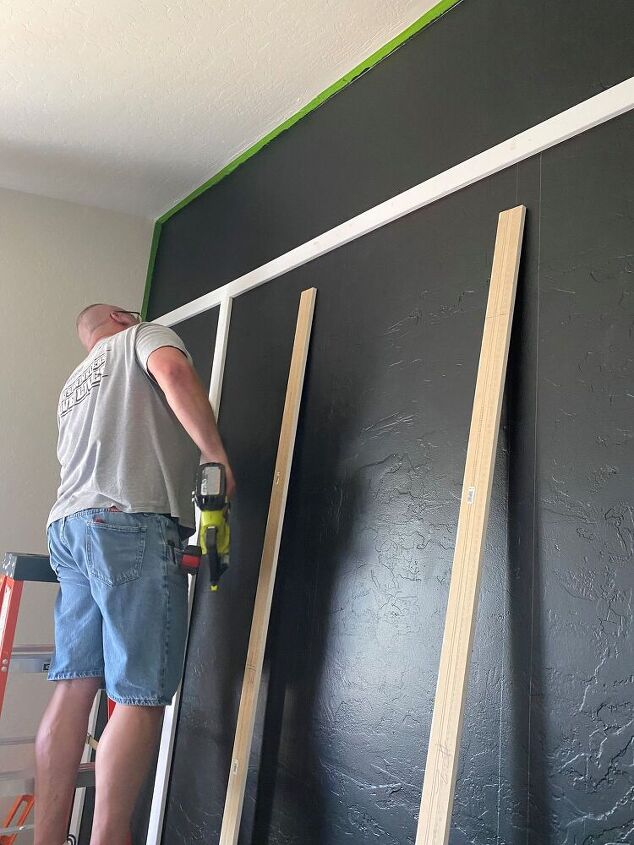
7) Place and nail the center pieces, if there are any.
Next, we placed and nailed the center pieces. If you are not using a framework, be sure that you measure each piece individually before cutting, as your floor and ceiling are probably not level. Each and every piece should be measured, and cut individually, we don’t recommend batch cutting!
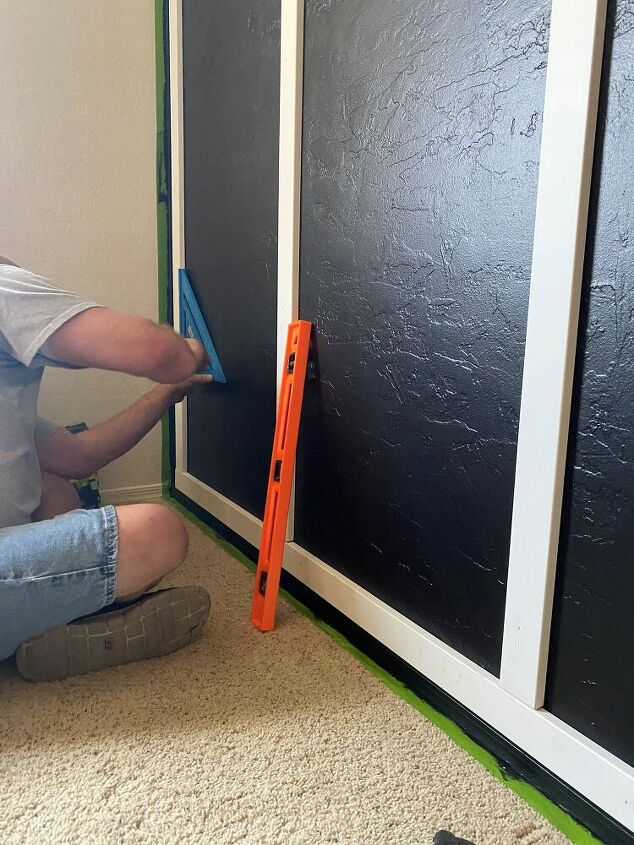
8) Begin filling in the middle, or diagonal pieces.
Using a carpenter’s square, we drew in the diagonal pieces. We measured their length, and cut at a 45 degree angle with the miter saw.
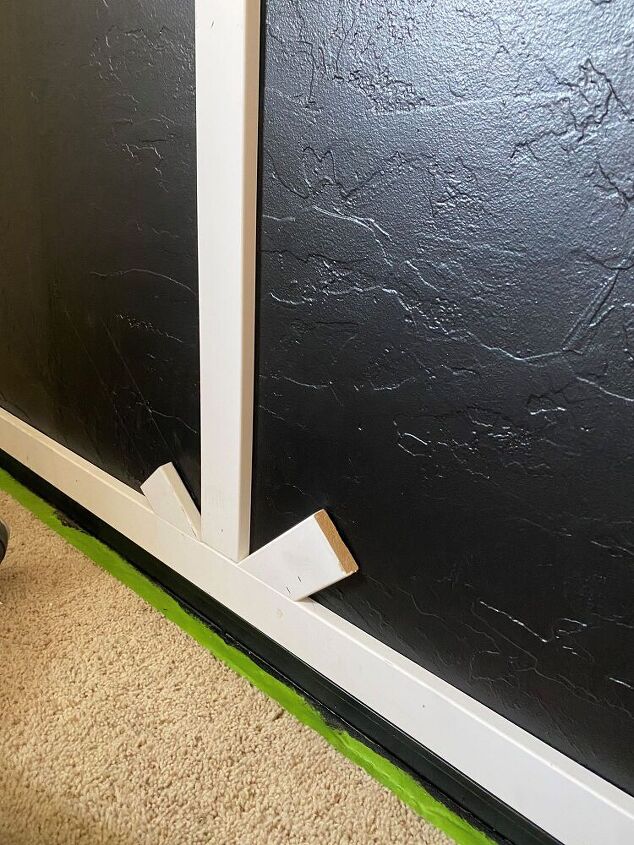
My husband made little end pieces to use as a guide at the miter saw, and also as a start to drawing the diagonal pieces.
Continue the process of measuring each piece individually, and nailing it in with the brad nailer. Some people choose to batch cut, and you can, but only if you know that everything is very level and exact.
9) Caulk
Because I did the caulking and painting steps myself, I don’t have any pictures of the process. But it’s very simple! Run a caulk line in each spot where the wood might be gaping from the wall. Work in small sections, wiping it smooth and any excess off immediately with a wet sponge. Caulk is much easier to wipe off when it’s wet than sand off when it’s dry! Fill in any holes left by the brad nailer, again work in small sections, and wipe smooth with a wet sponge. You will have to rinse the sponge frequently, and change out the water as needed.
10) Paint
Allow the caulk to completely dry at least 24 hours, and then paint. I like to use a 2 1/2″ angle brush, or you can use a roller to roll over the trim, and a brush to edge it all in and touch up.
That’s it! That’s how we built a wood accent wall for under $100! It’s really not a hard process, as long as you know how to use a miter saw!
I hope you can build a wood accent wall soon! Come over to my site for more simple DIY’s and budget home decor!
Ready to tackle more home upgrades without breaking the bank?
Resources for this project:
See all materials


Comments
Join the conversation
-
Hi, I love your wall. I understand that you built the frame, am I correct that there is a open, or zero pattern in the upper portion of the wall? Can you show a picture of what that looks like?
-
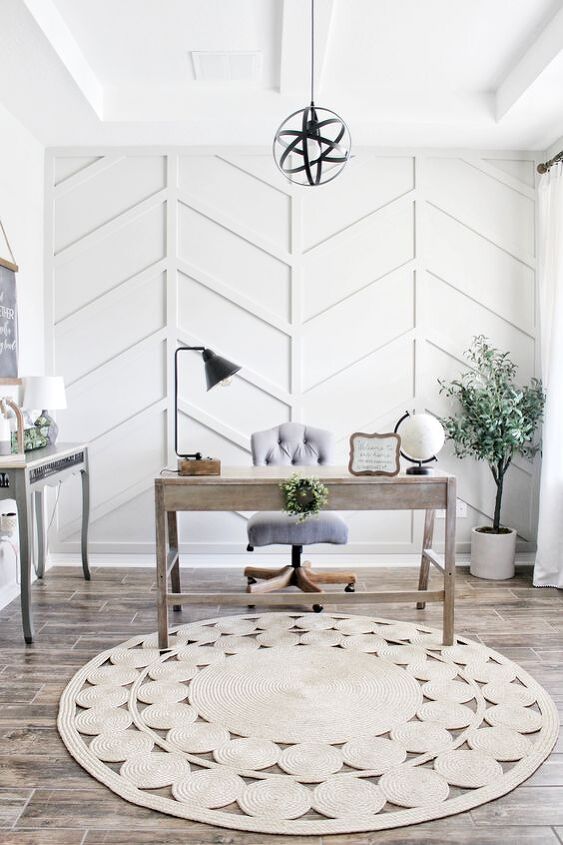
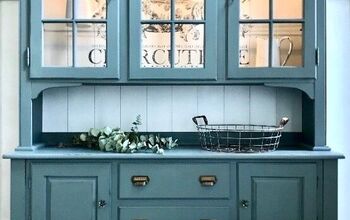
I like the design and certainly can be an inspiration for exact same or open to your interpretation ,flexible. I’m glad you showed white version as I find dark to difficult to see the details


Frequently asked questions
Have a question about this project?
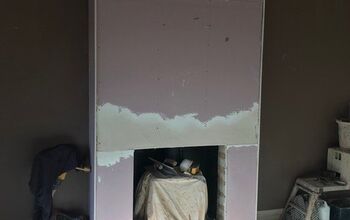
Very nice job. Correct me if I am wrong. So it appears that this wonderful design was not made to go to the edges but instead within the wall parameters? Also, my second question is would this style of wall decor work on a wall that has a fireplace?
Many thanks for anyone's advice.
Why didn’t you paint the wood before you put it on the wall? Seems to me that it would be easier to just paint the holes & seams that you filled after you adhered it to the wall then to paint all of the wood after it’s on the wall.
It’s absolutely gorgeous. I love it! Thank you so much for sharing .