


How To Make Wall Stencils
Do you want to stencil words on your wall? Learn how to make wall stencils in this simple step by step tutorial. The wall stencil design in this laundry room turns out SO good!
If you love this project, grab your quick start DIY guide & subscribe to our blog!
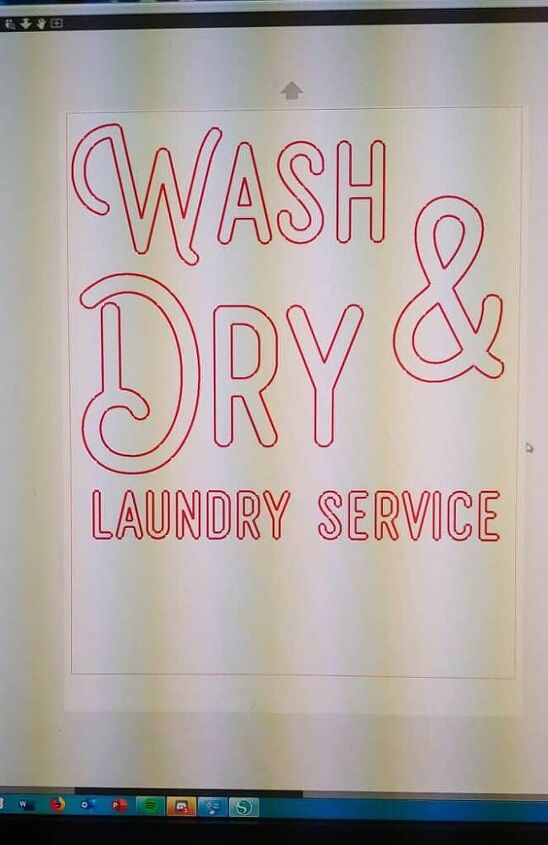
Since I was using my Silhouette Cameo, I created the stencil with Silhouette Studio – which is really pretty easy to use.
Step 1: Weed stencil (remove letters).
Next you want to “weed” the stencil, which sounds kind of silly. But it’s just removing the letters on the stencil, so you’re just left with the negative space.
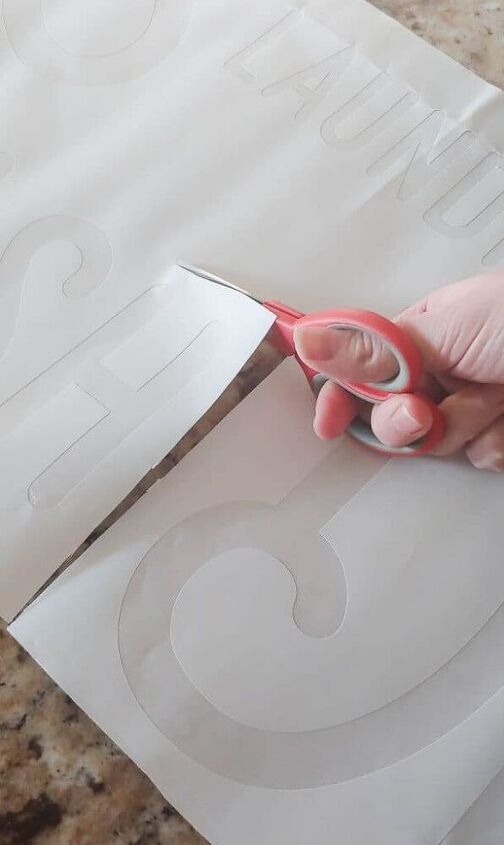
Step 2: Cut each word individually.
Since my stencil design didn’t fit on the 12 inch wide (which is the max width on the Cameo), so I maneuvered each word around within the cutting area. Once it’s all cut out, I just cut each word up individually and rearrange them on the wall.
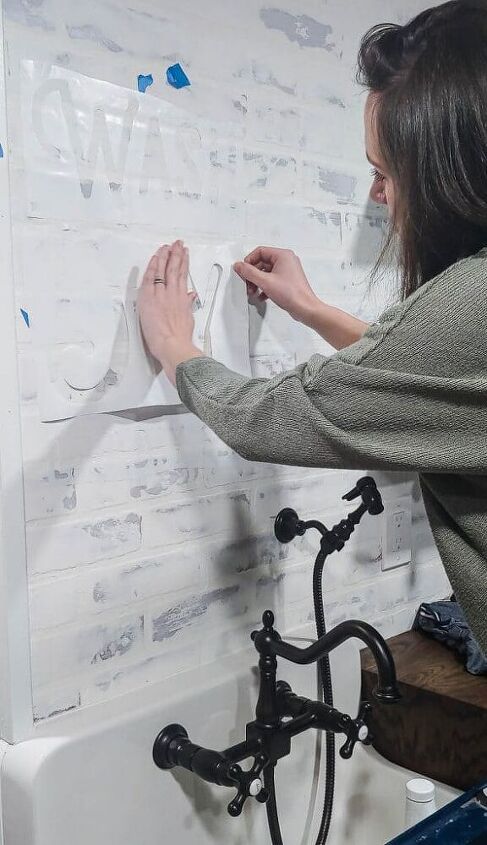
Step 3: Put stencil on wall.
Peel off the back on the contact paper and press it onto the wall. Be sure that it is level as you apply. Use your palm to press hard, especially on the edges of the stencil to prevent bleeding.
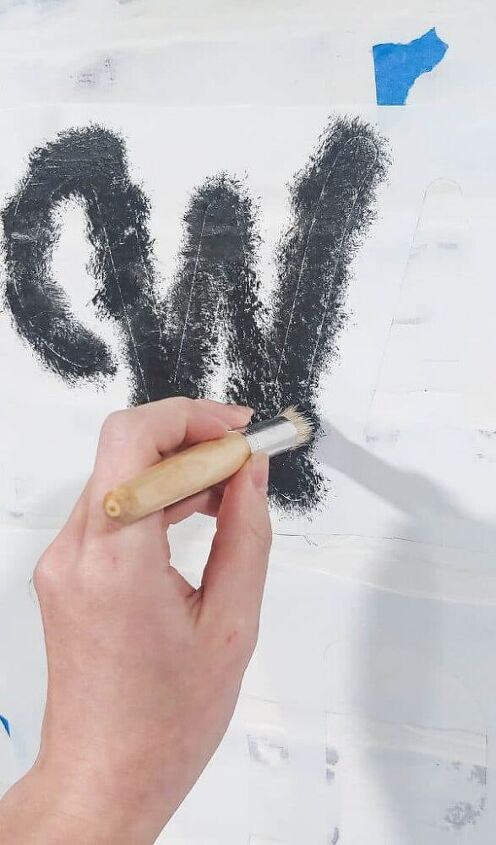
Step 4: Paint over stencil.
Using a stencil brush and just simple craft paint, dap the paint over the stencil without brushing. This helps prevent bleeding under the stencil. Also be sure you don’t have very much paint on your brush at all. You want to do very light coats!
I only did one coat and intentionally left it kind of splotchy so it would look old, like it was fading off.
Step 5: Remove stencil.
As you as you are done painting, remove the stencils carefully. You don’t want to wait until it is dry. You will need to wait for it to by dry to the touch to remove the middles of the letters – like the middle of the A, D, &, etc.
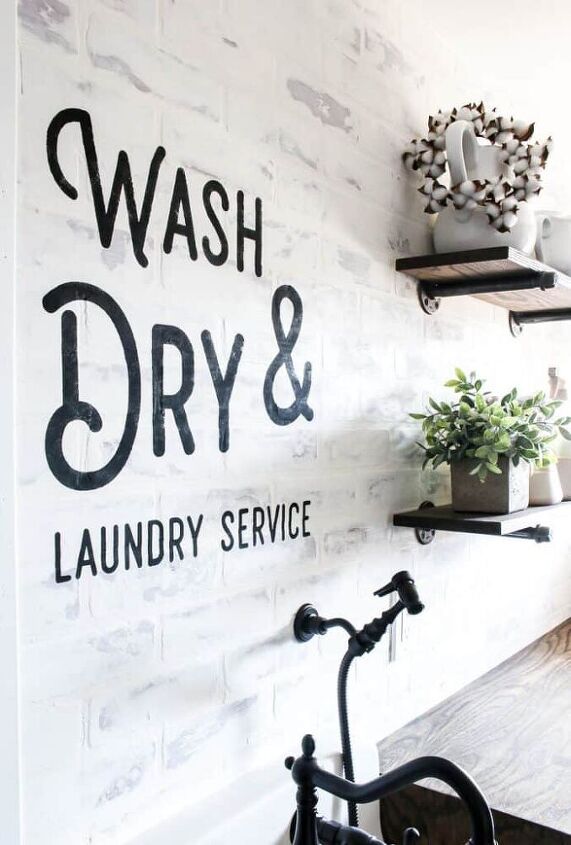
I just LOVE how it turned out…seems like the perfect finishing touch for this little area in our laundry room!
Resources for this project:
See all materials


Frequently asked questions
Have a question about this project?
What font is this?