


How to Paint an Argyle Wall With {Almost} No Math
$120
4 Days
Medium
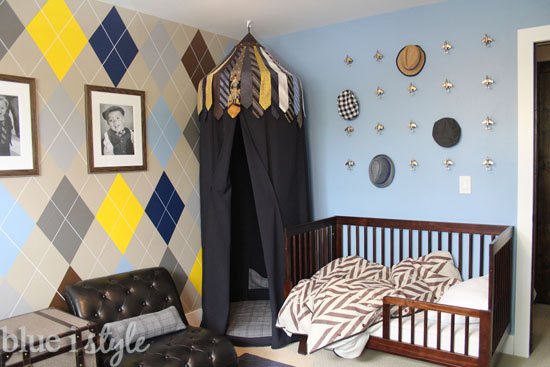
When planning my son's menswear themed bedroom, I envisioned an argyle feature wall. I designed the entire room around the idea of this wall, but when it came time to actually paint it, I just kept procrastinating. But once I finally came up with a plan and tackled the I found that while it does require some patience, it is a TOTALLY DOABLE project!
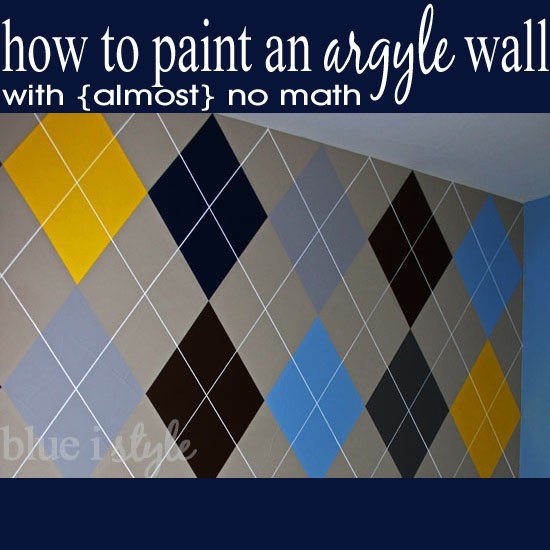
Before embarking on my argyle wall adventure I read several other tutorials online, and they all involved crazy amounts of math and seemed overly complicated and hard to replicate. My goals were to simplify the process as much as possible, to eliminate the geometry headaches, and to minimize the amount of measuring and taping I had to do. I ended up using a method total different from any other I've seen online, but one that worked extremely well and produced exactly the results I was after!
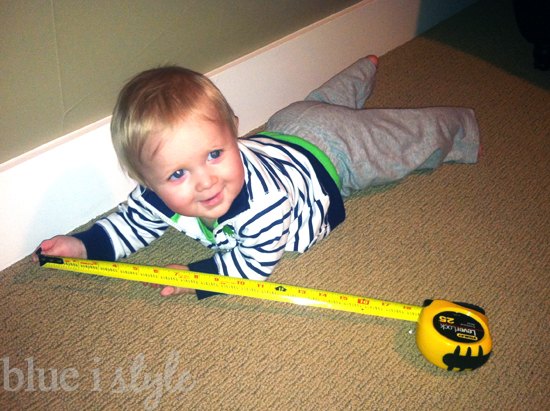
I measured the wall and noted the exact dimensions. Using that information, and given the limitation that I wanted to paint only full diamonds (i.e. no partial diamonds), I calculated the size the diamonds would be with various numbers of columns and rows. Read the full details of this step on my blog at the link below.
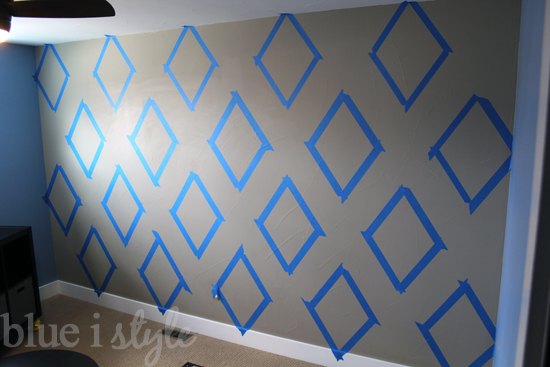
CREATING DIAMOND TEMPLATES - This is the step that saves you all that crazy math and calculating of angles! You can read the detail about how I created the three templates on my blog at the link below. And you can also read why I opted for a template rather than a stencil.
And here's how it turned out! You'll find lots of photos of the completed menswear room and details of the other DIY projects in the space on my blog.
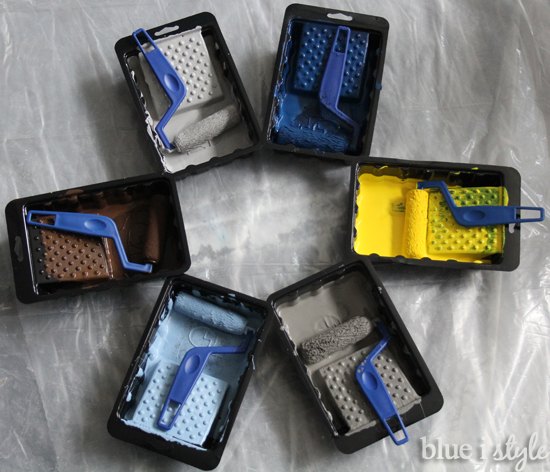
Be sure to read my full tutorial at the link below to learn how to get perfectly crisp paint lines with no bleeding under the tape! Trust me, you won't want to do any touch up around ALL those diamonds!

Want more details about this and other DIY projects? Check out my blog post!
Comments
Join the conversation
3 of 52 comments
-
This is SOOOOO creative and unique! Just beautiful!!!
-
Simply amazing!!!


Frequently asked questions
Have a question about this project?
What are you using to hang the hats?