


Add Character to Your Walls In 2 Easy Steps!

What do you do with a drunken sailor? I have no idea, but give me a blank wall and I will make it into something so much better than it was before... because blank is the lowest baseline.
With blank walls they can only improve from where they are and the possibilities are truly endless. Just as endless as my corny jokes and list of cliche phrases. When I painted our hosue after moving in a year ago I decided white would be the perfect starting point in our main living area. But right off the main living area is a small hallway where the kids rooms our. To put it fancy it's our "children's wing" of the house. Those 4 walls I decided to paint a beautiful Mocha Light, something different and this was the only spot small enough to use leftover paint from our bedroom.
It sat painted Mocha Light for the past 11 months but I knew it needed something more. So I decided to go bold (well, bold for me at least) and decided after a couple months that sailor stripes would be the touch I needed.
Materials:
·white paint
·mini paint roller
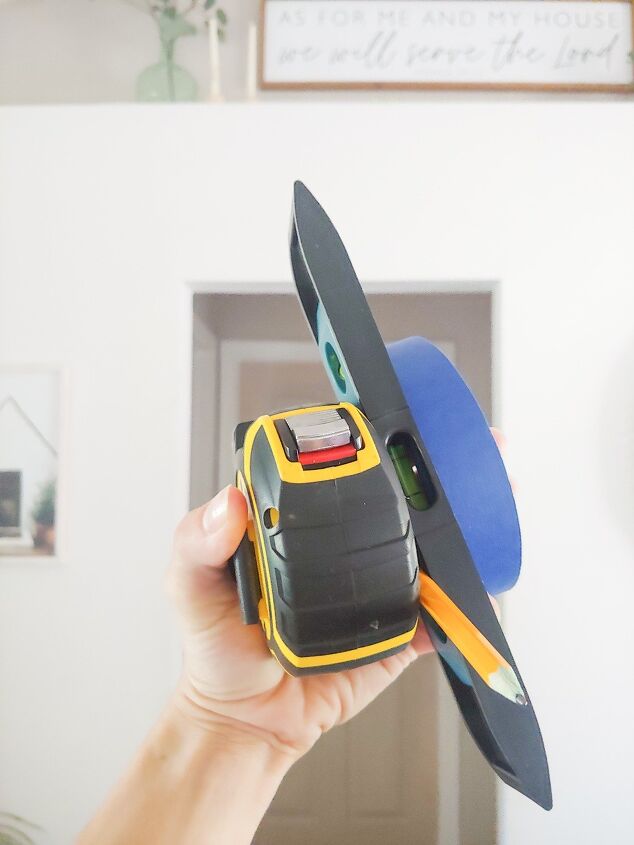
·measuring tape
·painters tape
·pencil
·paintbrush
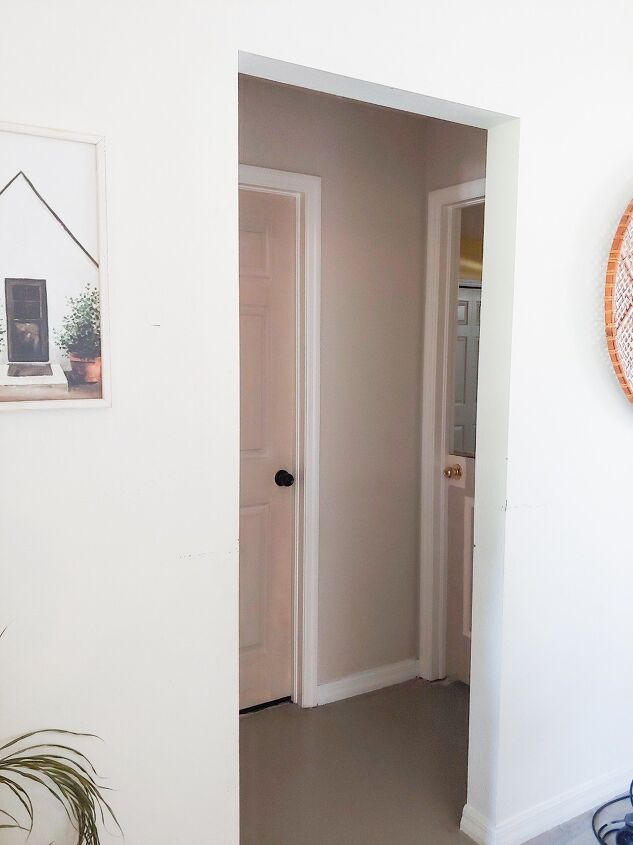
I love this wall color, especially with the freshly painted white trim! But most of my walls in the entire house are fairly simple and I wanted a spot that 'popped' without being too crazy.
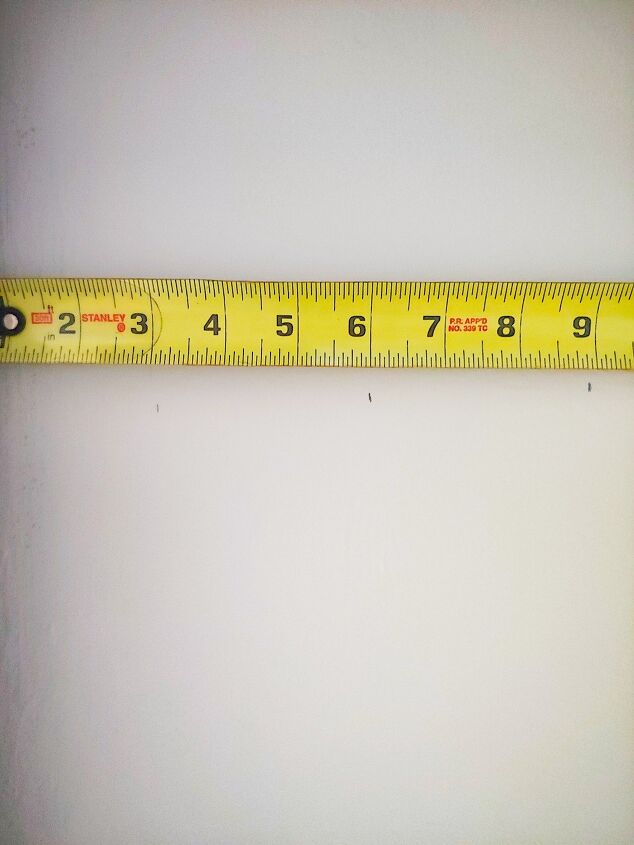
I decided that I wanted my stripes to be 3 inches wide, so I pulled out my tape measure and marked every 3 inches on my walls. These marks were measured at the top, middle, lower middle and bottom of each wall to guide me as I applied the painters tape.
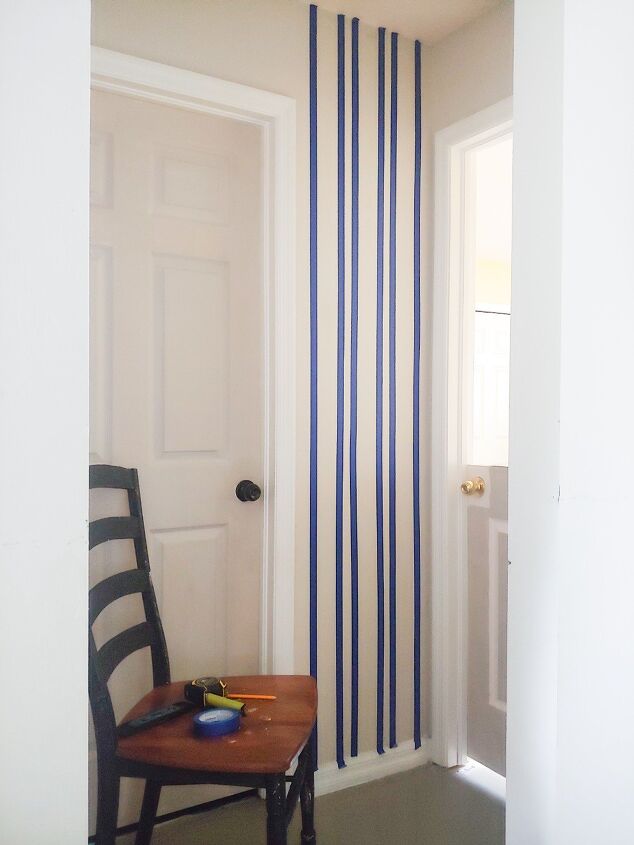
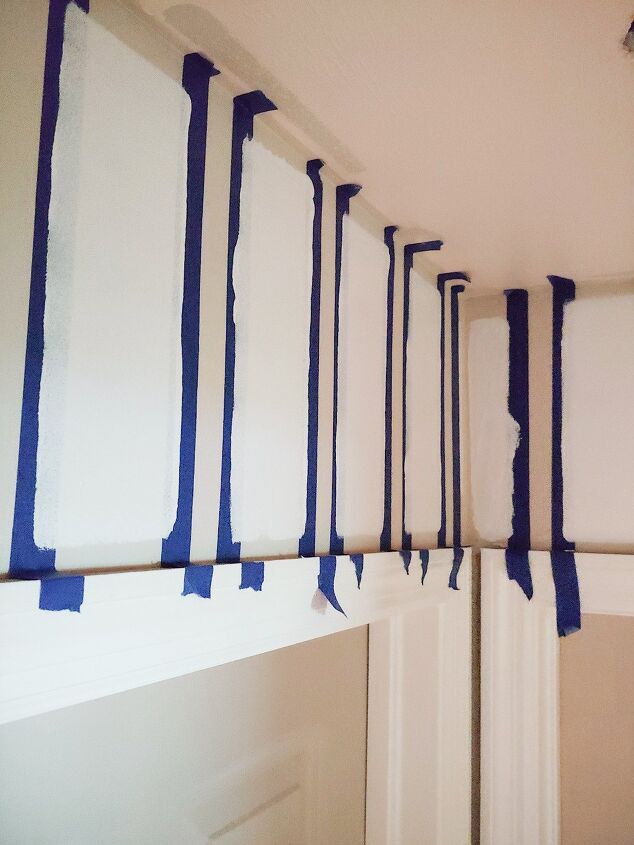
Then I followed these guideline measured marks to apply my painters tape in straight, vertical lines. The lines would be alternating white and mocha light.
The tape marking where the white paint would be applied is wider as you'll notice in the photo. This is because the tape was applied on the OUTSIDE of my 3 inch markers so that the lines would be a full 3 inches. The tape marking off the mocha light lines are thinner because the tape was applied to the inside of my marked lines.
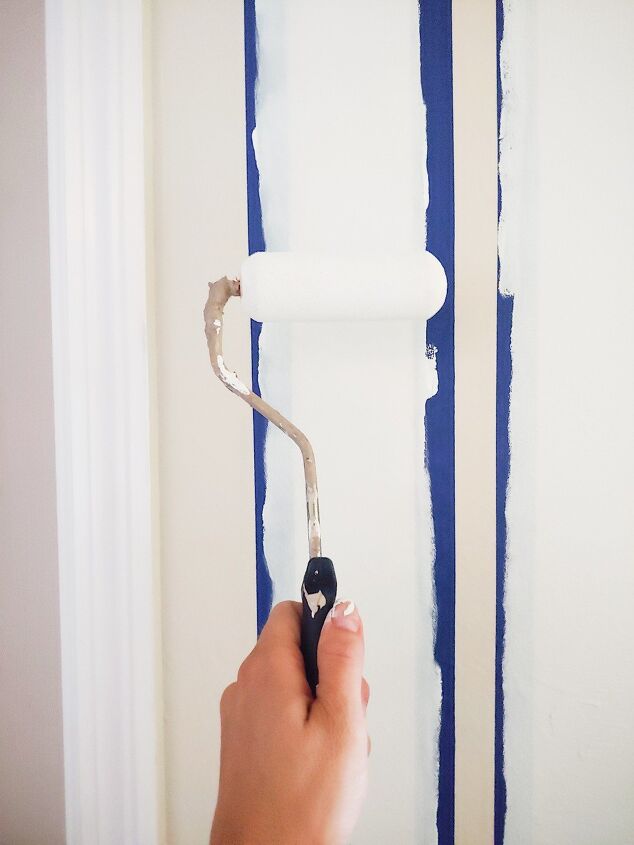
After the tape was applied, it was time to paint! I used a small roller to paint my white stripes on. It was just the right width and rolled on smooth like butter.
In the spots near the top and bottom I used a painbrush! After 3 coats the painting process was done.
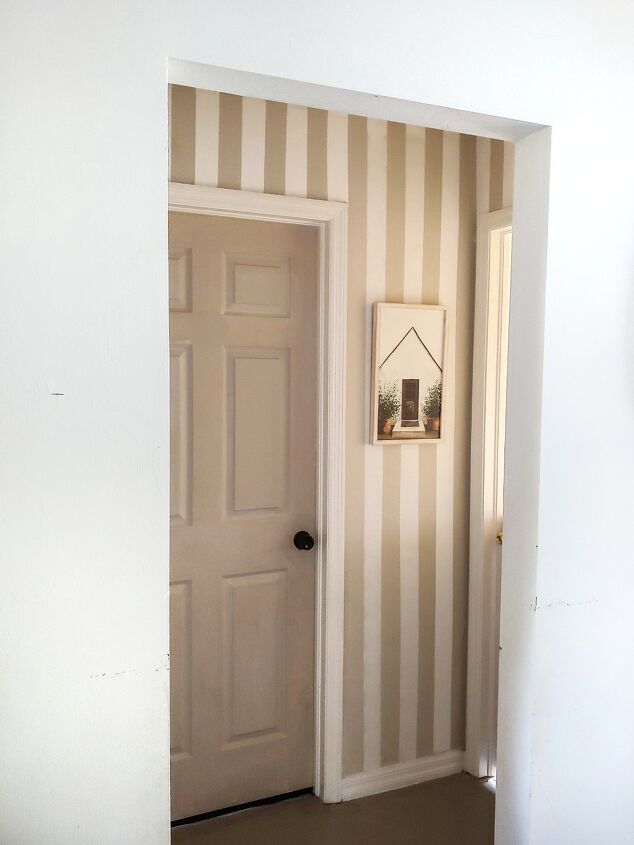
It felt so satisfying to peel off the painters tape! Some of the lines bled a bit but are hardly noticeable.
I added this picture for funzies and stood back to admire. I LOVE THIS WALL! And I'm so happy I decided to go out of my comfort zone and go bold.
Comments
Join the conversation
-
Beautiful job‼️😊
-
Great job! I think I will try this in my hallway also. Thanks for sharing.


Frequently asked questions
Have a question about this project?