


Paint, Putty Knife and a Powder Room
6 Materials
There are some times in my life when I can't "stand it" any longer.... One day last month was that day for my guest/powder room. I had many pins on my bathroom Pinterest board for ideas and after 108 pins about decorating this small tiny space I could not pin anymore! I had to actually put down my phone and do some DIY!
(**If you like this post make sure you FOLLOW me right here on Hometalk.**)
(**If you like this post make sure you FOLLOW me right here on Hometalk.**)
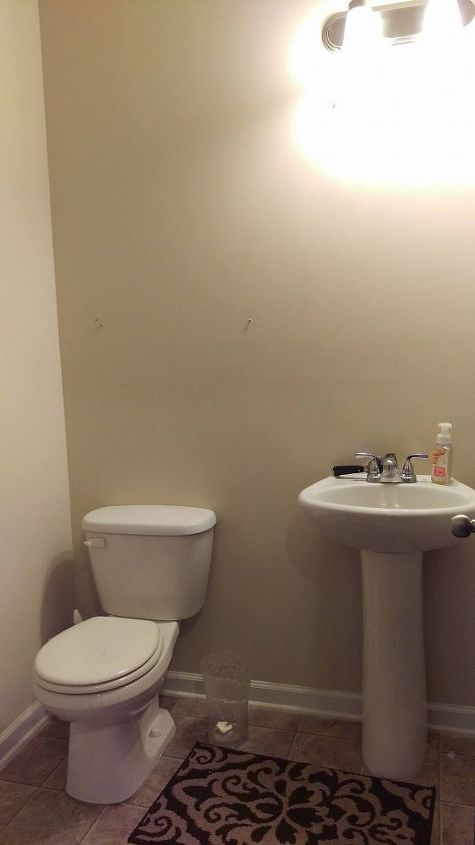
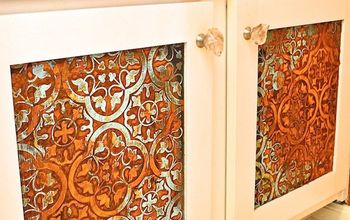
I removed what little decor I had in this space and stared at it until it hit me... I needed a bold but neutral accent wall. It was the perfect space as our home would eventually turn into a rental and then for sale some day this space had no commitment to any room for furniture or window treatments. It was just 4 walls a ceiling painted in builder grade cream flat paint and a floor with a permanent fixture of a toilet and sink that were whit ... white and brown floors...
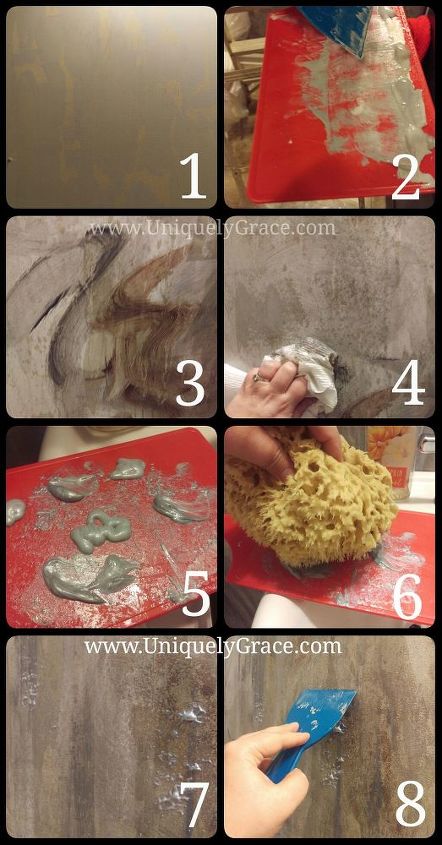
Powder Room Faux Finish Step by Step:
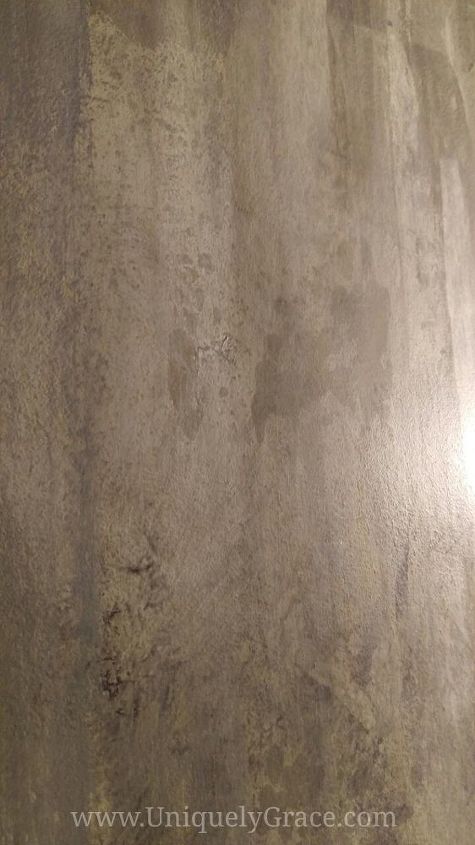
Step I sealed this wall with Shabby Paints Varnish for a great satin shine and cleanable surface, since after all this is a Powder Room.
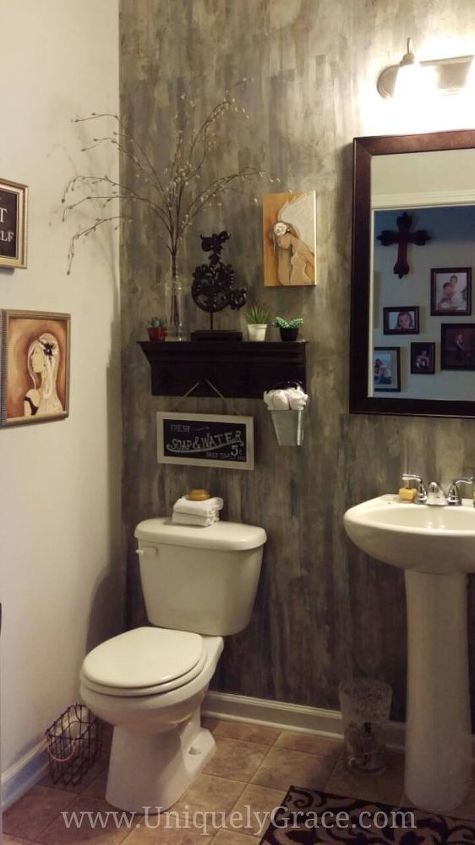
Powder Room Final Pic!
Resources for this project:
See all materials


Any price and availability information displayed on [relevant Amazon Site(s), as applicable] at the time of purchase will apply to the purchase of this product.
Hometalk may collect a small share of sales from the links on this page.More info

Want more details about this and other DIY projects? Check out my blog post!
Comments
Join the conversation
2 of 378 comments
-
So pretty! I would love to do this. But we have textured walls.
-
This is awesome, love the look and the inspiration for a completely layered, textured finish!


Frequently asked questions
Have a question about this project?
Wooooooowwww this is beautiful! Great work girlfriend!!!! How much did it cost u total?
Where does the alcohol fit in? The title for this piece said:
“This alcohol trick will give you amazing look no one else has........
How high is the ceiling? It looks really high in the picture.