


The Complete Beginners Guide to Wall Stenciling

It’s finally here: A complete guide to wall stenciling for beginners! This is your go-to source for your first (or second, or third, or… we won’t tell!) time stenciling an accent wall. It may seem daunting, but really, Royal Design Studio Wall Stencils make it easy to create a “mural” without actually having to professionally hand paint a large wall design. Even a beginner can do it! Watch this video tutorial and read the instructions below to learn how to create your very first stenciled accent wall…
Click play to watch the video tutorial!
Supplies:
Butterfly and Peony Allover Wall Stencil from Royal Design Studio
Royal Stencil Cremes in Bright Gold and Antique Gold
Large 3” Royal Stencil Brush
Painter’s tape, bubble level, paper towels
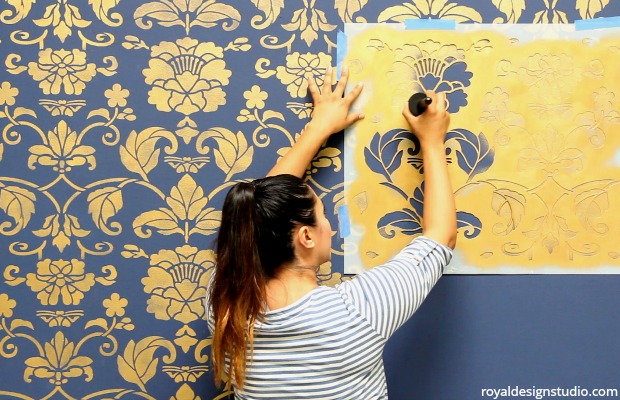
Step 1: Mask off and protect adjacent walls, floor line, and ceiling line with painter’s tape. Place and center your stencil at the ceiling line of your accent wall. Use a bubble level to make sure the large wall stencil is straight. Secure it with painter’s tape.
Step 2: Mix equal parts of Antique Gold and Bright Gold Royal Stencil Cremes. Load a large stencil brush with the custom gold mix and offload the excess paint onto a paper towel. Offloading ensures that you use minimal paint and that the paint is evenly dispersed on the brush bristles. It is important to use minimal paint while stenciling so the paint does not bleed under the wall stencil.
Our Royal Stencil Creme metallic paints are designed to cover quickly and simple flow off the brush. You’ll feel the difference as soon as you begin stenciling.
Our Royal Stencil Brushes are packed with soft bristles so it holds a LOT of paint. This allows you to stencil faster and further with each load of the brush.
Step 3: Stencil the wall pattern with light to medium pressure.
Step 4: After you are done stenciling the first repeat, carefully remove the large wall stencil. Align the large wall stencil directly underneath the first repeat using the built-in registration marks. Continue stenciling until you reach the floor line. Use your free hand to push the stencil into the corner.
Step 5: Repeat Steps 2 through 4 until your accent wall is completely stenciled. You will use both the top and side registration marks to align the stencil in either direction.
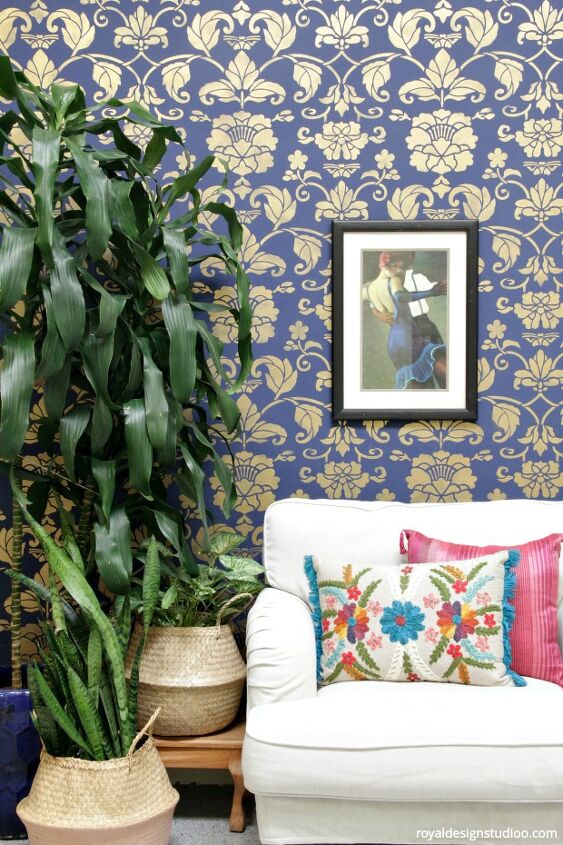
And that’s it! You’re done! You have all the personality of wallpaper, but with more money in your pocket and more custom creativity in your home. BONUS: Royal Design Studio Wall Stencils are easy to change up! Unlike wallpaper that damages walls when it’s removed, you can simply paint over the design. Remember to tell your family and friends that it wasn’t professionally done and it was your very first time stenciling – or don’t! ;) They’ll wonder when you took those professionally painting classes…


Frequently asked questions
Have a question about this project?
Where to get the big stencil pattern?
Why do you not start in a corner to eliminate the need to cut the stencil?