


Weathered Look On..STYROFOAM?!?!
2 Materials
$20
1 Hour
Easy
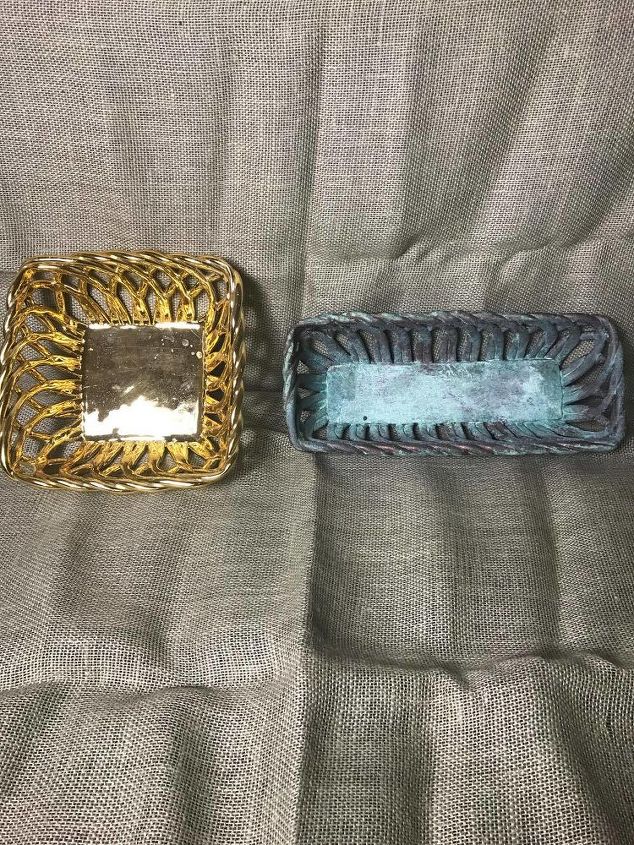
Here is a before and after of what Patina looks like on ceramic!
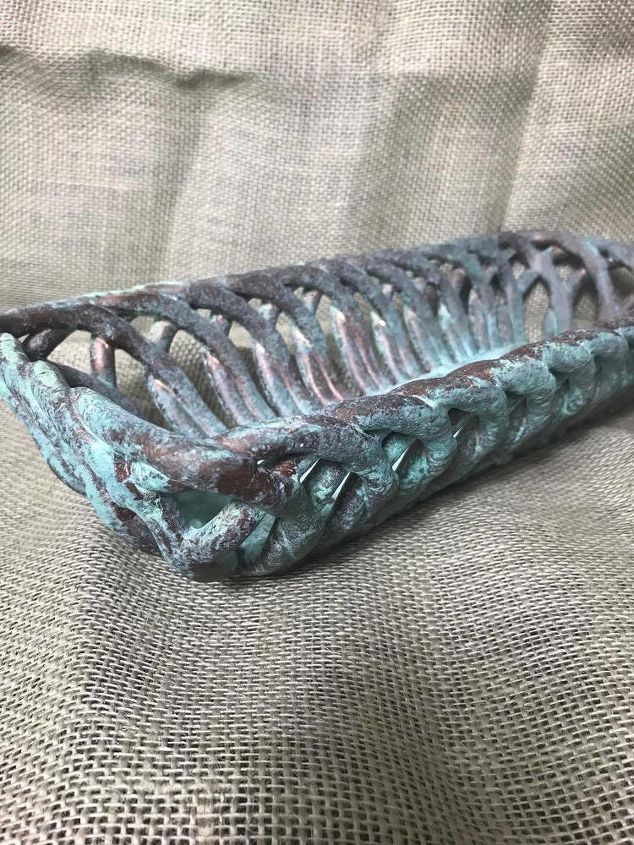
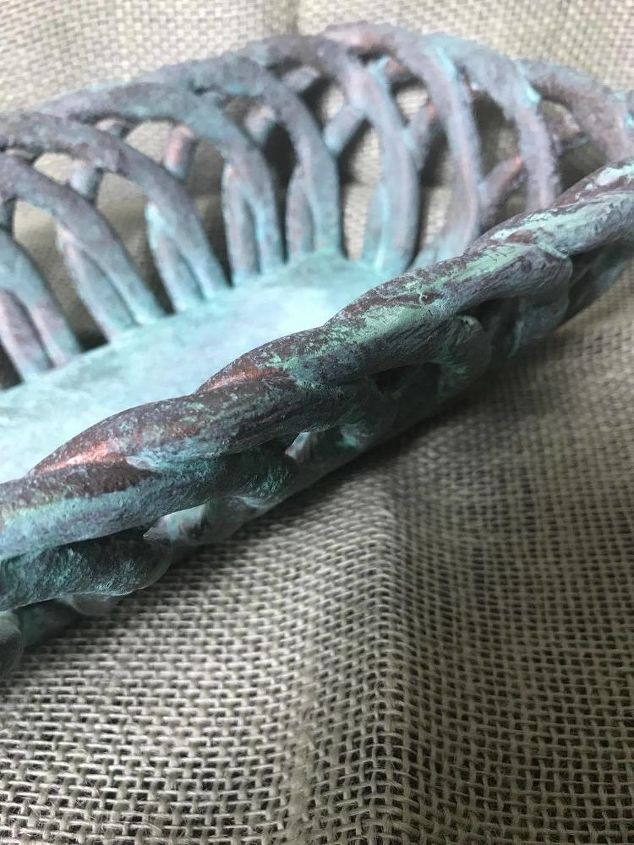
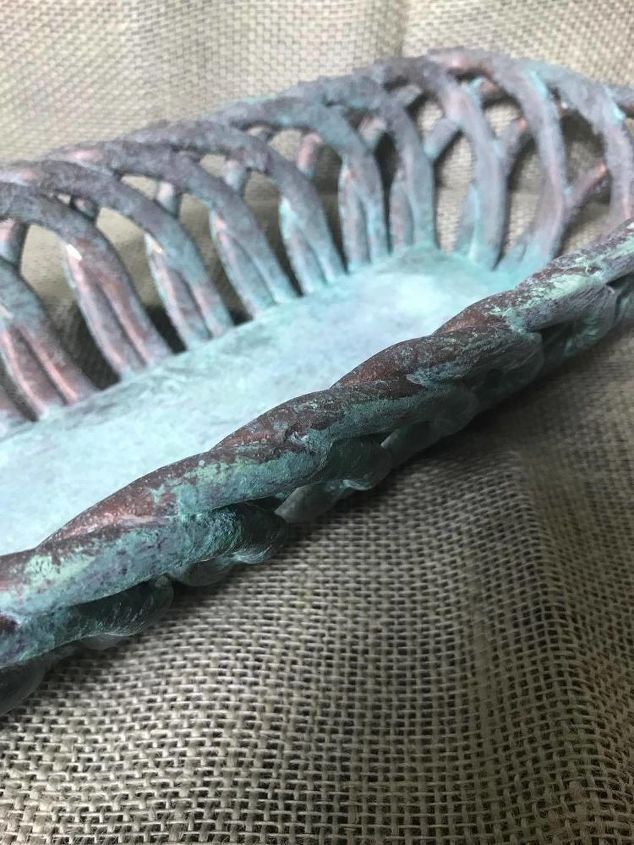
This is a close up of the final product! The piece looks completely different now. It is perfect for a center piece!
You can see it is rusty and old looking with blue patina layer. This was a gold dish just like the one pictured above to start with. To achieve this look complete one layer of Patina Paint and allow to dry. Complete another layer of Patina Paint and while its wet activate with Patina Spray!
After the process takes place the piece may be a little dusty. You can simply wipe it clean with a damp cloth!
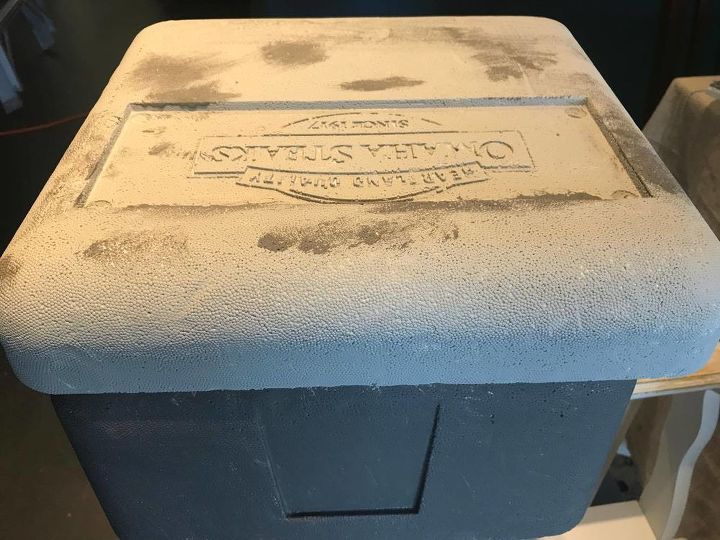
This is a Styrofoam freezer box and just to show you how wonderful patina is on just about ANYTHING......check this out.....
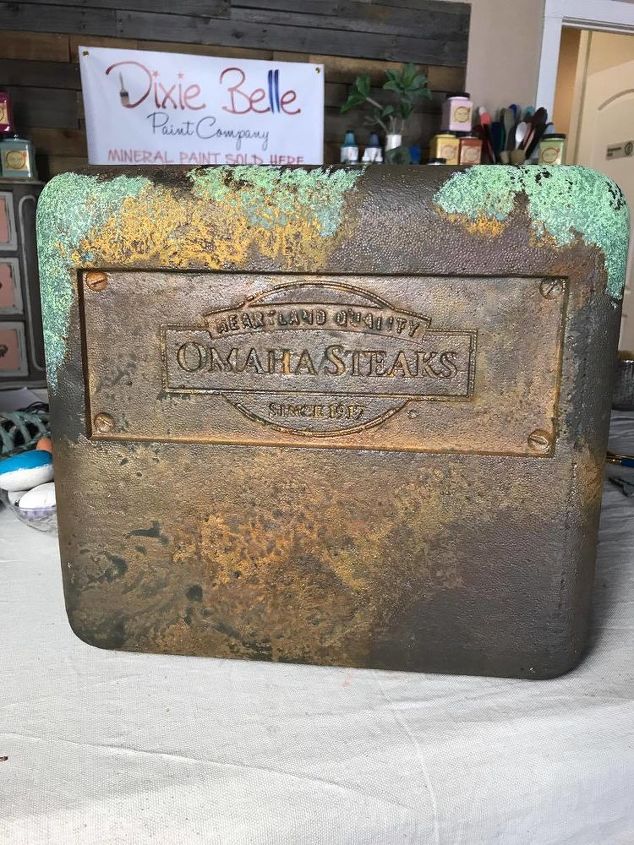
YES! That is right, this styrofoam was made into a rustic show piece!

Layers of Iron Patina Paint and Bronze Patina Paint meet to create an array of hues.
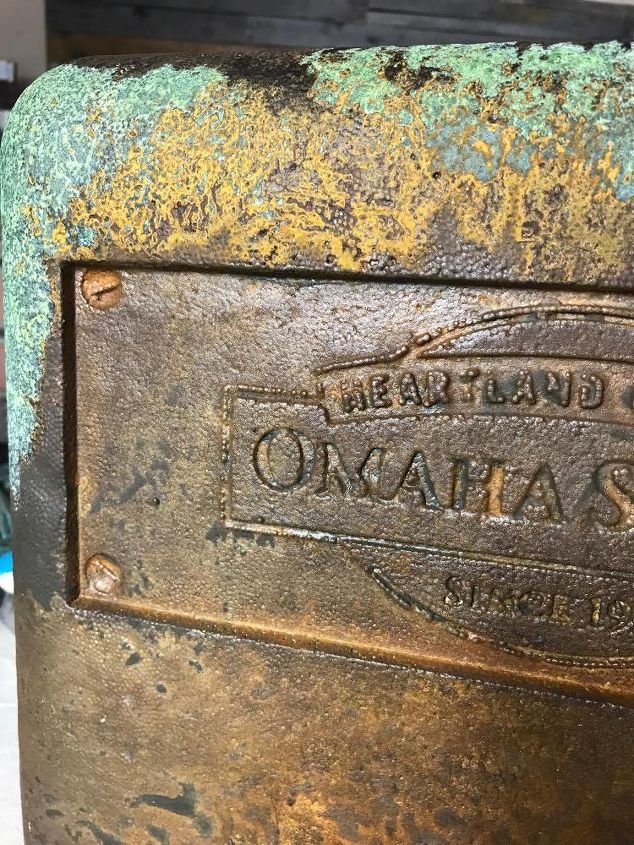
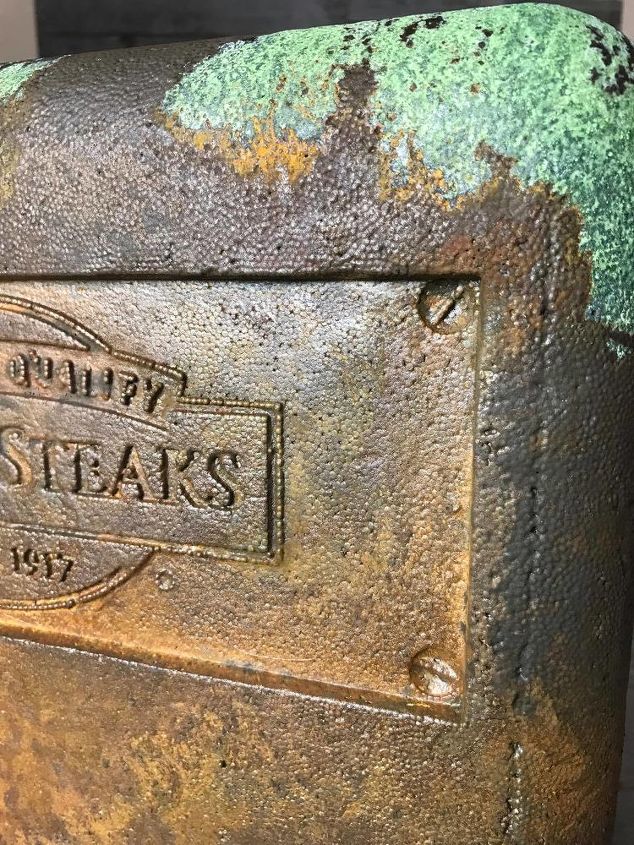
Here is a close up of the details, can you believe this is STYROFOAM?
Using Patina Spray application options:
-Spray
-Brush
-Sponge
You can even spray and then dab or apply with a sponge or brush. The options are endless and most importantly it is fun. You can change it up and get a different look each time!

Want more details about this and other DIY projects? Check out my blog post!
Comments
Join the conversation
4 comments
-
So cool : )
- See 2 previous


Frequently asked questions
Have a question about this project?