


How I Created a Secret Garden Area- Part 3

by
Jeanne
20 Materials
$75
3 Days
Medium
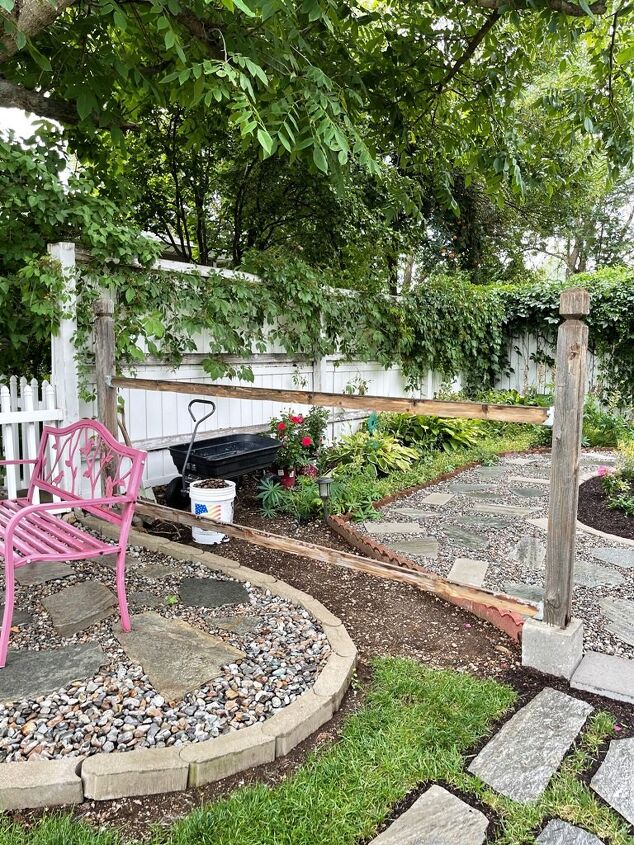
If you've been following along on my transformation of the east side of our front yard from a section of grass edged by flower gardens to what I have been calling a Secret Garden, then you'll love this next step in the project! If you haven't seen Part 1 & Part 2 yet, links to each of them are below. Now, it's time to build a picket fence! Part 1 Part 2
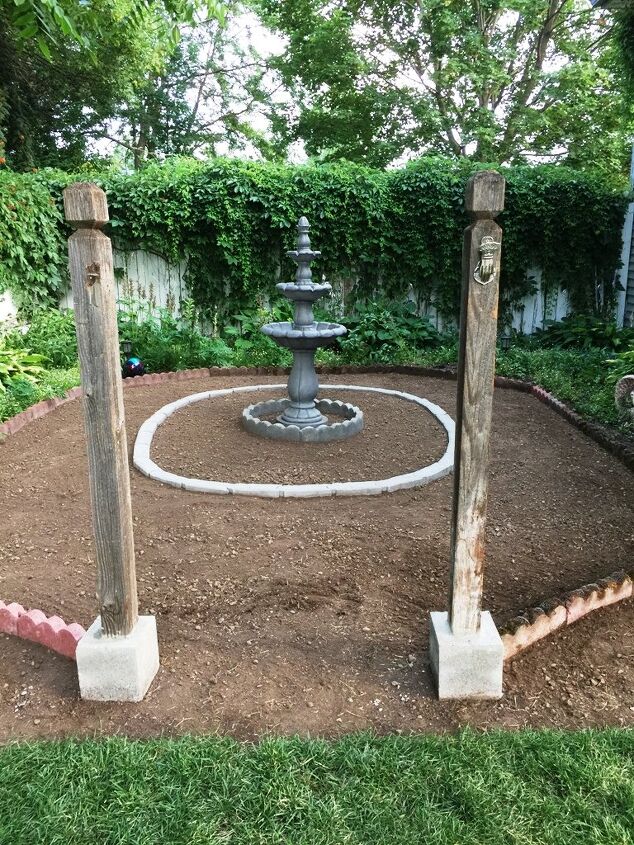
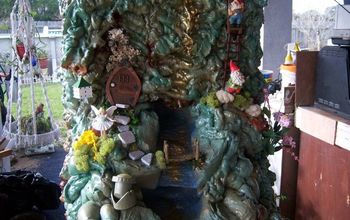
In part 1, I removed the grass and gave it to a neighbor. I then bought a focal point for the Secret Garden - a 3-tiered, 60" tall water fountain and created a garden area around it with edging bricks.
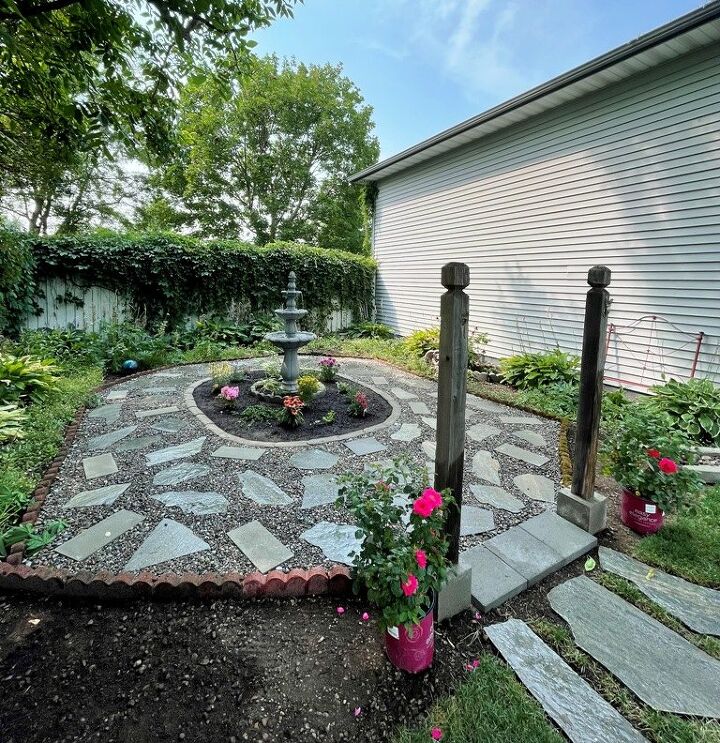
Part 2 of the Secret Garden project is all about adding a walkway between the existing gardens and planting the new garden around the water fountain - the focal point of the whole area!
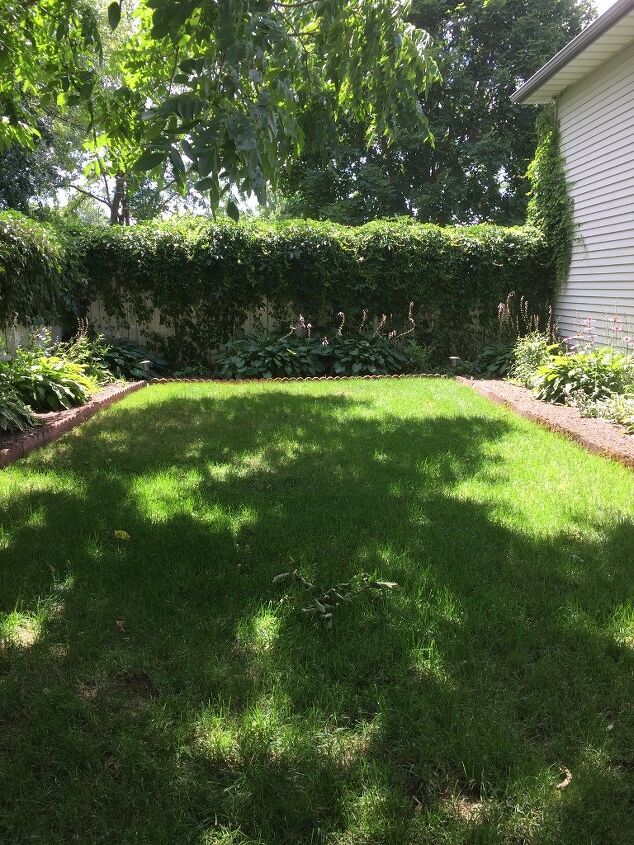
Before I thought about revamping the east side yard, I had been considering having our fence moved from the back of the house to the front of the house and just increasing the size of the back garden. But since I didn't think I could do that myself (digging all the post holes and all), I started thinking about how to transform this area without moving the fence.That's when I thought that a cute little picket fence between the house and the side fence would be the way to go. Our neighbor already installed a vinyl picket fence along the east side of the yard so I thought I could make a picket fence with our old decking and then paint it white.

I've never built a picket fence before, but I did a bit of research and it didn't look all that difficult. I already had wood that could be used for the pickets and crossbars, all I would need to buy would be 4" x 4" posts.When I found these old fence posts (and after my son asked why I wasn't going to just leave the rustic look of the deck wood), I bought them & change my design idea and decided to just stain the wood & posts with either a clear or weathered stain.
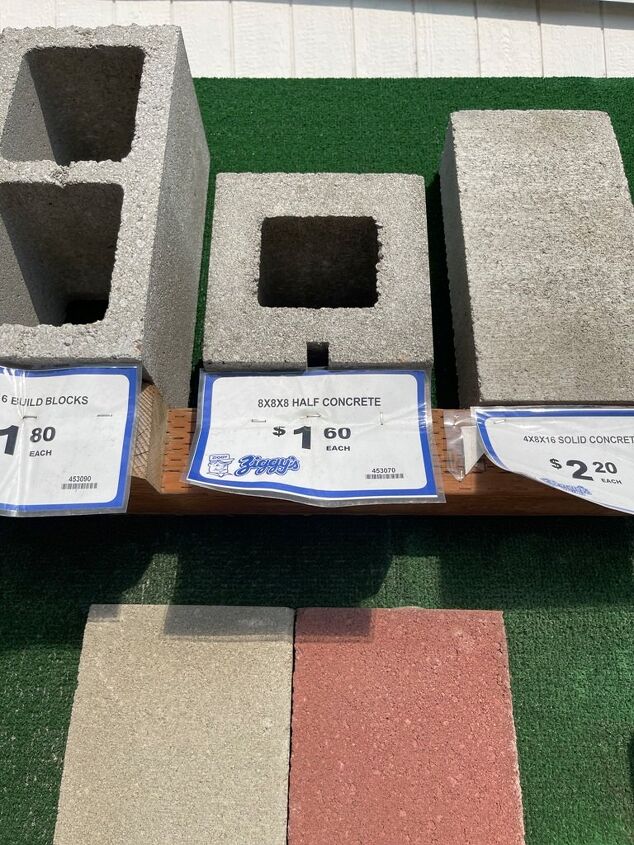
The first step in building the picket fence was to set the posts. As I dreaded digging holes in our extremely rocky soil that would be deep enough for the posts, I was delighted to run across the idea of using cement post blocks! I wasn't certain the posts would be stable enough without being in the ground but was willing to give it a go! I figured that I could always dig holes and 'plant' them later if needed. I found the concrete post blocks at a building supply store, they were only $1.60 each.
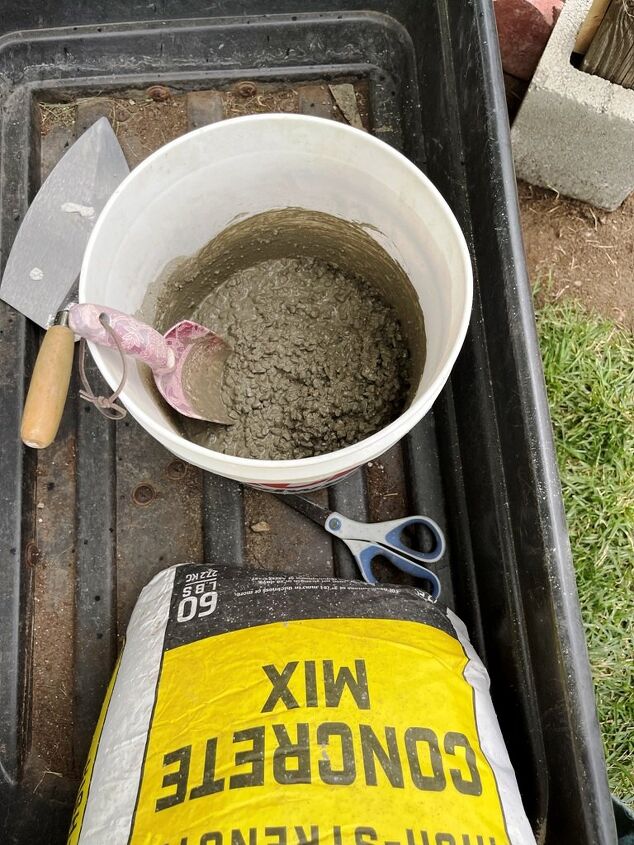
Before cementing the posts into the blocks, using my skill saw, I cut them to the same height - 5'. Even though I didn't need much cement, I bought a 50 lb bag. Man, are those bags heavy!!!

I mixed up what little I needed and spooned it into the space between the post & block with my little garden shovel. Using a level, I made sure that each post was straight, then propped the posts in place while the cement dried.
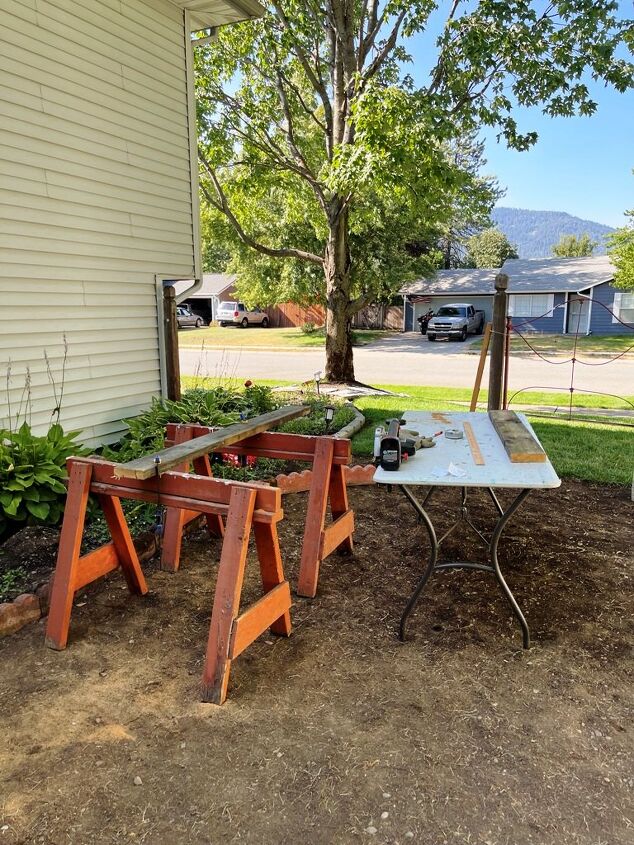
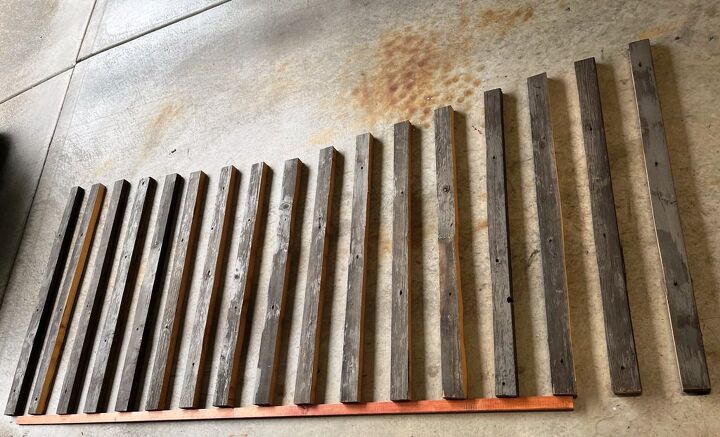
The next step was to decide the height of the pickets. My neighbors are 39". I thought that would be too short with the height of my posts so I decided to make the pickets closest to the posts 57" and decrease each one to meet the center picket at 42". I also needed to cut 4 10' crossbars.Now, I just needed to carry the 16' 2" x 6" boards from under the deck in the backyard around the house to the east yard. Yes, I could have cut them in the backyard....and I did do that with the crossbars....but this was the most shaded area of the yard at the time.The 16' boards are from our lower deck. We had the floorboards replaced last year and I kept the wood for future projects. So happy that I had the wood on hand for this fence!
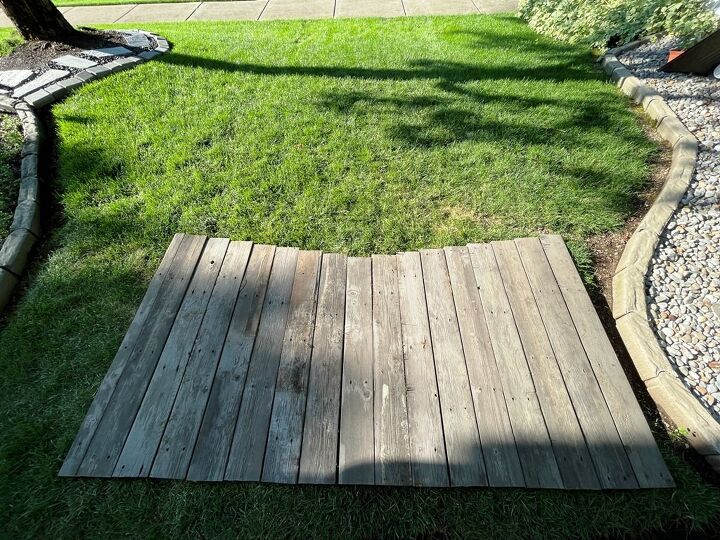
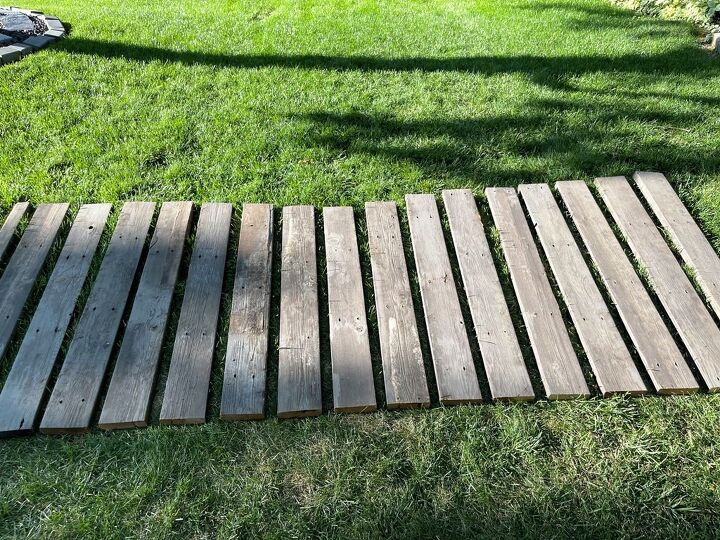
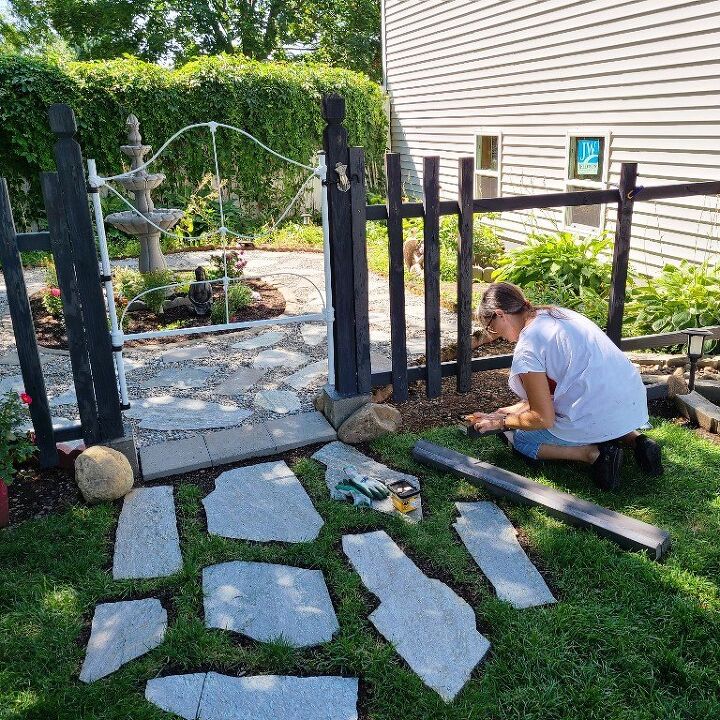
I calculated that I would need 18 pickets for each side of the fence. Since I was going to be splitting the 2" x 6" boards in 1/2, that meant that I only needed to cut 18 boards. I used my skill saw for this task. I laid the boards on the grass to see how the height difference looked - I liked it! Once the pickets & crossbars were cut, the project was on hold until my contractor could come by to give me a lesson on the table saw.
I planned to use the table saw to cut them in 1/2. My table saw was a gift from a friend who moved out of state and after watching several YouTube videos that had titles such as "7 ways NOT to die when using a table saw", I thought it best to wait for some instruction!

Since I can be a bit impatient, while I was waiting for my contractor to have time to stop by and give me some instruction on the use of my table saw, I decided to try to cut the pickets and the crossbars in 1/2 using my other tools. The first one I tried was my skill saw. I started with the shortest board, used a pen to draw a line along the center, and grabbed the saw. It worked great for about 2/3 of the board then just stopped. I've since been told that if I had used a spacer in the section I had just cut, the saw would have finished the job. Not to be deterred, I grabbed my jigsaw to finish the board. Voila! Success!
I continued splitting the boards in 1/2 switching between the two saws until all the boards were done. Were they nice and straight? Nope. Part of the reason is that I found myself zoning out a bit and veering off the line... (I know, zoning out while using power tools is not smart)...knowing that I would be straightening them on the table saw, I wasn't worried. I didn't take pictures of this part of the project. After all the boards were cut, I laid them on the garage floor, measured out the width of the fence, and figured out the spacing.
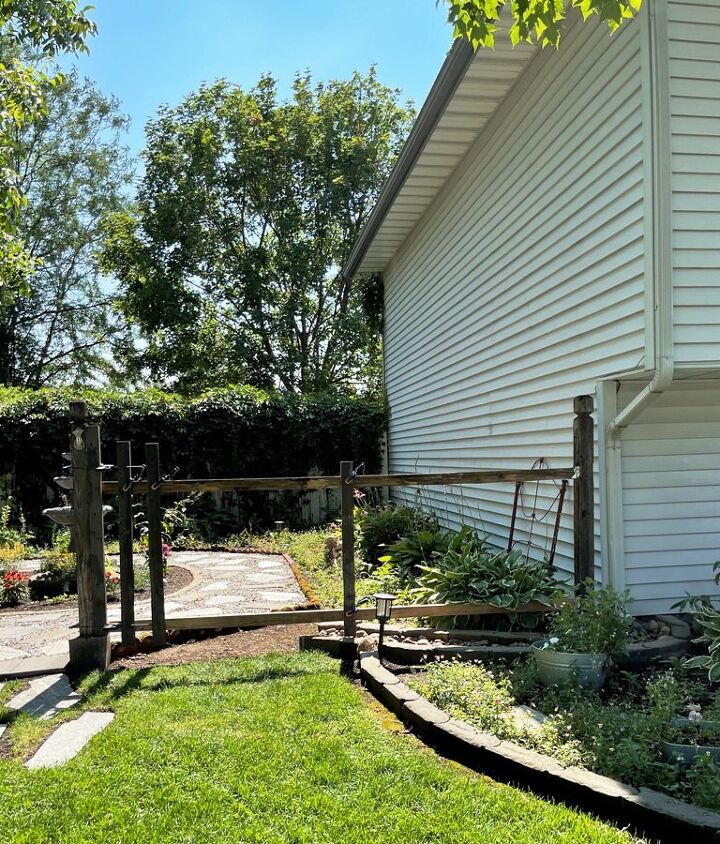
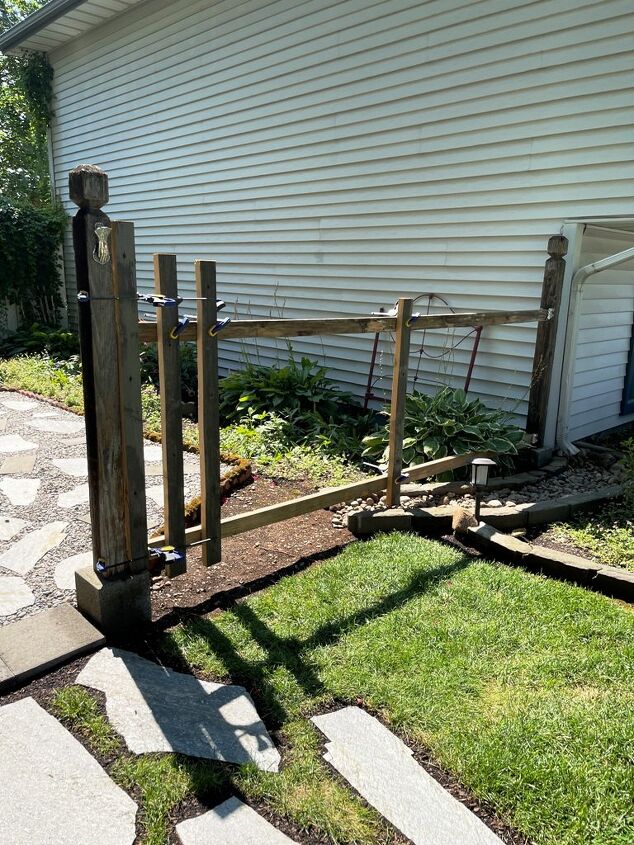
I installed holders to the posts for the crossbars then clamped some of the pickets to them to get a visual of how the spacing would look.
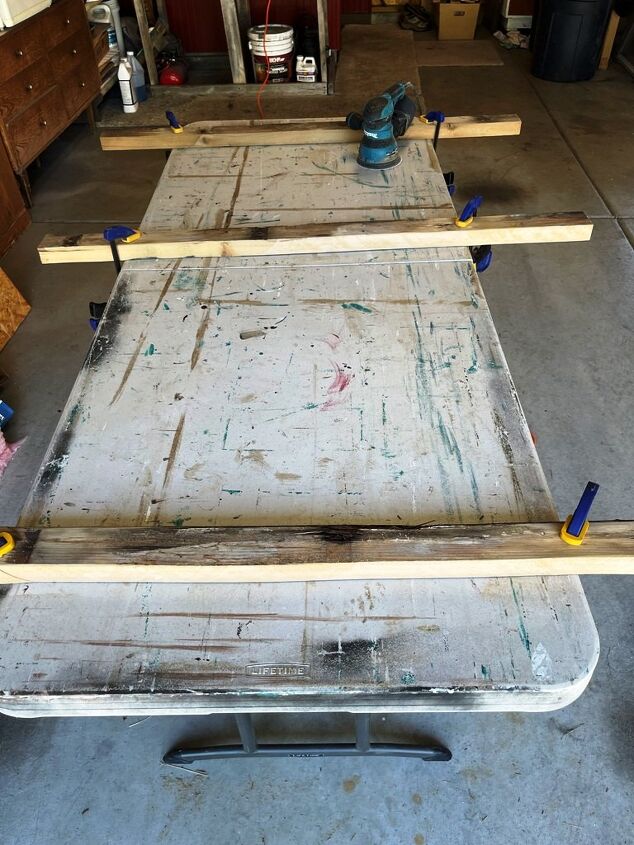
When my contractor was able to come over to show me how to safely use the table saw, he said that if I was going for the rustic look, he thought the pickets/crossbars would look good as is. I had to agree. He did give me lessons with the saw but I decided to just sand the raw edges and leave the pickets/crossbars 'rustic'. Using my orbital sander with 120 grit sandpaper, I smoothed the rough edges then started applying Minwax Barnwood stain. I liked the look of the stain but started to run out. Instead of going back to the hardware store, I mixed in some Varathane weathered grey. That was a mistake!
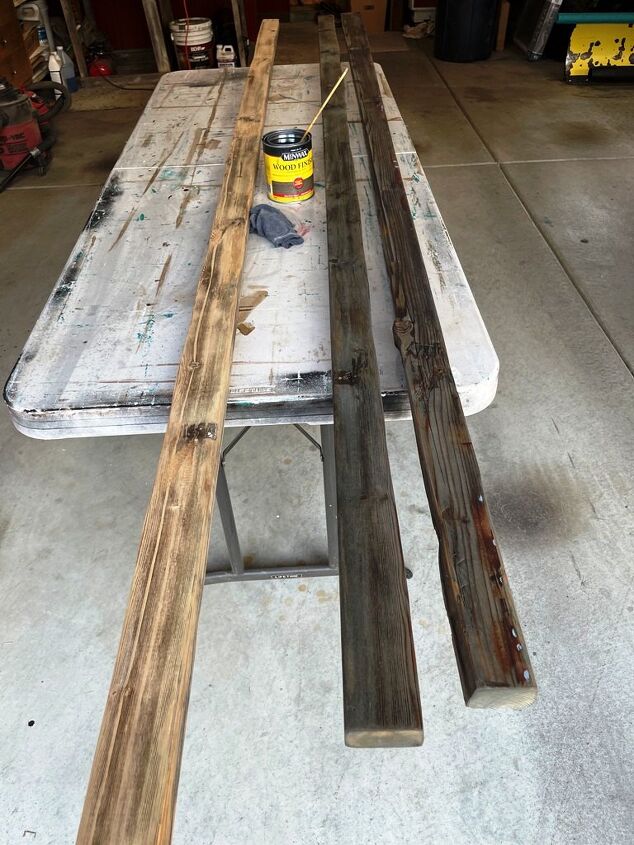
The color was now like grey paint! I then added in some Minwax Provincial (dark brown) and Minwax Ebony. I then thinned the mixture with mineral spirits. I was back to a similar color! Well, I ran out of that stain too so NOW I needed to go to the store! The next day when I was running errands, I stopped in Home Depot and the only color they had similar to the blended stain I had made was Carbon Grey. Fingers were crossed that it matched. To my delight, the new stain matched perfectly with the stain I had blended! Of course, that meant that I had to restain the first boards but that was ok. It's not the color I had originally anticipated, but we love it!
When the stain dried, it was time to build the picket fence! I was so excited and a tad nervous! The first boards I attached were the crossbars. I used metal brackets to hold them in place. I placed the first bracket about 15" from the top of one of the posts and attached it to the post with screws.
I then placed one end of the crossbar in the bracket, placed a level on the board and marked where the 2nd bracket needed to go then secured it with screws. I also used screws to hold the crossbar into the brackets. I followed this same process with the lower crossbars, placing the brackets right above the concrete blocks.

With the crossbars attached, it was time to install the pickets. To help with the spacing, I cut 2 blocks of wood; one was 4" for the spacing between the pickets and the other was 3 1/2" for the spacing from the bottom crossbar to the bottom of the pickets.
I used 2 1/2” screws and my drill to install the pickets. This step of the process was so much easier than I thought it would be! No one was more surprised than I was that when I installed the last picket and it was spaced perfectly!
Since I had installed the cross beams before I found the new stain, I restained those and did touchups on the pickets after all the pickets were installed.
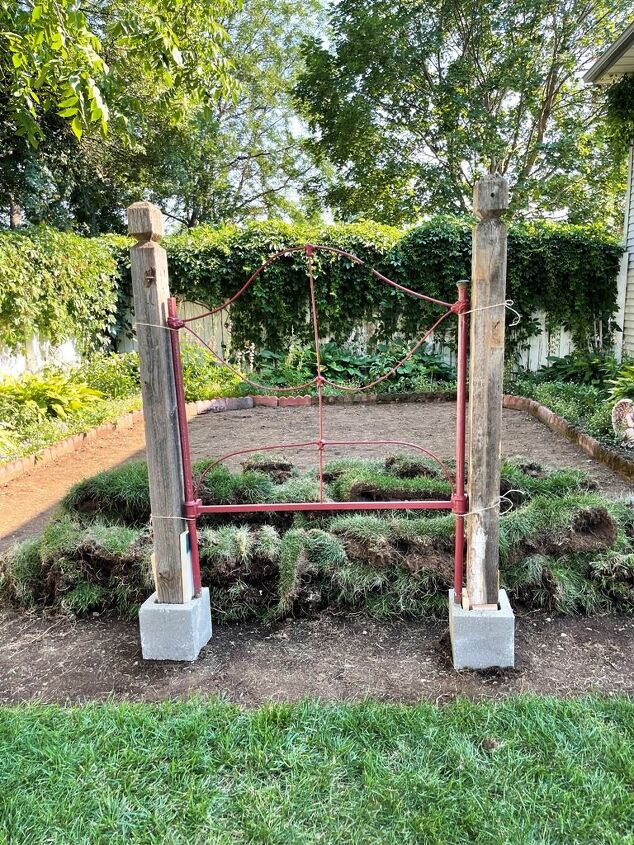
For the gate, I used an antique iron headboard. I've had this headboard for many years, my now-grown daughter slept in the twin bed that it was attached to.

Over the years, a couple of the iron bars on the headboard broke so we had those welded before using it as a gate.
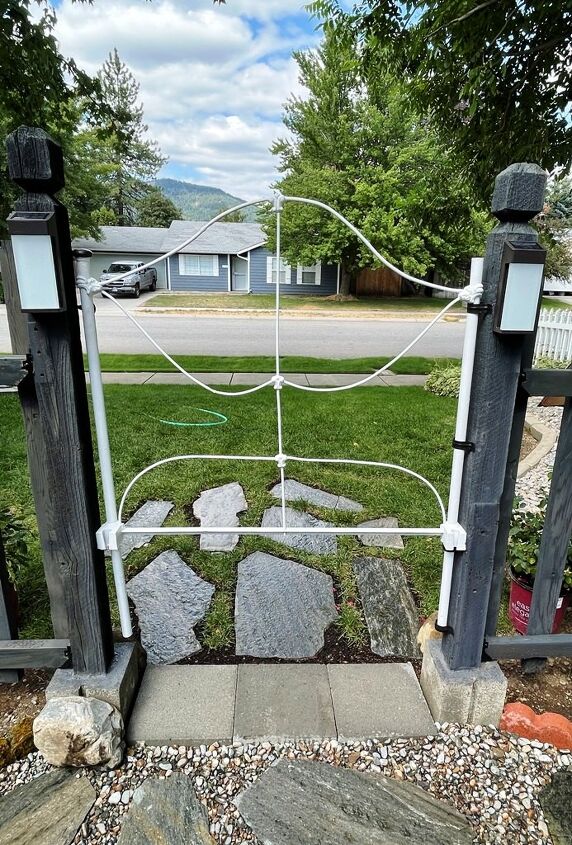
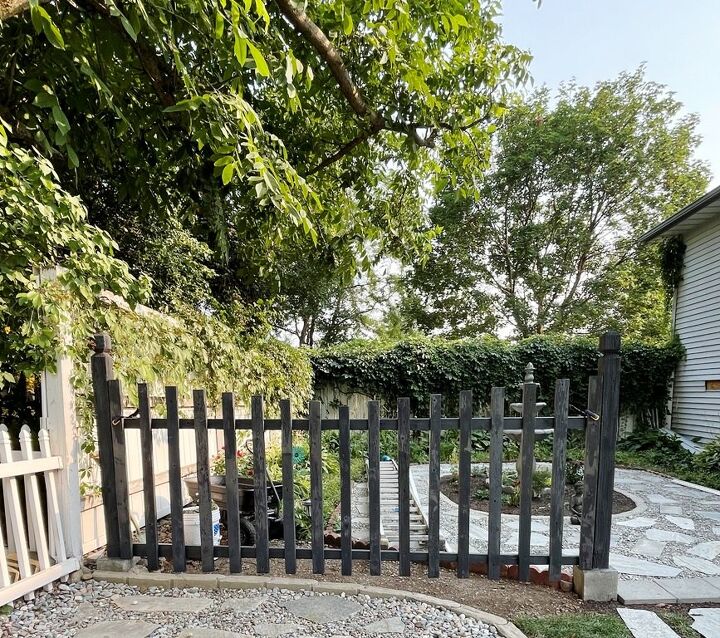
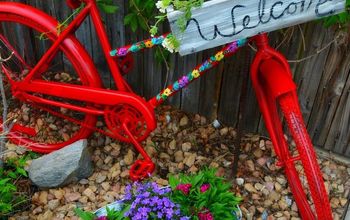
Before installing the gate, I spray-painted it white. When it was red, it was hard to see, but now that it’s white, it just pops! My contractor and I installed the gate using U brackets which I had painted black. After the gate was installed, I added solar lights to the inside of the posts. These came in a set of 4 that we bought a couple of years ago. They help light the garden at night.
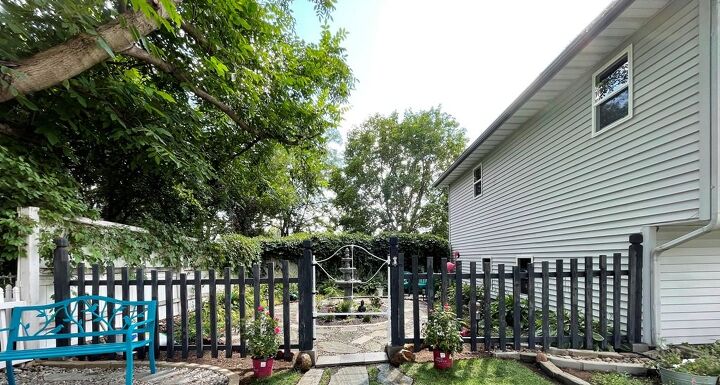
We are in love with this new space! Finishing touches are next. I will be adding more plants, doing a little painting, creating a seating area, and expanding the flagstone entry to the Secret Garden! I can't wait to reveal the completed project!Instructions *Mix cement with water, place between posts & block *Make sure post is straight and stabilize with boards while cement dries *With skill saw, cut crossbars & pickets to the length you need *Split crossbars & pickets in half using saw (table saw would work best) *Sand rough edges on all boards *Stain with color of your choice *Attach crossbars to posts using metal brackets *Attach pickets to crossbars with screws *Install gate using U shaped metal brackets *Hang solar lights
Resources for this project:
See all materials


Any price and availability information displayed on [relevant Amazon Site(s), as applicable] at the time of purchase will apply to the purchase of this product.
Hometalk may collect a small share of sales from the links on this page.More info
Want more details about this and other DIY projects? Check out my blog post!
Comments
Join the conversation
4 of 46 comments
-
Wow, look great, clever .
-
Absolutely phenomenal job!! The old iron bed frame was absolutely the right thing for your gate! You should be proud of yourself~congrats!!!!!


Frequently asked questions
Have a question about this project?
You did an absolutely amazing job, good for you! Can you come and do mine? Lol
I want to see what it looks like now!!!
The fence looks great. Do the concrete blocks add enough stability so it can't be pushed over?