


DIY Return Air Vent Grille

by
DeeDee
10 Materials
$15
2 Hours
Medium
A decorative return air vent grille, why not? Do you ever start a small task and it turns into a really large makeover job? Oh, just me, ok!? lol! I decided to clean our return air vents and then this happened! I gave the entire hallway a fresh coat of paint and then we made this vent grille to doll it up a bit.
I've had this idea pinned for ever, but now its finally come to our hallway in real life!
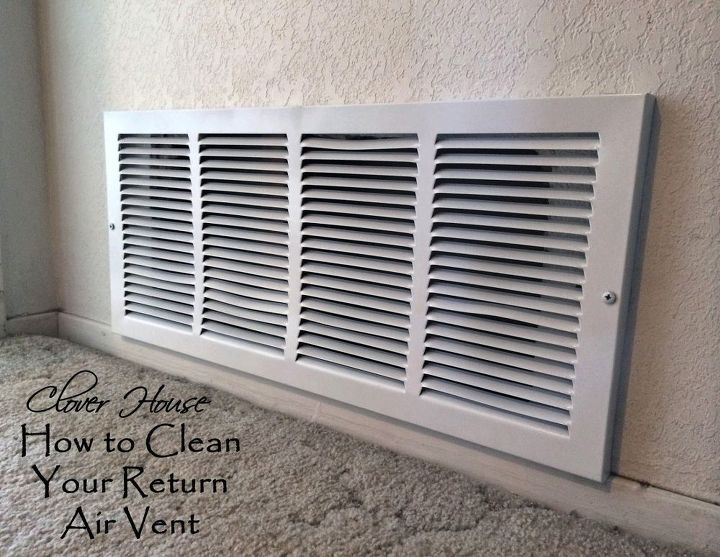
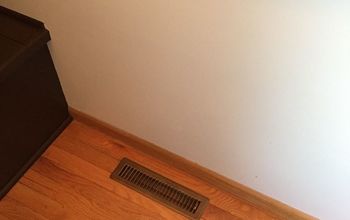
Remember here when I showed you How to Clean Your Return Air Vent? If you haven't read that post, hop on over and see what could be lurking in your wall! Anywho, this is what our vent used to look like, now let's get on to the new vent grille.
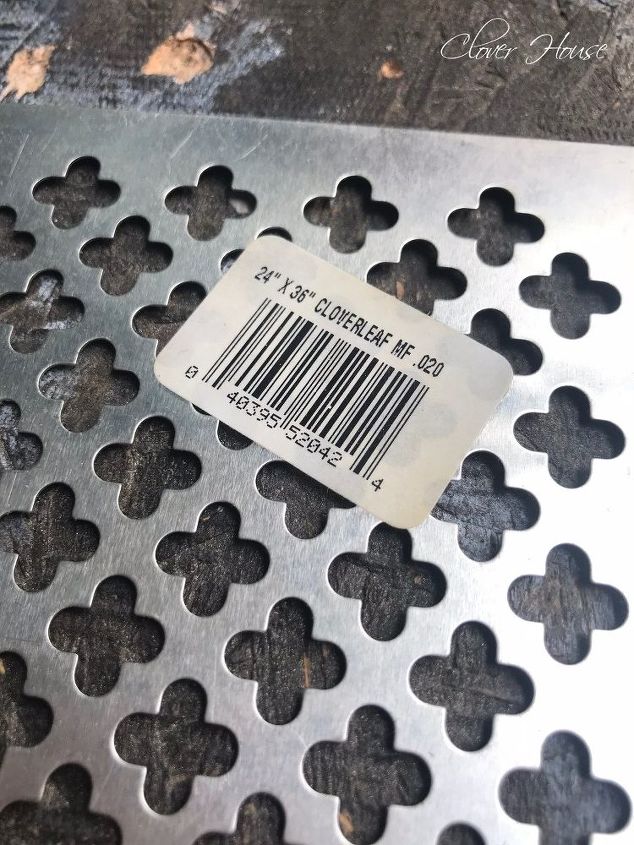
This is the decorative aluminum sheet we picked out. When I saw the name of the design I got all excited because ya know...Clover House...cloverleaf...yeah, imma a weirdo! On our blog there's a link to it at Lowe's, but as I was doing my research I found it on Amazon for a cheaper price with FREE shipping! Darn my luck sometimes, oh well! This 2ft x 3ft sheet will make three (3) vent grilles which is what we have all in total! Perfect!
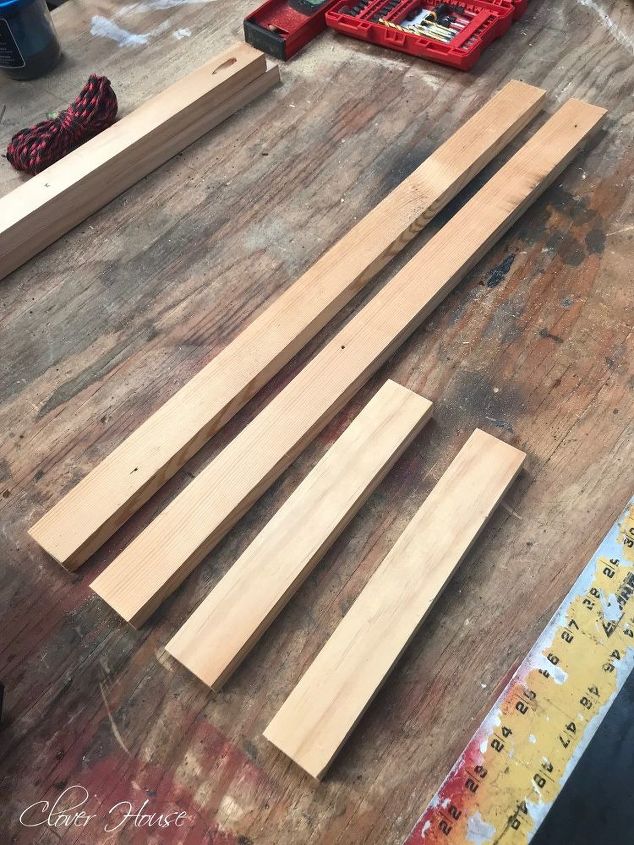
Let's make the frame now. The overall size of our DIY grille is 12-1/2" x 24". We used some 1 x 6 scrap wood that was cut down to a width of 1-1/2" wide pieces. Cut 2 @ 24" long and 2 @ 9-3/8" long.
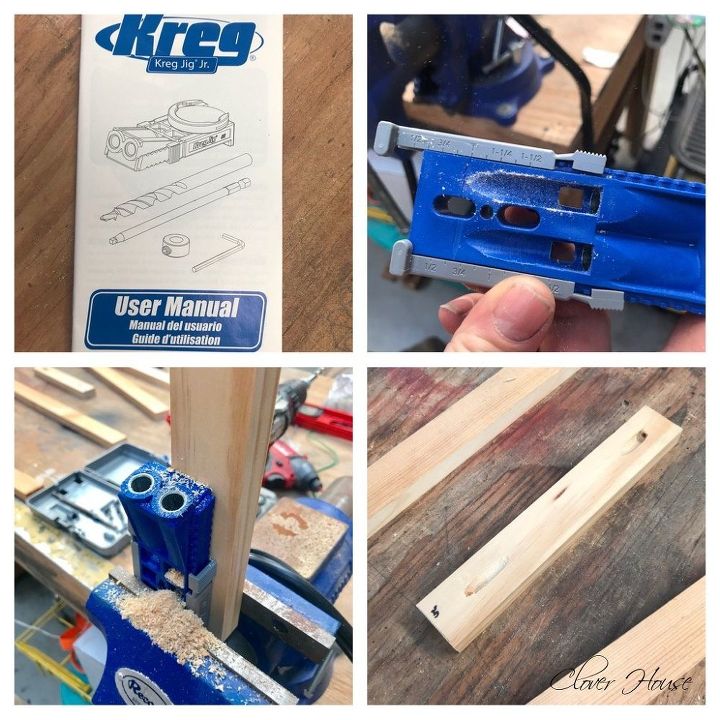
We used our Kreg Jig Jr. to make the screw holes, these are called pocket holes. This is not required, but it makes the grille lay flat to the wall this way. The manual that comes with it gives specific instructions on how to use it. Its a very handy tool to have.
You'll need some wood glue and the Gorilla wood glue in my opinion, is the best and its a vital tool when wood working. Getcha some!
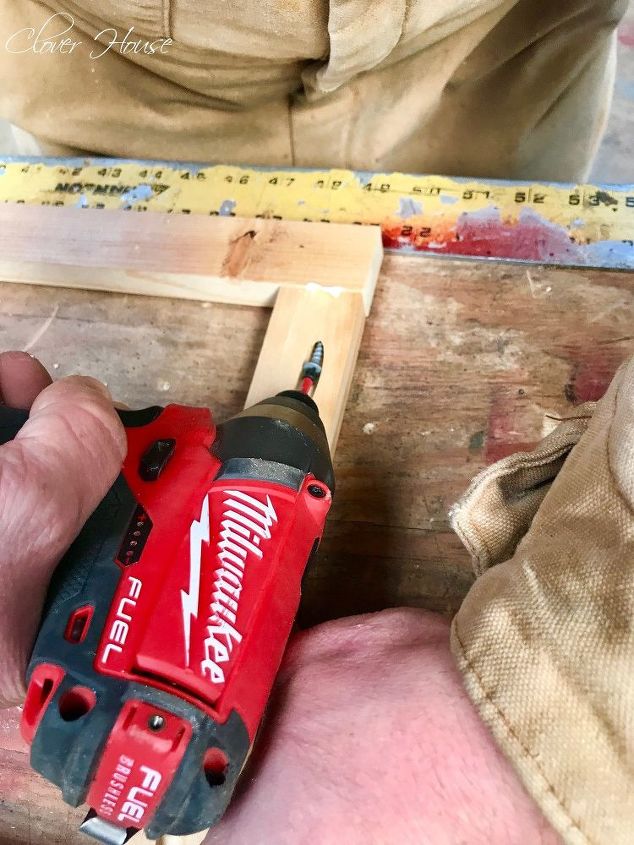
Add a small amount of wood glue to the joints before screwing them together. Be sure to wipe excess glue off before it dries. We used a 1-1/2" long wood screw to hold each joint together.
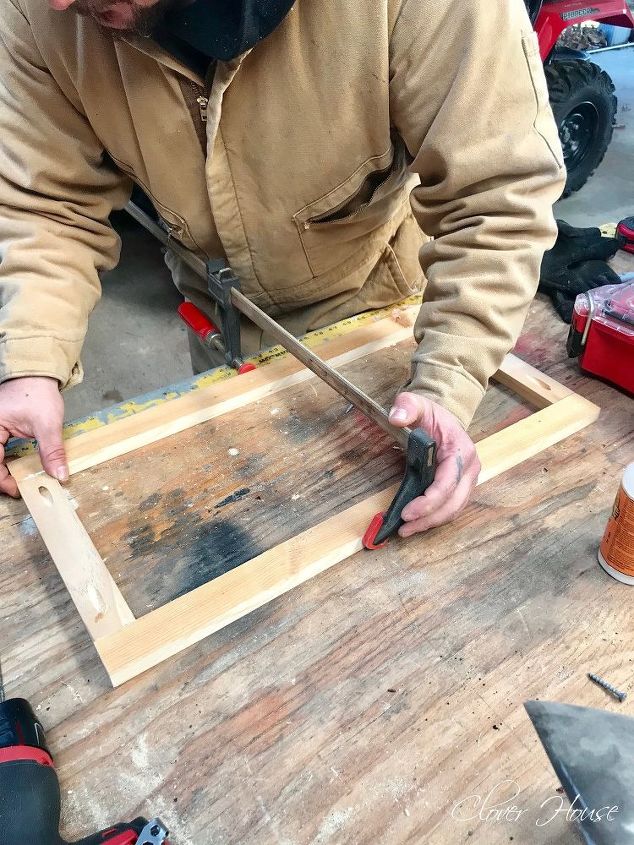
My honey used an adjustable woodworking clamp to hold the frame together so it would stay straight while he got all the screws into the joints.
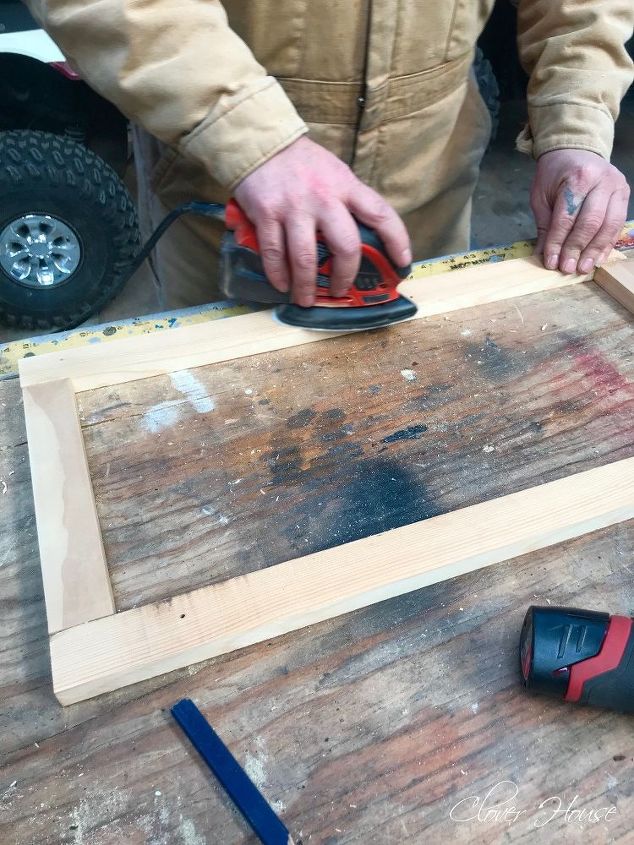
Next he smoothed out all the rough spots with our Black and Decker Mouse Sander, another handy tool for woodworking! And a step I failed to document is that I filled in all the cracks and holes with DAP DryDex Spackling and nail hole filler. This stuff goes on pink and dries white so you know when its ready for paint...so cool!
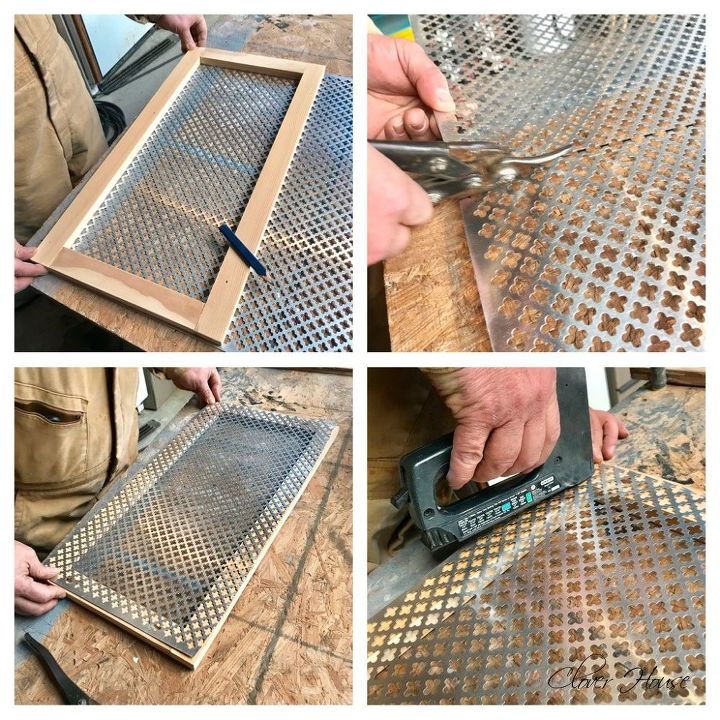
Next you'll need a pair of metal nippers. Ours are old and plain, but they got the job done. We used these to cut the aluminum sheet to size.
Lay your finished frame on the metal to get a measurement.
Mark a line using a black sharpie.
Cut along your line using the metal nippers.
Lay the cut piece on the frame and trim as needed.
Grab your staple gun and attach the metal to the frame.
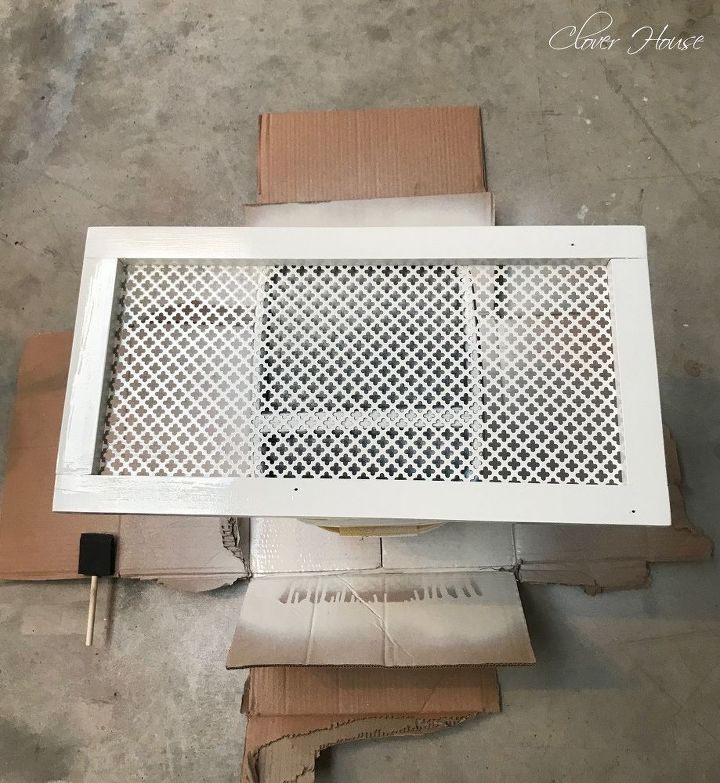
Now its all ready for paint. I used a glossy white spray paint. I applied three thin and even coats making sure to let them dry at least 30 minutes in between coats.
I ended up propping the whole thing up on top of an empty cat litter box so I could get to all the sides and edges. After my third coat of paint, I let it dry over night to make sure it was good and cured before we handled it.
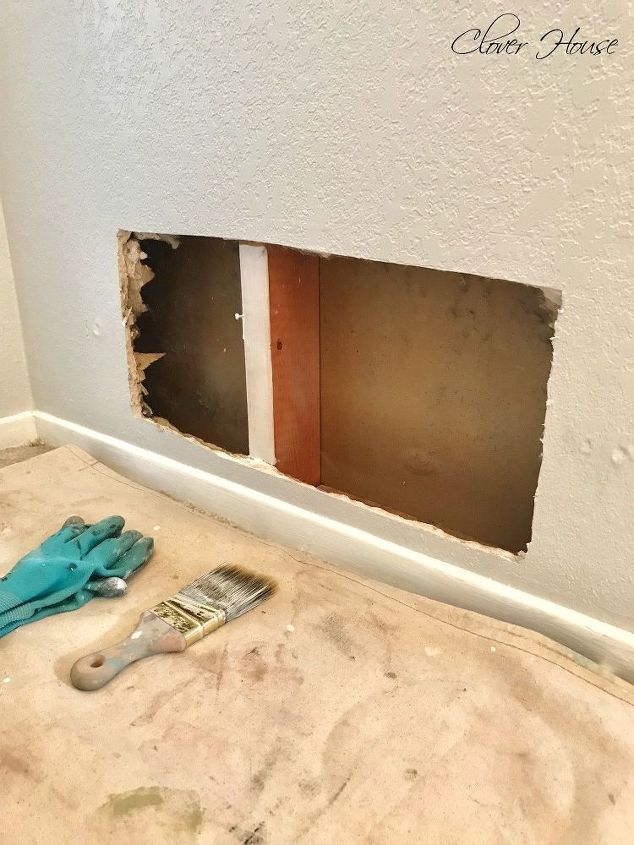
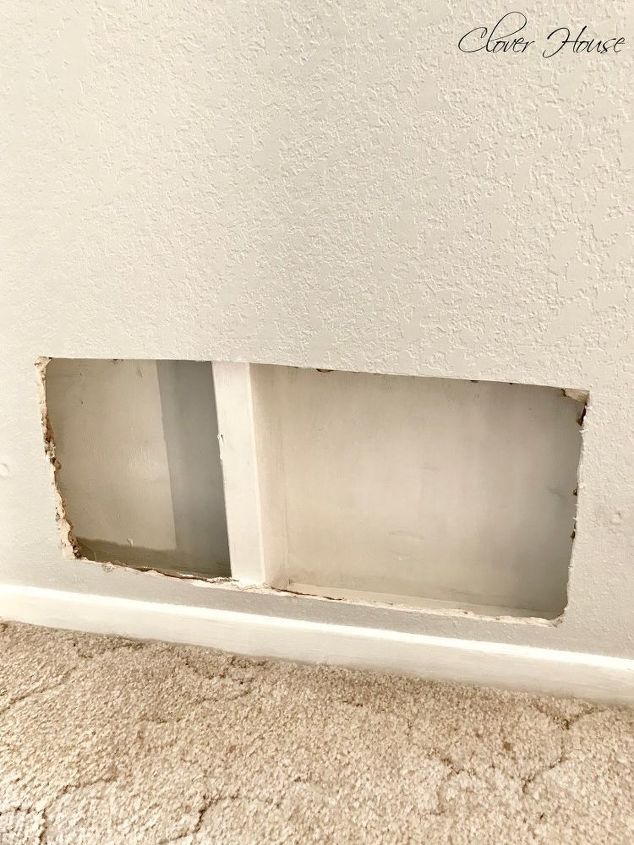
After I removed the original vent grate from the wall, this is what we were left with. Please see my post about cleaning the vent area in the link up above. You want to make sure the entire area is clean before proceeding.
Please see my post about cleaning the vent area in the link up above. You want to make sure the entire area is clean before proceeding.
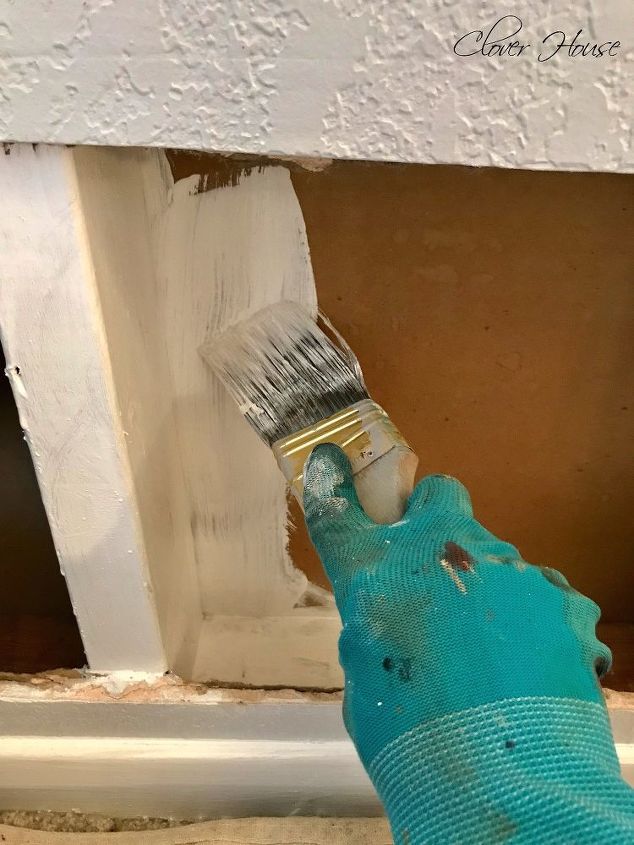
The darkness of the old original sheet rock paper was really showing through our new vent grille. I didn't care for it much, so I used some of my white trim paint (glossy) to paint all the visible areas of the vent opening. I thought this type of paint would be easier to clean in the future.
Now its a little less "glowing" and I think it blends in better.
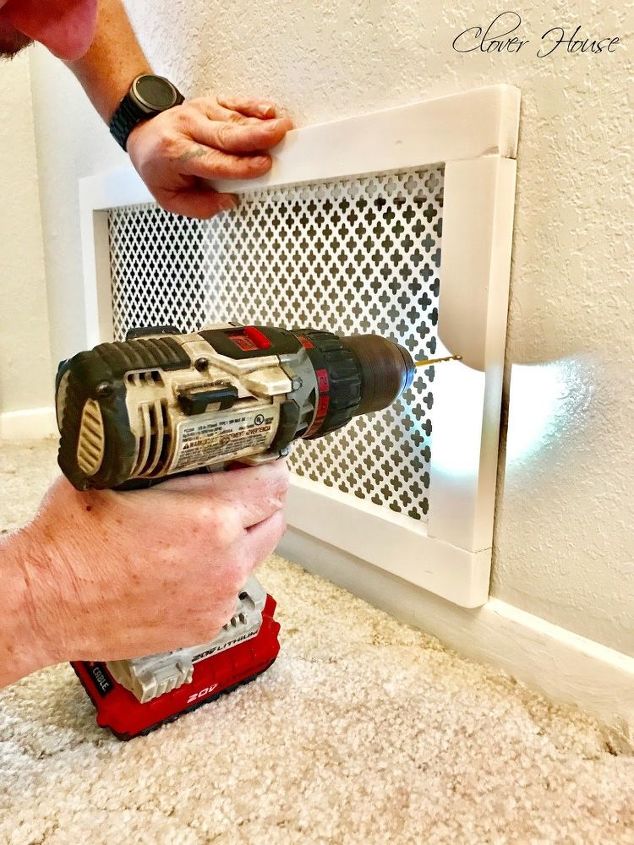
Now for installing the new vent grille. My honey held the cover up to the opening to align it were it needed to sit.
Next, using his drill and a small drill bit, he made a pilot whole on either side of the vent grille. He drilled all the way through to the wall so he had a marked spot to add the wall anchor.
We added the plastic wall anchor because there was not a stud to hold the screw good and sturdy.
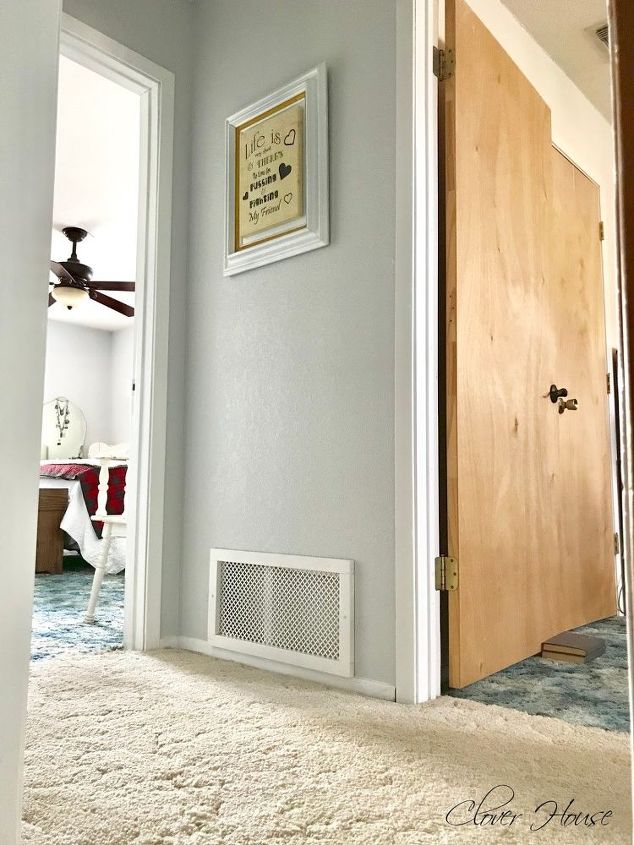
After a bit of touching up of the paint here and there as well as dabbing some white paint on the screw heads, it was all finished. There it is, nice and pretty and showing off its lovely little clover grille! I think it turned out great!
I spy two doors that still need to be painted, but let's be honest, the whole room needs paint!! The other two vents to replace are in the room with the non-painted doors and the other one is in our room to the left. All in good time though. *wink*
There are more pictures and details on the blog if you'd like to see them.
Thanks for looking! 
Want more details about this and other DIY projects? Check out my blog post!


Frequently asked questions
Have a question about this project?