


Reduce Your Electric Bill and Warm Your Home for Less Than $2
2 Materials
$2.00
5 Minutes
Easy
With the freezing temps sweeping across the country, it's even cold in Texas (we were at 19 degrees this morning in the Austin area!). Last year, when the cooler temperatures came in I noticed a lot of drafts coming in around the windows. After dealing with freezing floors I decided to do something about it. I headed to the hardware store to pick up weatherstrip and caulk and while there I stumbled across outlet seals.
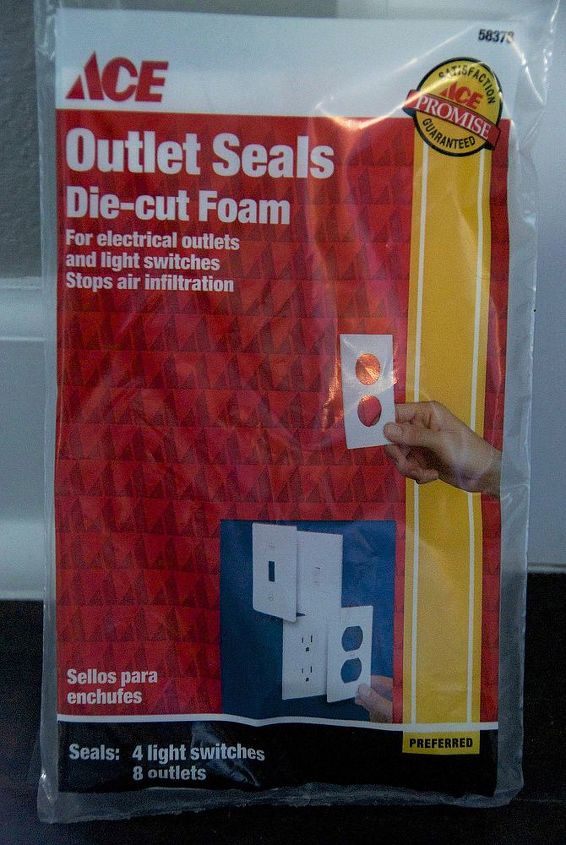
Intrigued, I grabbed them off the shelf and started reading the package. Apparently, these seals are placed around the outlet and stop the outside air from coming in (as shown on the front of the package). A worker saw me reading the package and chimed in telling me these were an absolute must. They were “magic” and would completely change the temperature of my house. After that glowing review how could I not try them? I grabbed a couple of packs and decided what the heck – I’ll give them a try. When I got home I got to work taking off the outlet plates so I could give the seals a try.
To say I was impressed is an understatement! The freezing floors were now room temperature and the air I could easily feel blowing in through the outlets was gone completely. The best part? A package of 12 only cost $1.95. And since you only place them on outside walls, all I needed was 12! Even better, it took about 5 minutes to install them. The following month I was shocked to see my electric bill had dropped by about 10% - and that was with turning the heat on! So do yourself a favor and give them a try. I know all of you up north can use any help you can get keeping your home warm!
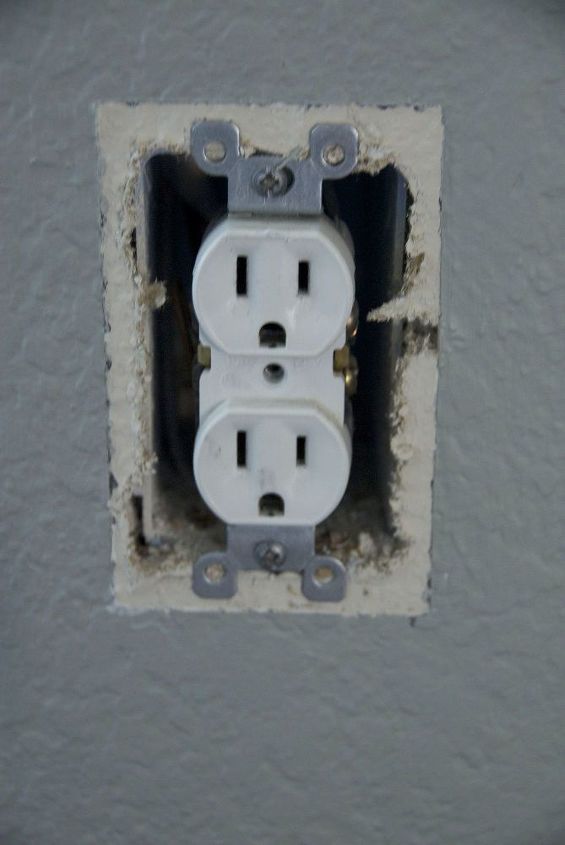
Remove the plate from the outlet. Turn the electricity off first - unless you like to get shocked :-)
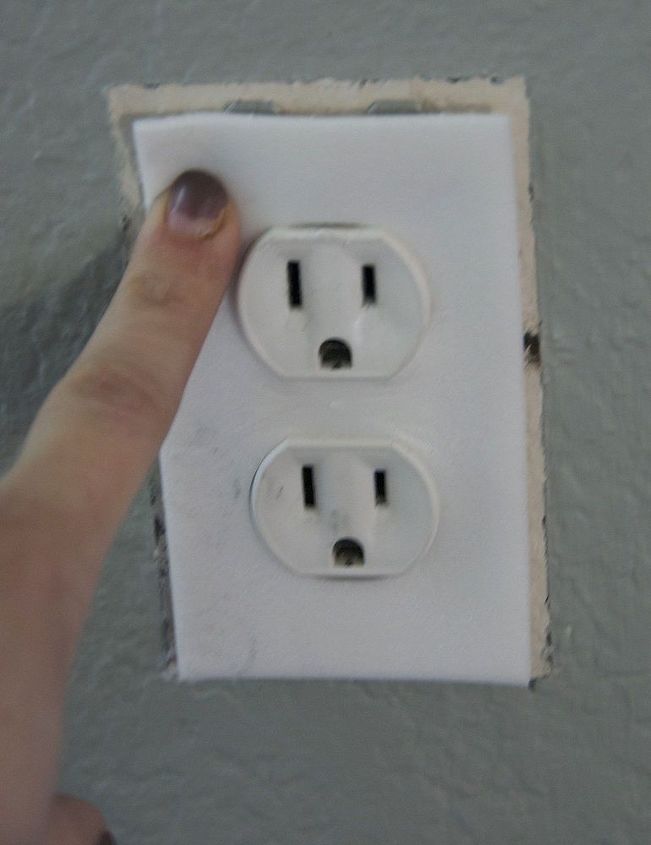
Place the cover around the plugs.

Put the plate back on. For extra insulation, you can add safety plugs. I like the ones above because they are easy to remove.
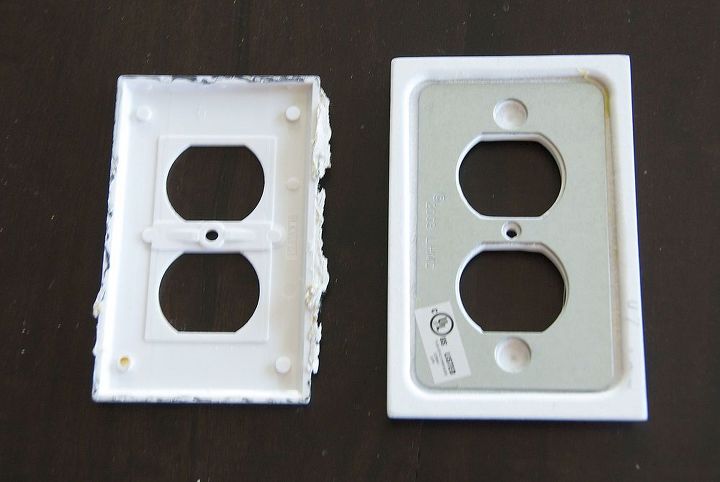
If you want the most insulation, consider buying new plates. The plate on the left is the builder plate. The plate on the right are the new ones I'm using. They are wider and have a metal layer that offers extra insulation.

Want more details about this and other DIY projects? Check out my blog post!
Comments
Join the conversation
2 of 198 comments
-
Another trick. Is buy Medium bubble wrap and put them on your windows bubble side out. All you have to do is spray with water and put them on. You still get sunlight. Its saved me already. uboxes sells rolls of 100ft x 25 in for 32.70 that includes shipping. Every bit helps. I'm going to buy this
-
I kept the few outlet covers that slide (for babyproofing) and they sealed the holes...no pieces to detach...They were similar to these, but a different brand. http://www.toysrus.com/buy/health-safety/babies-r-us-universal-outlet-covers-2-pack-1926057h12-12066902


Frequently asked questions
Have a question about this project?