


Yes! You Can Instal a New Water Heater!

by
Lydia S.
4 Materials
$344
2 Hours
Easy
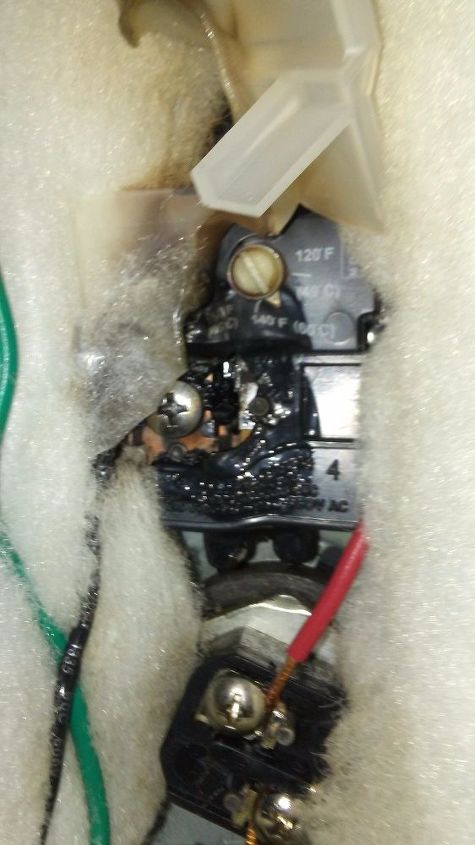
Last week we got up for work and there was no hot water coming from the shower. When we checked the water heater, we realized that the lower thermostat was basically melted. Luckily, this had tripped the breaker and no damage was done outside of the water heater itself. I was told that I could repair it but my husband and I, both having experienced house fires in the past, opted for a new water heater.
Here are the steps to safely remove and replace an electric water heater.
Step 1 - TURN OFF THE POWER TO THE WATER HEATER AT THE BREAKER BOX. This is the first and most important step in any job where you are dealing with electricity.
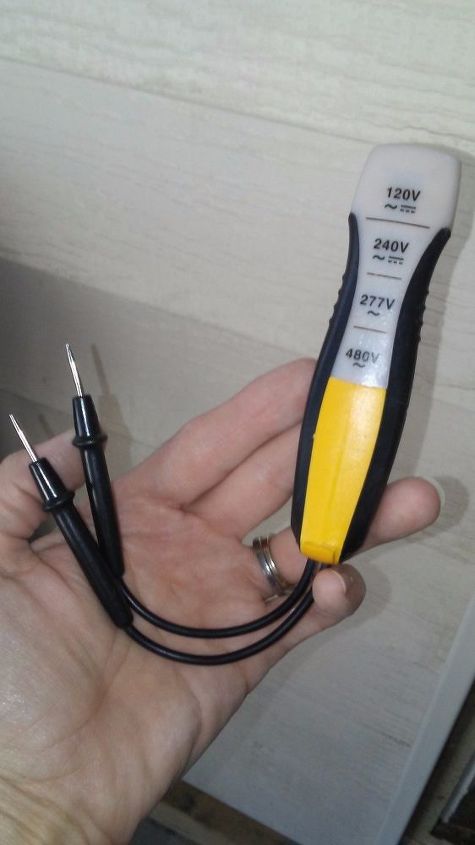
Step 2 - Use a circuit tester to make sure you have no power going to the water heater.
Step 3 - Run a hot water faucet until it stops producing hot water. This is for safety when draining the tank.
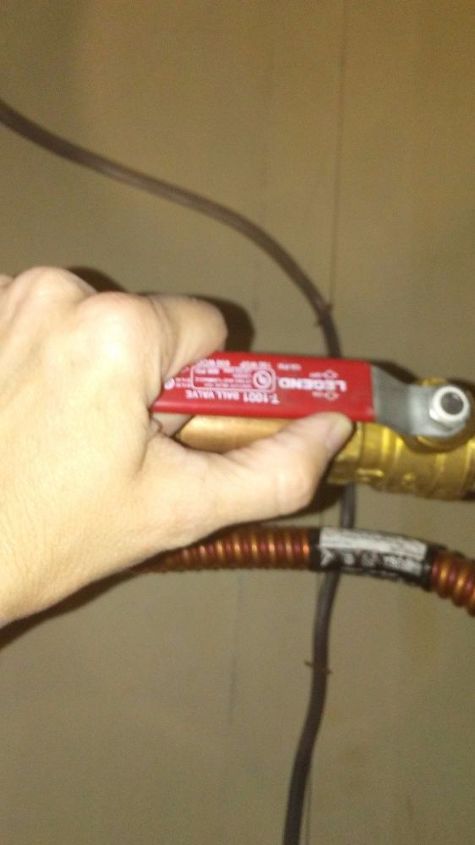
Step 4 - Turn off the water supply to the water heater.
Step 5 - Attach a garden hose to the drain faucet on the water heater. Make sure you have the other end in a place that won't cause any water damage, like a drain or out into your yard or driveway. Open the drain faucet to drain the tank. I had read that leaving a hot water faucet open inside can make it go faster. That didn't work for me, so I opened the pressure relief valve and that did the trick.

Step 6 - It is now ok to start unhooking the plumbing from the water heater. Detach the hot and cold water connections and the pressure relief valve pipe. Only simple tools are needed. I used a crescent wrench, needle nose pliers and a philips screwdriver for this project.
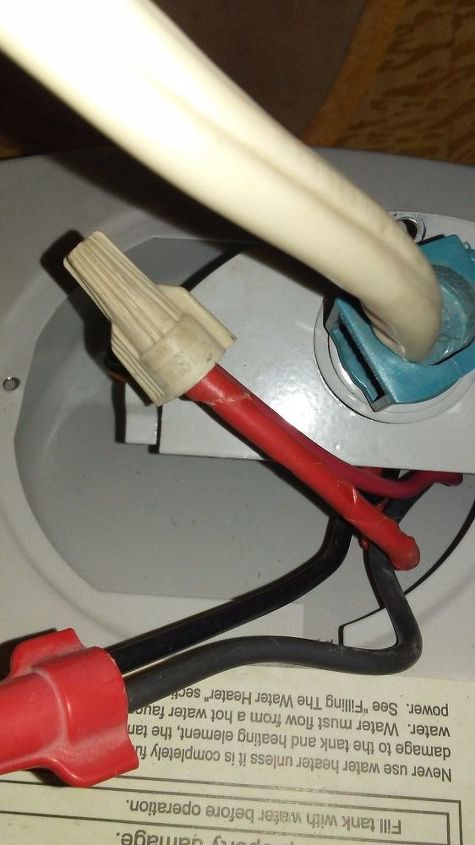
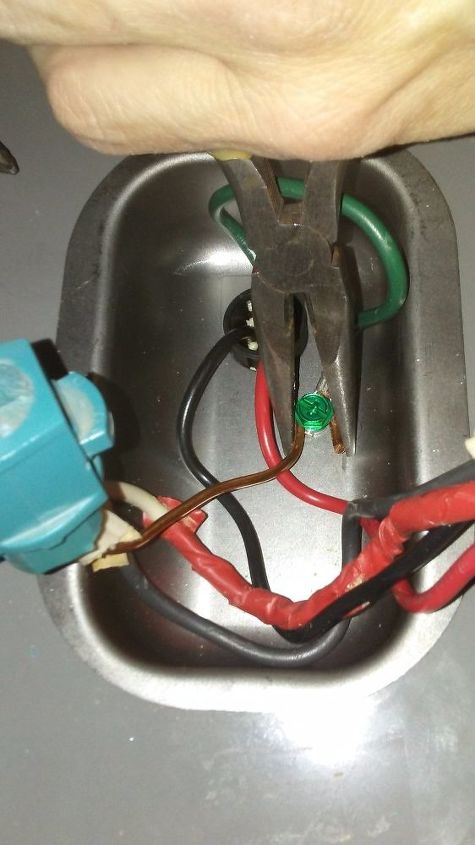
Step 7 - Disconnect the electrical. Do yourself a favor and take a photo of the wiring before you start. It's pretty basic, four wires and a ground, but it is easy to get confused once you get it all apart. Also, if you need to you can us two different colors of tape or string to mark the wires so you know which ones go back together.
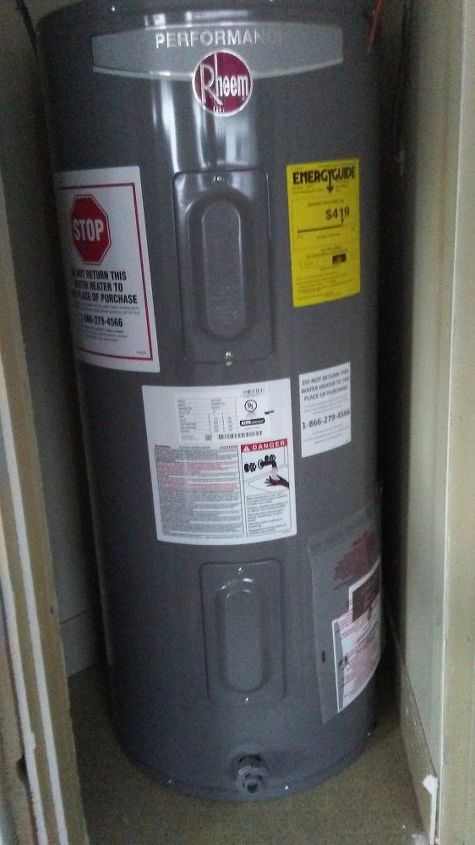
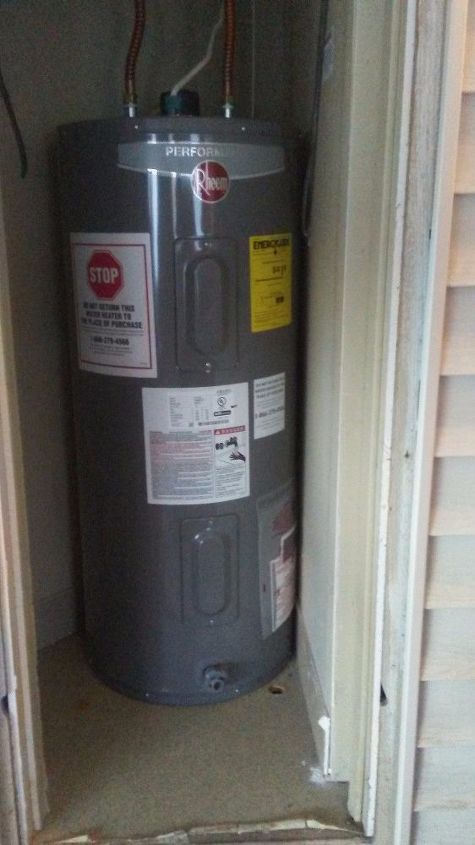
Ok, so now you should have an empty water tank that is empty and ready to come out. Even "empty", they will hold some residual water, so get some help moving it as it can still be heavy. Nobody wants a hurt back at the end of a job. Once the old one is out, it's time for the new one to come in.
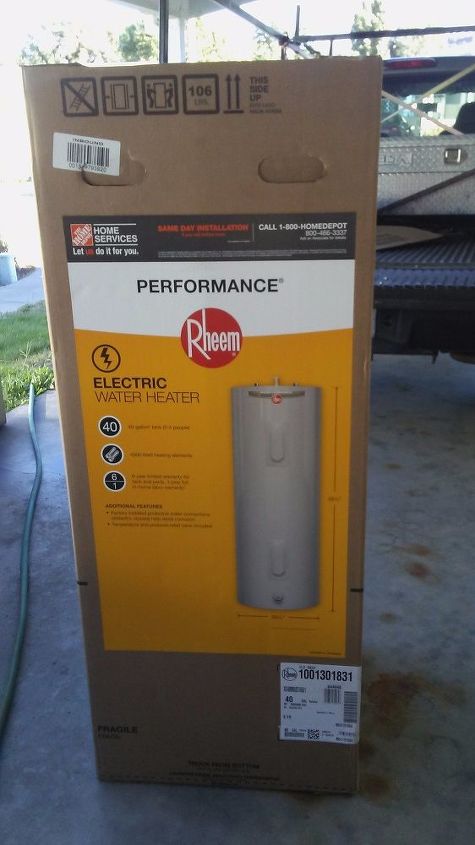
Make sure you read the manufactures instructions. Though all models are basically the same, they differ here and there by brand, so lean about your new model.
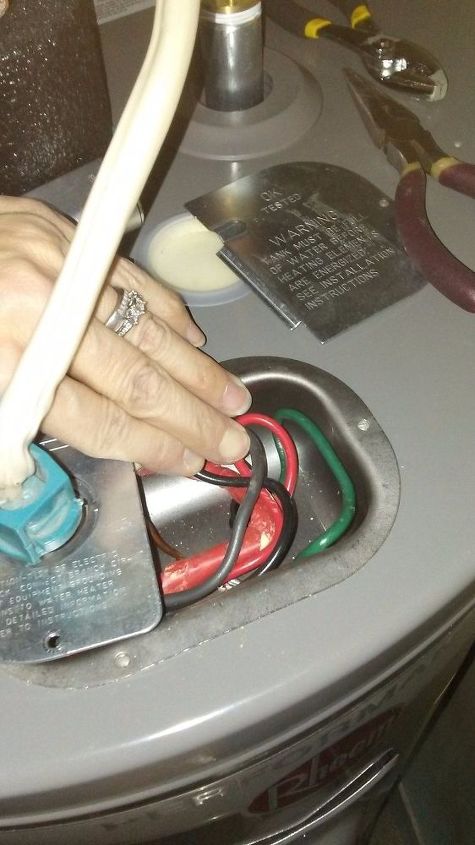
Step 8 - Reconnect to electrical. Once your new tank is in place, you can begin to reattach the electrical and plumbing, just redoing what you just undid. My "red" wire coming from the house was actually white, so the previous owners had covered a portion of it with red electrical tape, Pretty smart, eh? So for me it red wire to red wire and black wire to black wire, ground wire to ground wire.
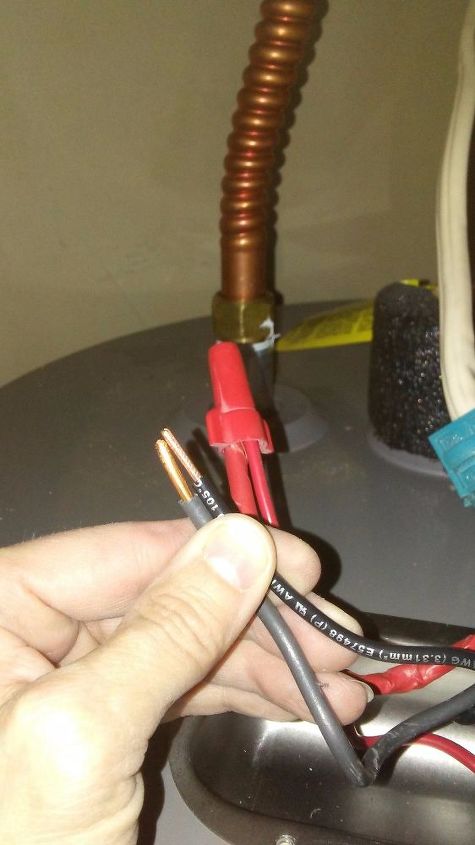
The ground on my old tank was simply a screw inside the wiring cavity. On this new model, it also had a wire attached to it. Just loosen the screw enough to get your ground wire hooked around it, no need to completely remove it. Make sure it is connected well, pinching it with pliers to prevent slipping, and then tighten the screw back down.
Gently press the wires back into the cavity and then reattach the cover.
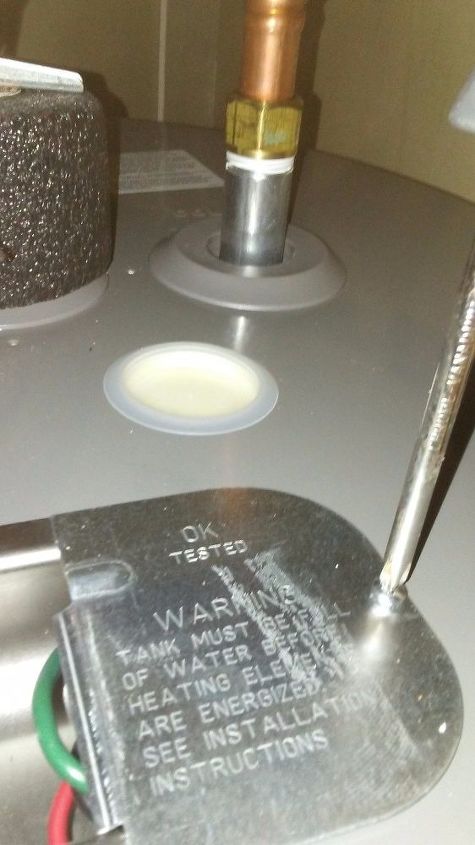
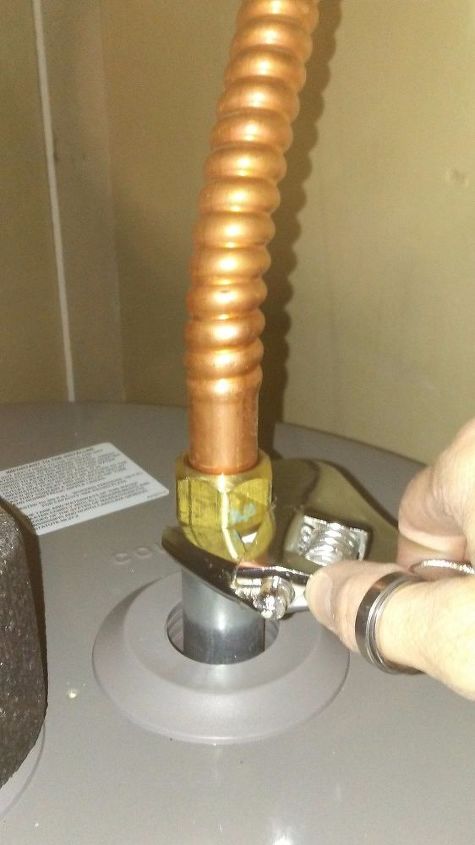
Step 9 - Reconnect the plumbing, making sure to use a bit of plumbers tape on the threads to prevent leaking, and tighten with a wrench. Also connect the drain pipe to the pressure relief valve. The valve automatically opens if the temperature or pressure becomes too high inside the tank. make sure the pipe is directed to a drain or a catch basin of some fashion. Once everything is reconnected, it's time to turn on the cold water supply and fill the tank.

Make sure you turn on one of the hot water faucets in your house. This will allow trapped air to escape your new tank while filling. Be sure to check all water connections for leaks or drips. If you see any, tighten your connections. DO NOT turn on the power until your tank is filled. Doing so can damage new tank. Follow the manufacturer's instructions for setting the water temperature.
Step 10 - Turn power back on at the breaker box. Your new water heater is installed and ready to go. If there is any reason that you do not feel comfortable doing this, consult a professional. But honestly, if you can use a screwdriver and a wrench, this is a project most anyone can do. Enjoy your hot water!


Frequently asked questions
Have a question about this project?