


How To Fill Hinge Holes
$3
45 Minutes
Easy
We usually make mistakes the first time that we are doing something new. The second time around, we find something that actually works. That is totally the case with this tutorial. The first time around we put putty in the hinge holes and realized that it didn't look finished. The next time we took off doors, we brainstormed and came up with something that DID work.

Step by step tutorial for filling hinge holes.
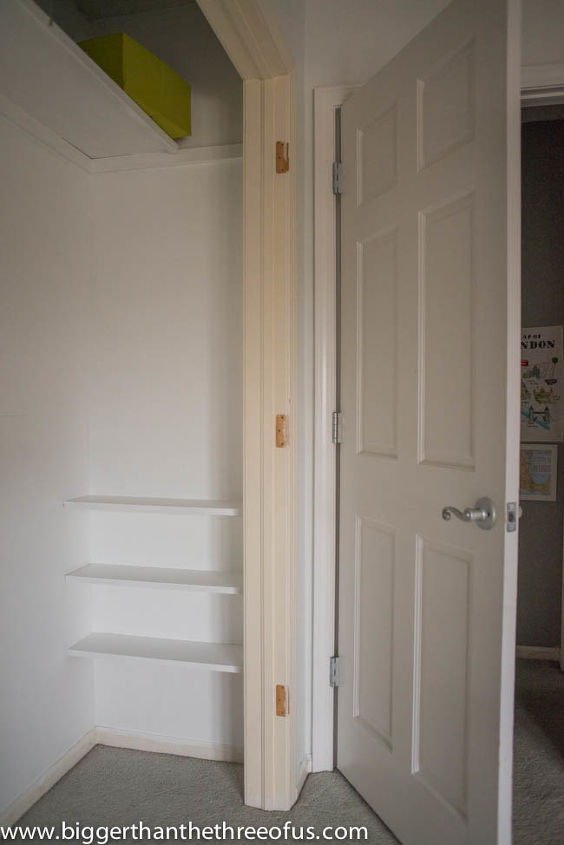
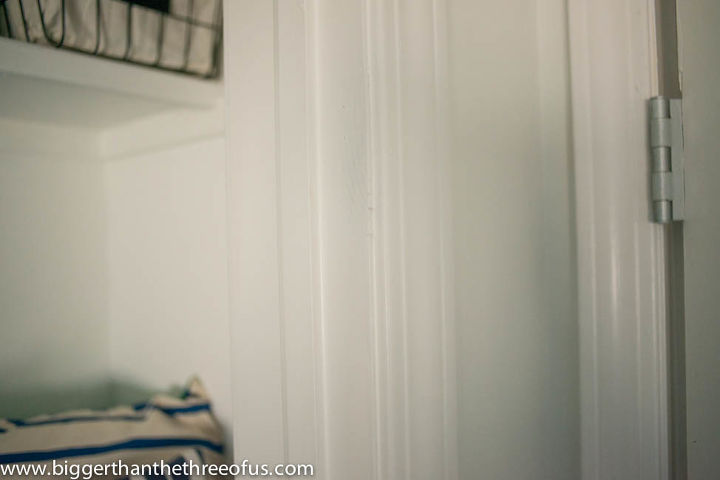
This shows you where the hinges used to be and what we are trying to fill.
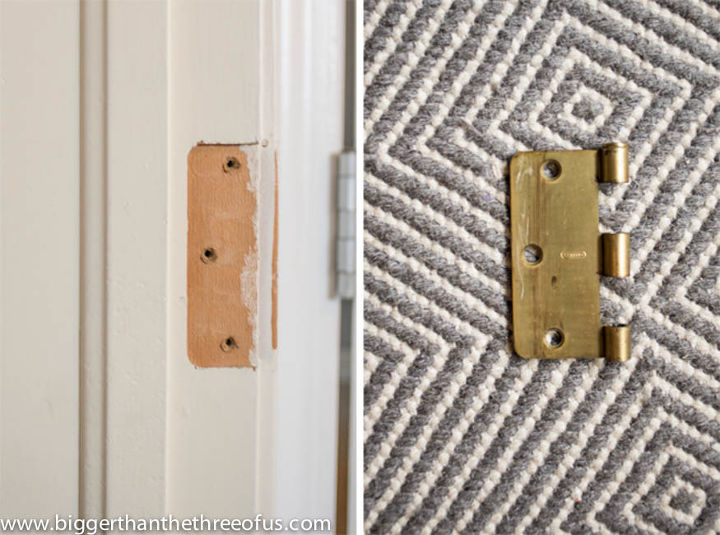
When you take off the hinge, make sure to keep it around because you will use it as a template.
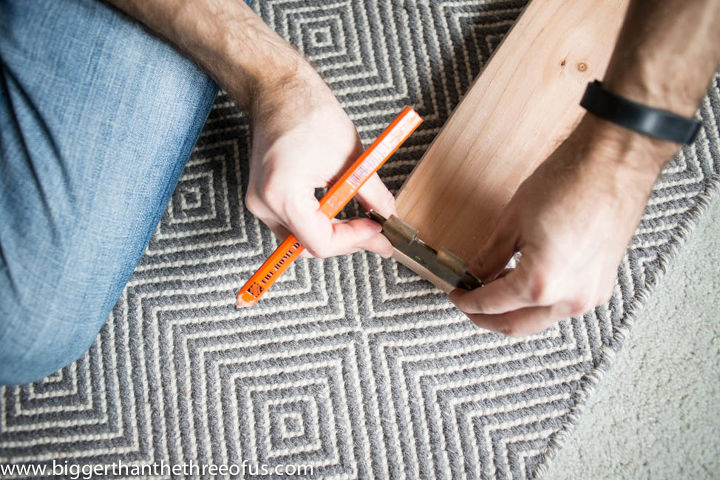
A 2x4 is almost the EXACT width of the hinges that we had. Using the hinge as a template, we marked the width on the 2x4.
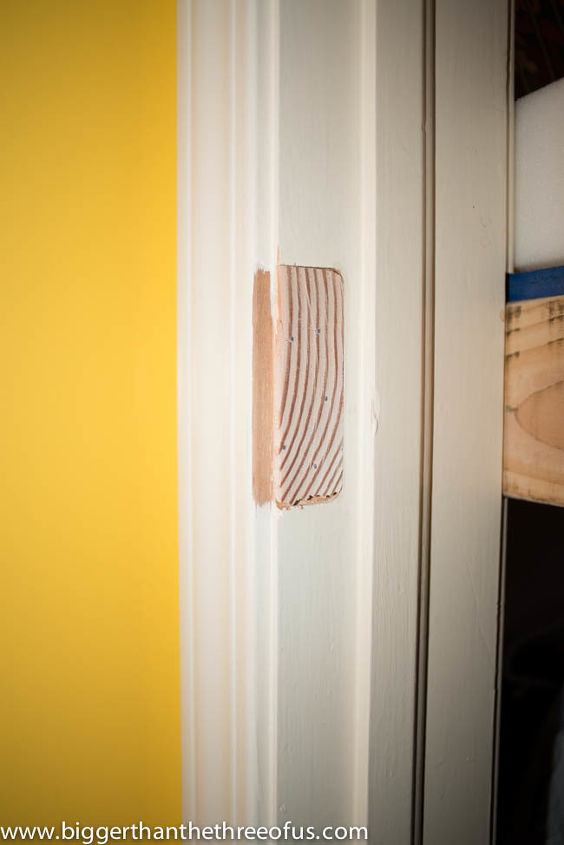
Using a miter saw, cut where you marked. Place it in the hinge hole spot and see if it fits. Ours fit the first time, so we used a nail gun and nailed it in. After nailing it in, sand the edges so it's smooth.
Caulk the seams so that it minimizes any slight gaps. Prime and paint after that. Enjoy!

Want more details about this and other DIY projects? Check out my blog post!
Comments
Join the conversation
3 of 7 comments
-
I only use Minwax Professional Wood Filler or similar. It's 2 part epoxy, but works much better. It's shapable, and sandable, and can be drilled and screwed. This post is a great idea, and would save on the Qty of the wood filler I use. As I said, it's good, but it is somewhat expensive.
-
I love this fix!


Frequently asked questions
Have a question about this project?