


Easy Repair on a Vintage Rocking Chair

by
DeeDee
3 Materials
$4
10 Minutes
Easy
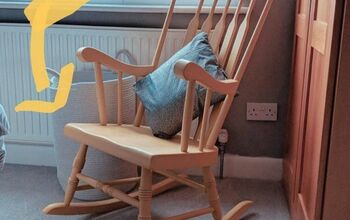
I've had this old chair for about three years now. I bought it at a yard sale for $5!!! Yes, that's right 5 doll hairs! I think the lady sold it so cheap because it needed to be repaired. I wasn't worried though, I knew I could fix her right up...just didn't get in any hurry to do so! Ha, ha!
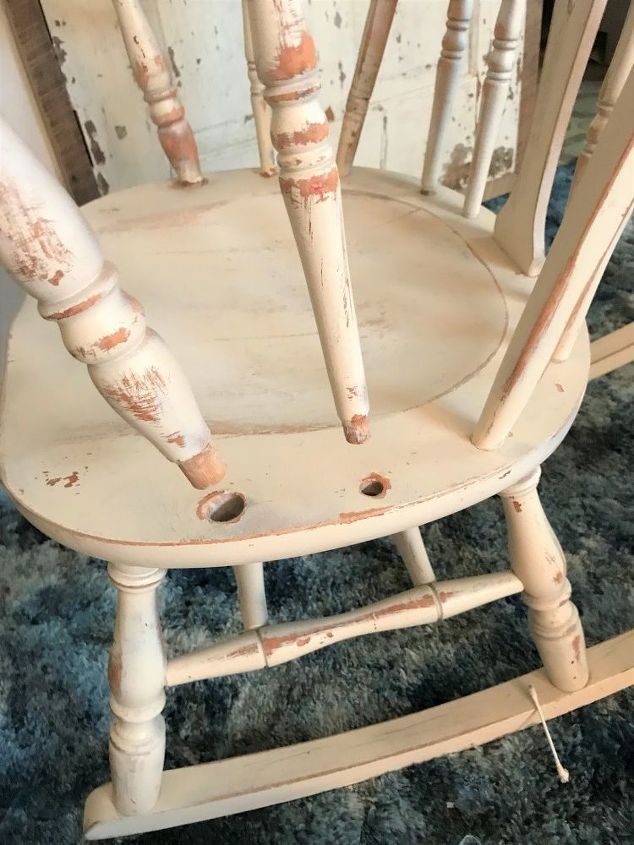
Someone had already refinished it to just the way I like it. Farmhouse fresh! It still needed a little sanding here and there, so I did that while I had it all apart for the repairs. I used a small piece of 220 grit sand paper I had in our stash to remove all the rough patches left by the paint.
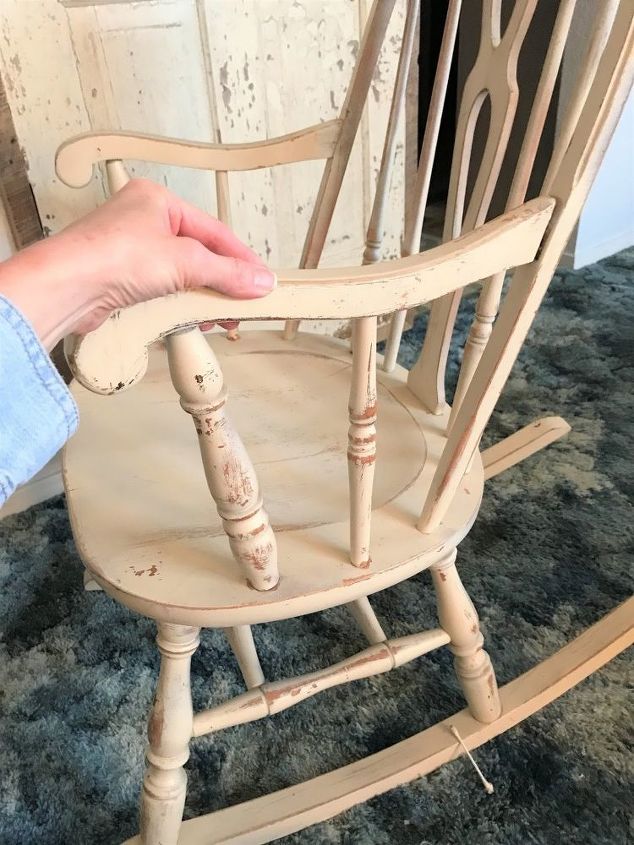
The arms were the main problem that needed repairing. They were really loose and the right hand side would lift right out of the seat because the screw on that side that held the arm on, was what we call in Texas, "wallered out". In other words, it was stripped and wouldn't tighten down anymore. I replaced it with a slightly longer screw than I took out of it. Worked like a charm!
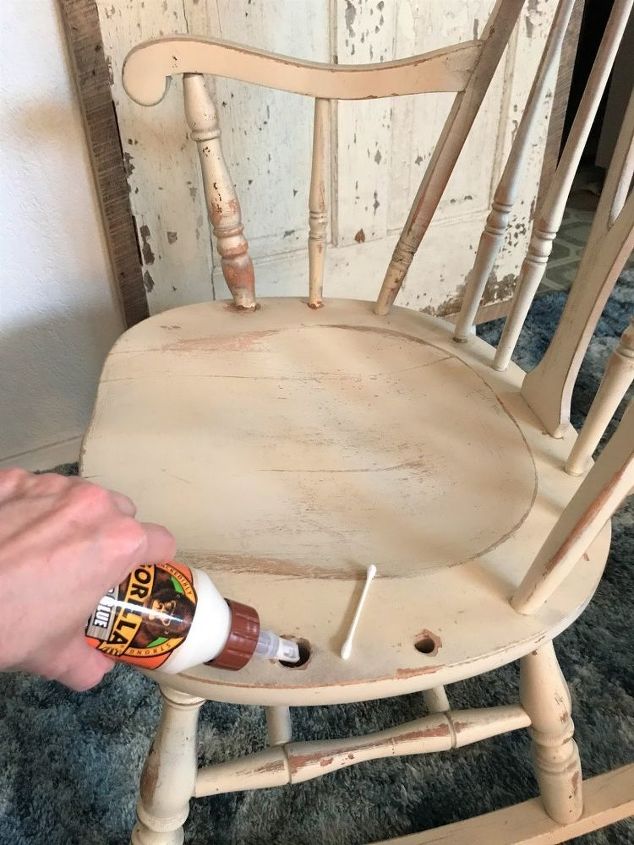
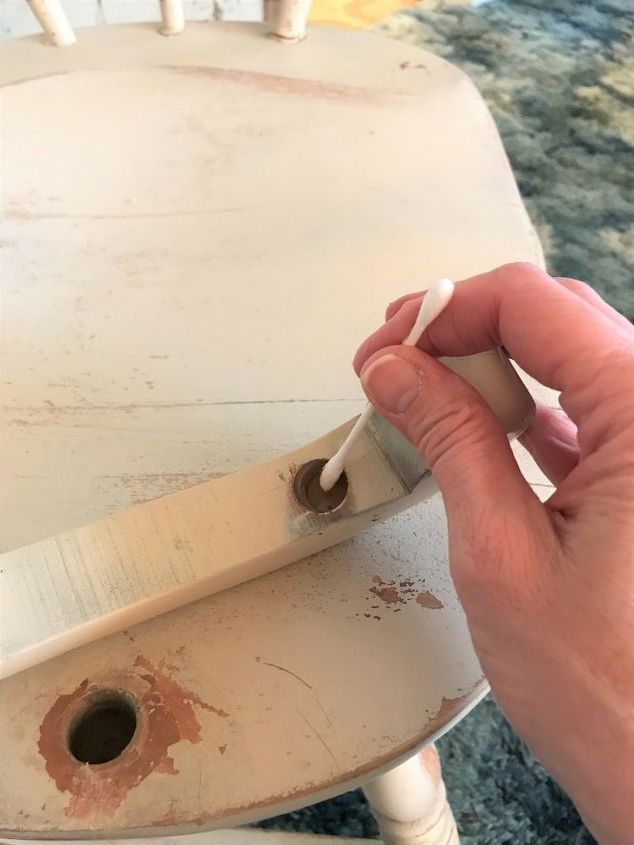
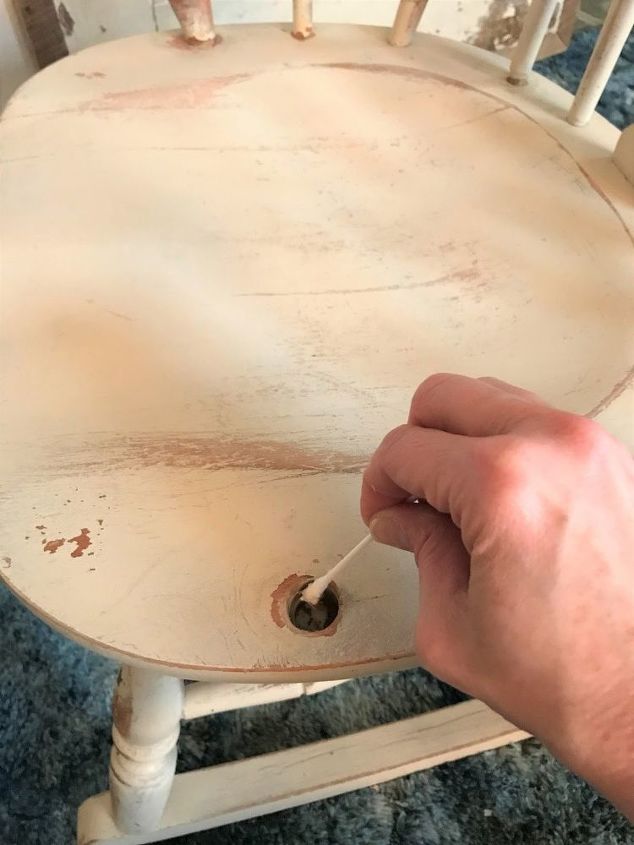
With this type of repair you don't need many tools, just a screw driver, wood glue and mostly, a few Q tip swabs. I add a small amount of wood glue to the sockets and then spread it around using a Qtip. Make sure you get the entire area covered with glue.
Top and bottom of each spindle socket will need a small amount of glue spread all around so you get a good tight fit when you replace all the pieces back in the correct spots.
Try not to get glue on the outside of the socket and also don't use too much glue or it will come up and out when you replace the spindles. If that does happen, make sure to wipe off all the excess glue before it dries.
After you have the glue spread all around in the places you need it, replace all the parts and put the pieces back together.
Make sure you get a good tight fit on each socket, top and bottom before you tighten it all back together. I used the bottom of my glue bottle to lightly tap on the arm to make sure everything was snug in its place.

Lastly, and I forgot to show you, but I added some glue to the end of the arm where it meets the back of the chair before I tightened down the screw that hold its all together.
If you'd like to see video of me doing the repairs, go on over to my blog right here and get the link.
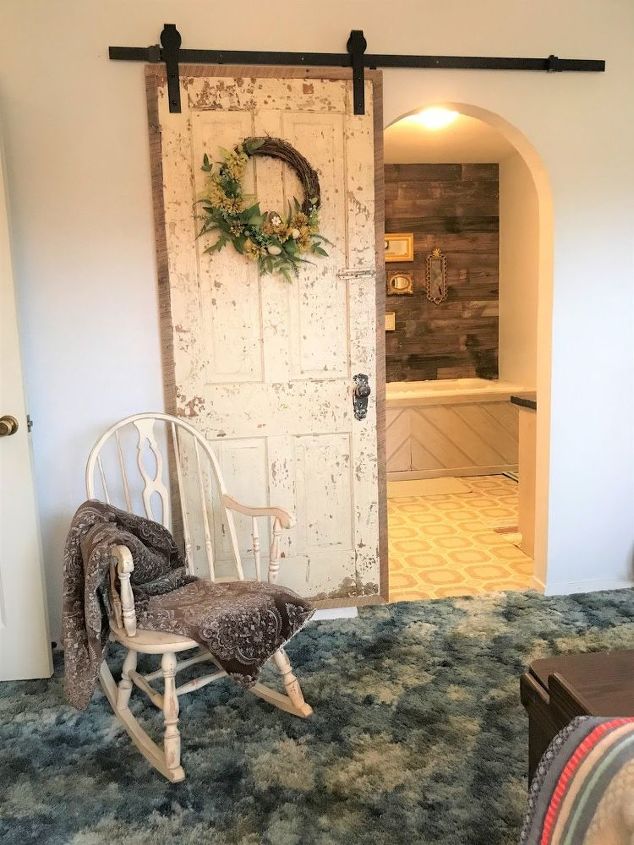
She's all ready to be sat in, loved and enjoyed. I seriously don't know why it took me so long to do this, but I'm glad I finally got it done! What furniture projects are you currently working on?
Thanks for looking! :)
Want more details about this and other DIY projects? Check out my blog post!
Comments
Join the conversation
4 comments
-
I have a DR chair that has the same problem with one of the arms. Thanks for posting this. I will give me some guidance on how to repair it. :)
-
Great repair and it looks lovely. For this kind of repair I like to put some wood glue on the screw threads. Prevents them from loosening. Especially where the arm meets the back.


Frequently asked questions
Have a question about this project?