


How to Fix a Damaged Dresser
Have a damaged piece of wood furniture in your home that you don't want to get rid of? Here's a quick and easy way to fix it and make it look like new! Love this project? Get more great DIY and home decor ideas on my blog, Love & Renovations.

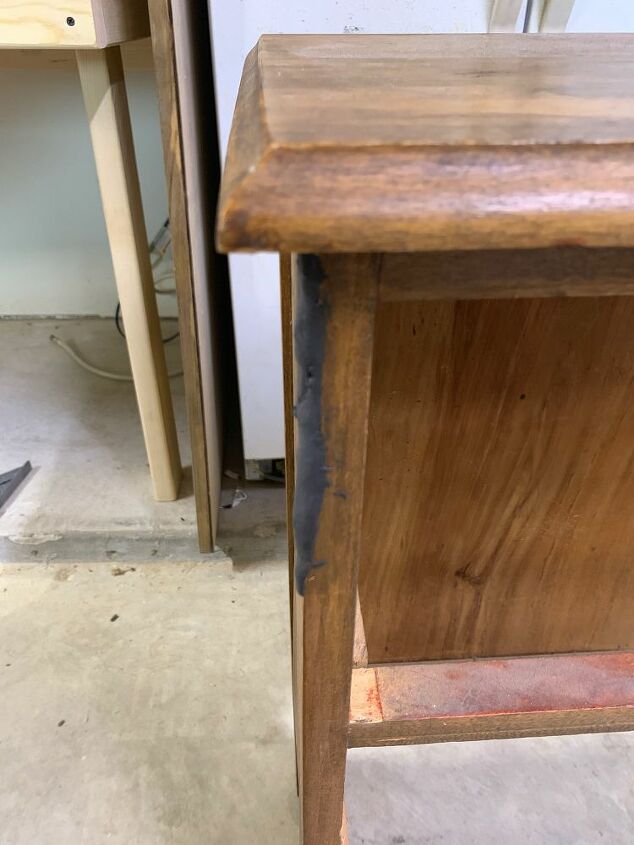
Here's a look at the dresser before - there was a big chunk of wood missing from the side of the dresser. Thankfully, it was an easy fix!

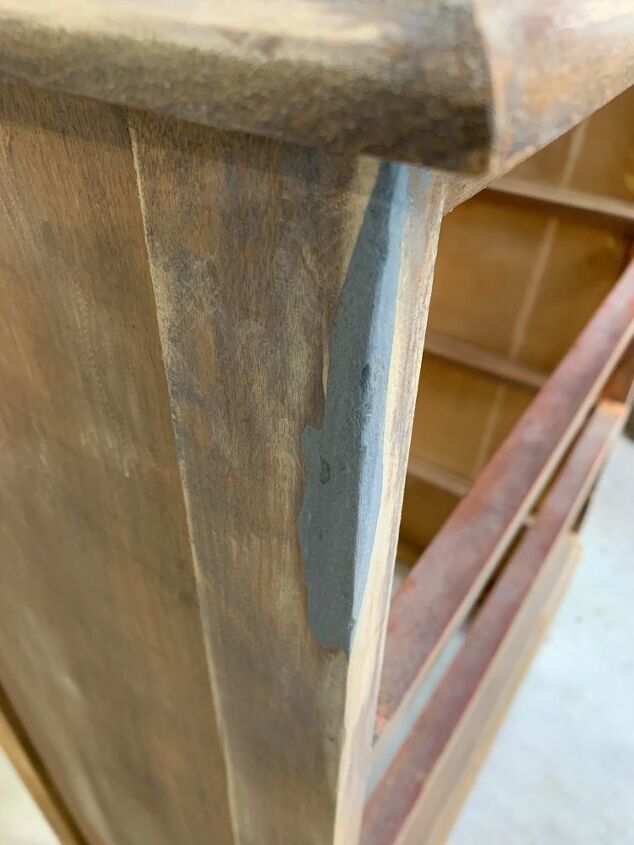
To fix up the dresser, I used Mohawk's Epoxy Putty - simply cut off a section of the putty and mix it until the color is consistent throughout.
Then, spread the putty into the damaged part of your dresser. I tried to re-create the corner as much as I could, but sanding will help things afterwards. The key is that you want to make sure to fill in the entire hole or crack so that once you sand you can be sure the finished piece will be level.
After the putty has dried for 30 minutes, grab your power sander and sand down the excess until it's smooth. You can purchase putty in a ton of different colors, so you could get it to match the existing color. But, since it also accepts stain and paint well, I chose the color I was going to be painting the dresser.
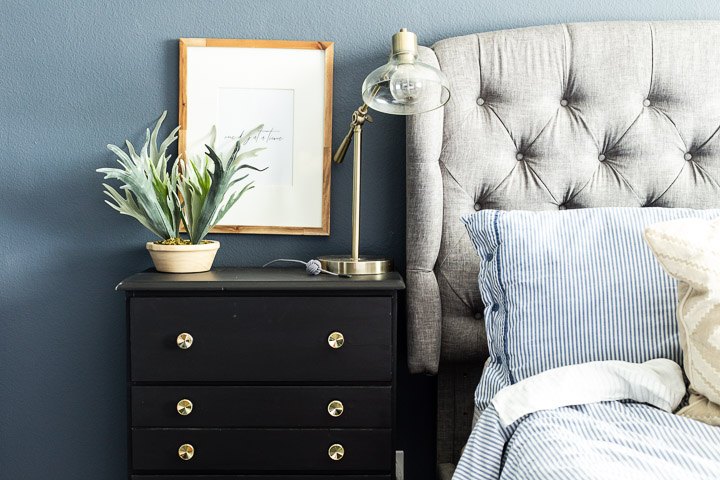
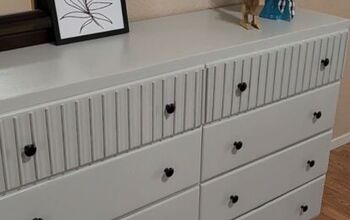
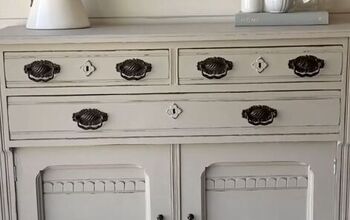
Paint or stain the dresser in your desired finish, then you're good to go! If you want to see a closer look at the damaged piece after painting, be sure to head to the blog post and watch the included video!
Resources for this project:


Frequently asked questions
Have a question about this project?