


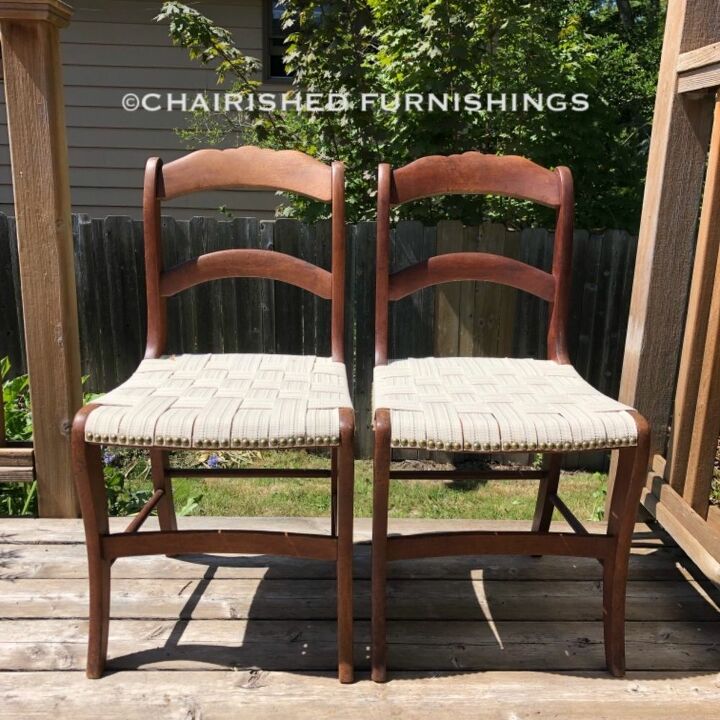
Update Cane Seats With Webbing and Nail Head Trim

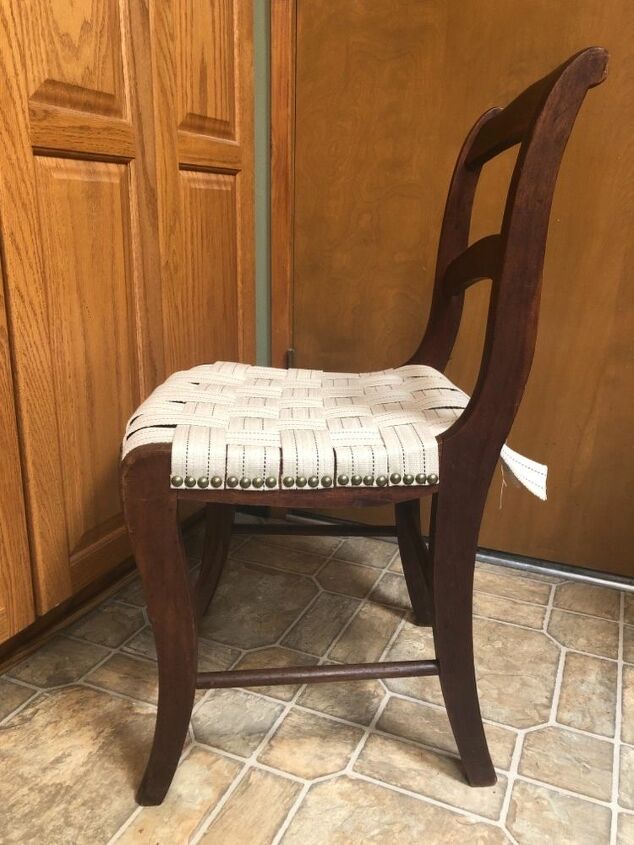
The cane in these little chairs was cracked and falling through. Replacing the cane with truck cargo strap gives them a fresh, yet still vintage look.
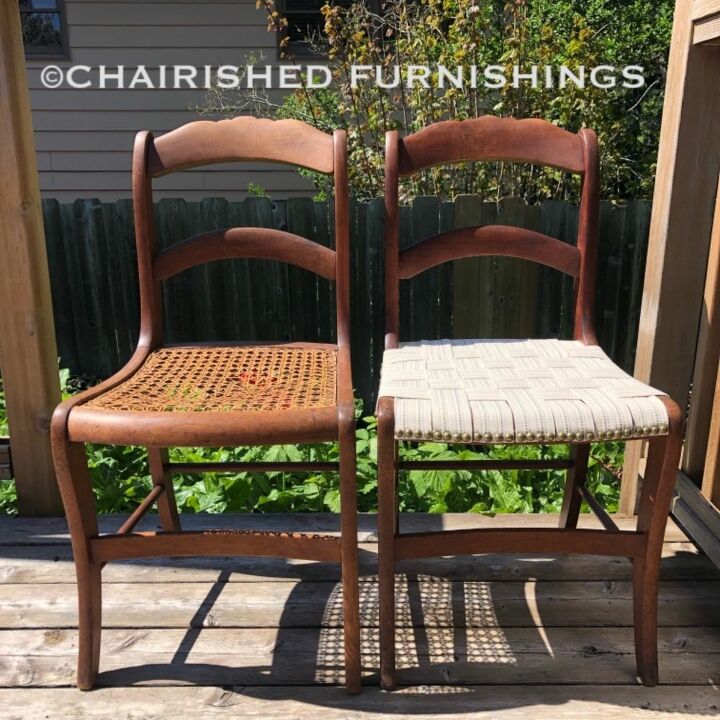
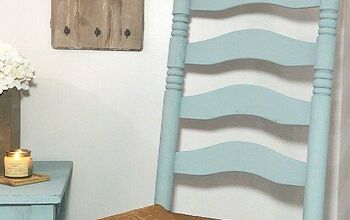
There were only two of these chairs available but I loved their form and beautiful wood tone. Since the cane was broken, I wanted to replace the seats with something faster than re-caning. I got this idea from another post (don’t know when or where I saw it) and decided to use truck cargo strap for my webbing. It’s 100% cotton and very durable. Available at Walmart in 50yd rolls
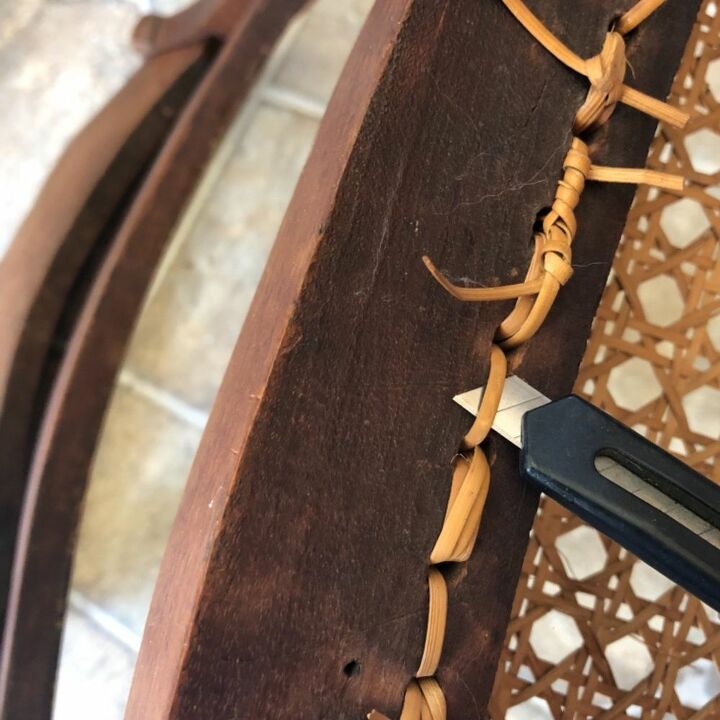
This is tedious work but if you start from the underside of the chair, it speeds the process up a bit. Start by cutting every ‘stitch’ with a small utility knife.
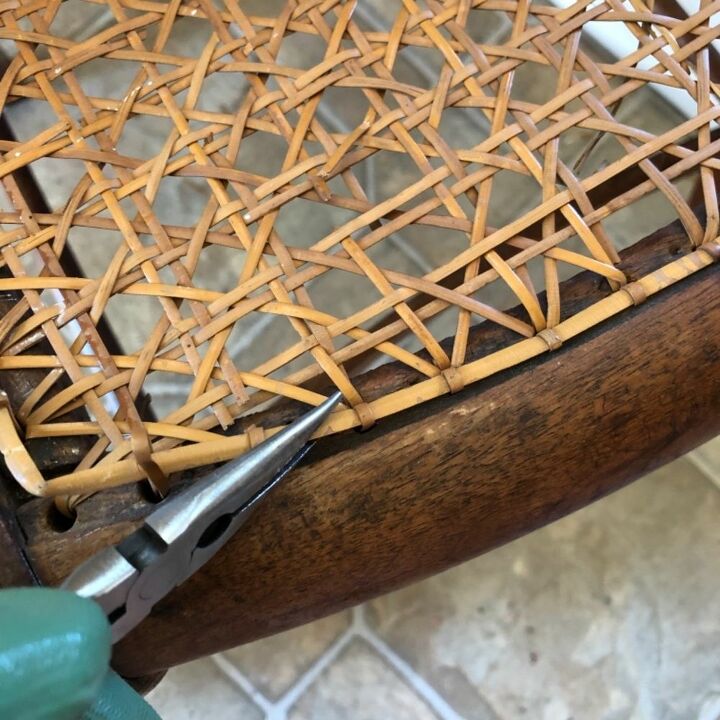
When you’ve finished cutting through all the stitches under the chair, flip the chair over and begin pulling the cane away from the top of the seat. I used needle nose pliers to make it easier to tug at the cane.
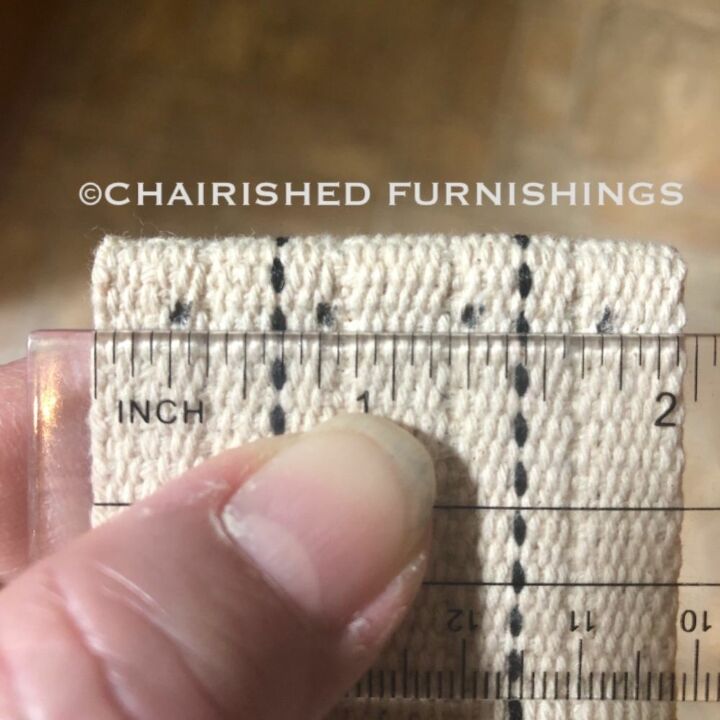
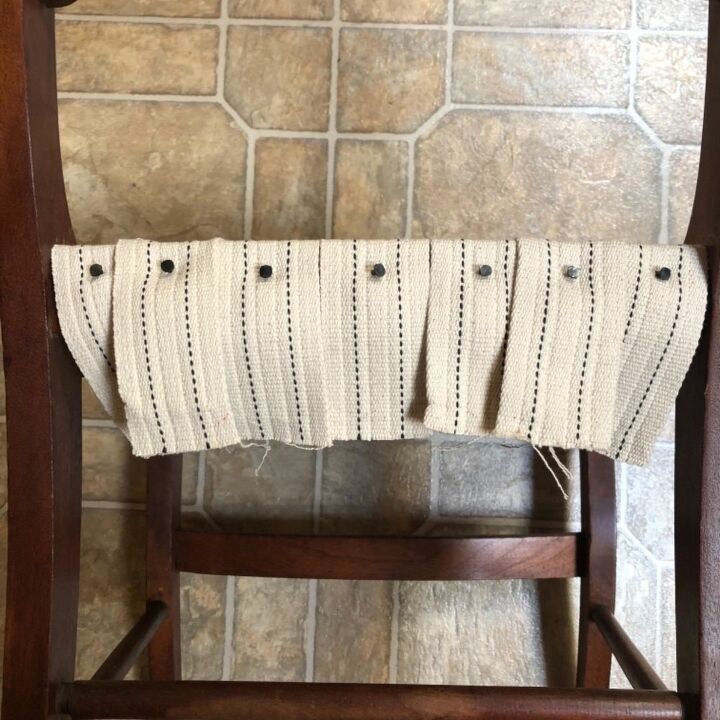
Fold the edge of your strap under about 1/2-inch. Decide how close together you want your tacks to be spaced and mark with a ruler and pencil
I wanted a tight weave on the seat so measured out my placement before nailing the strap down. I lightly marked the wood in pencil from the bottom edge of the seat frame to guide the front and side strap placements.
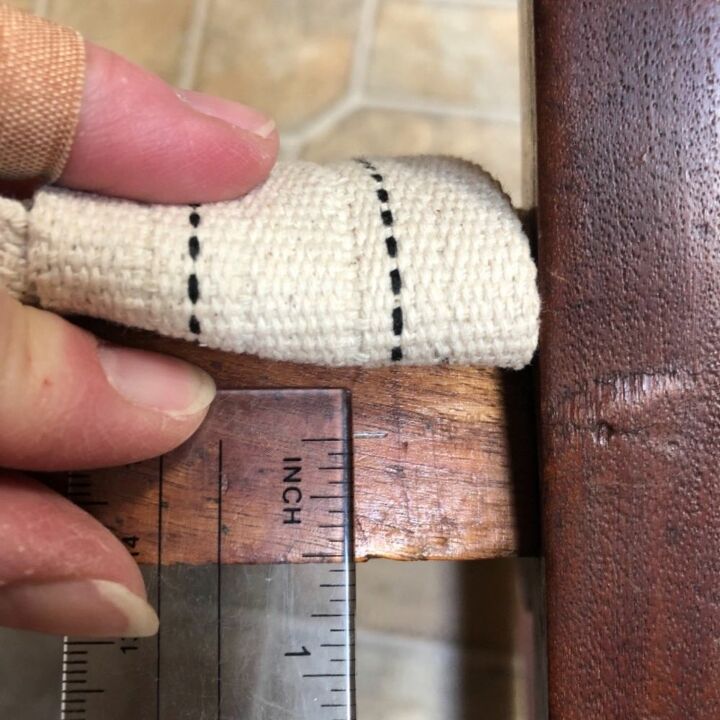
Folding under the edge of the strap and marking guideline for strap edge placement
Repeat the process of strap placement from one side of your chair. Note that I have not secured the second end of the straps yet. The weave has been loosely assembled and the ends will be pulled taut with a web stretcher to assure a sturdy platform
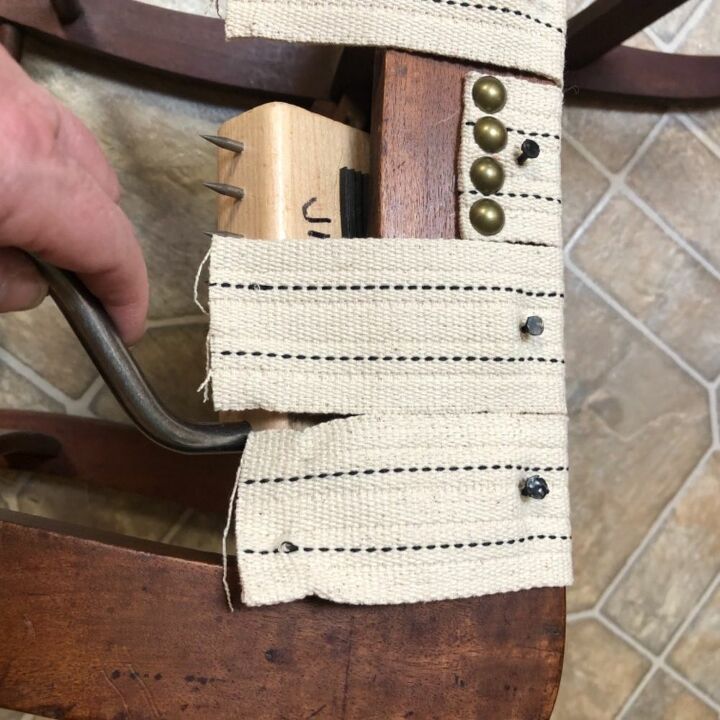
Using a web stretcher, pull your webbing taut against the chair frame and tap in a small carpet tack to hold in place. Trim web about 1/2-inch longer than your pencil guide line (discussed in previous steps).
All the ends have been stretched and tacked into place

Trim the web so you have about 1/2-inch to turn under above pencil guide line

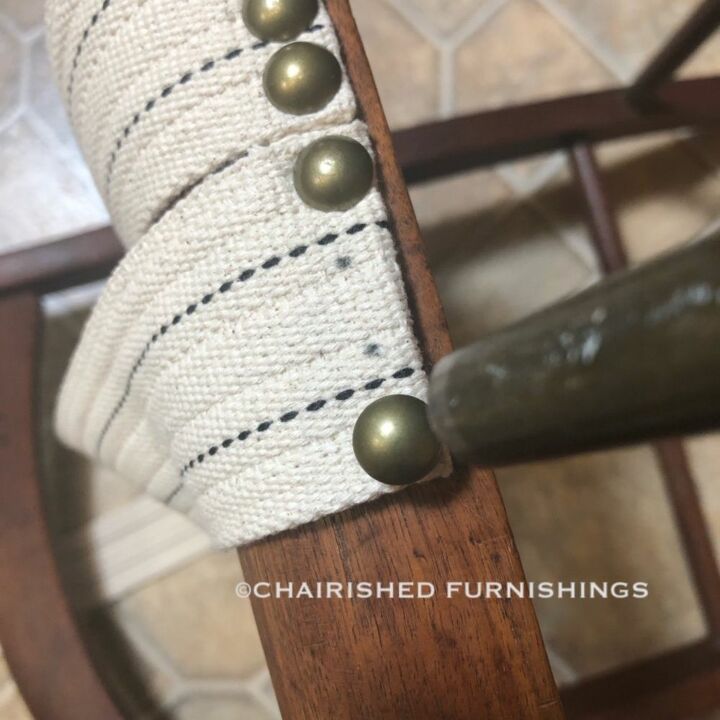
Follow your spacing marks made with ruler and pencil and tack hammer brass nails in place.
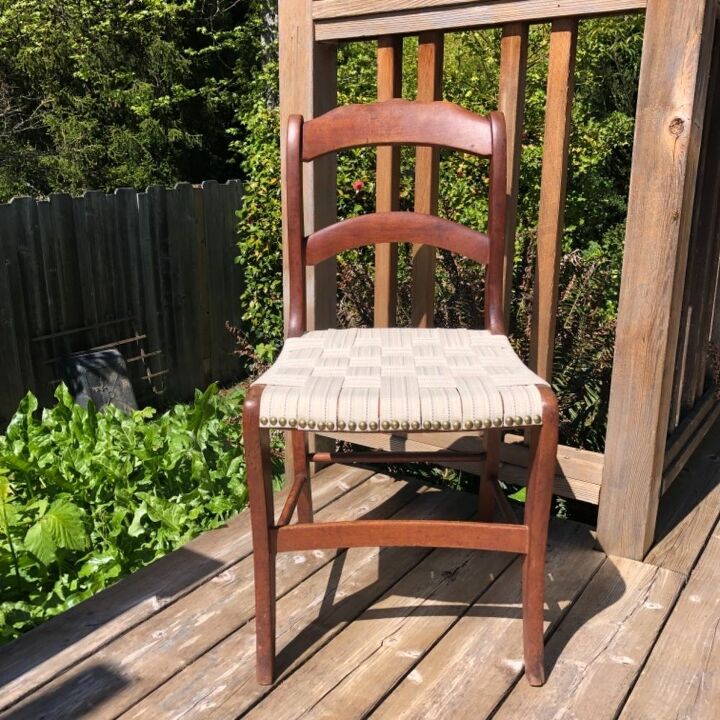
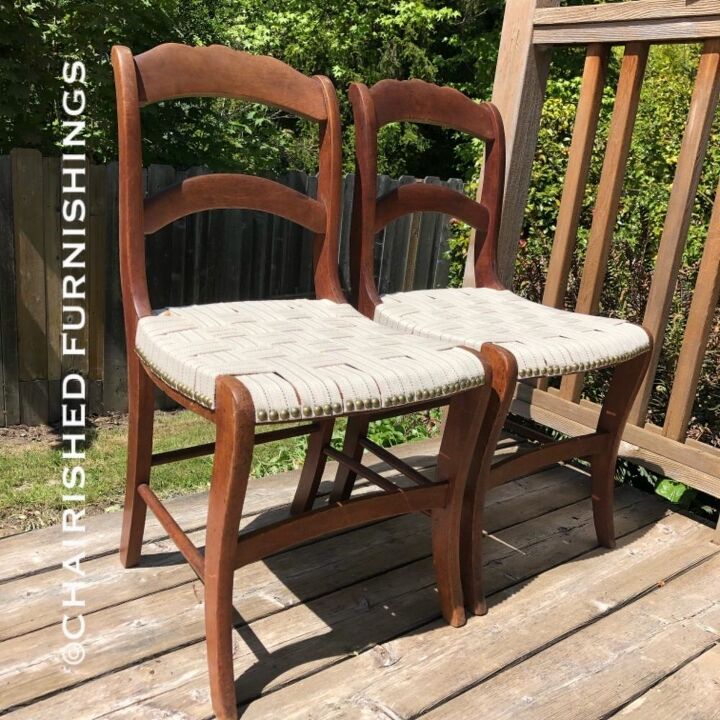
I’m very happy with how these turned out. Hope you can use the information on a project of your own.
Comments
Join the conversation
-
umm ...you do know that cane sheets are available, you don't need to weave it. soak over night in water to make it more pliable, the spline also. the spline is to keep the canning in place, kina like the gasket in a screen window.
- See 1 previous


Frequently asked questions
Have a question about this project?