


Easy Kitchen Faucet Swap
MY mom's kitchen faucet broke thanks to a shoddy install by the contractor who installed it. I wound up going out to her house to do the swap for her--here's how I did it!
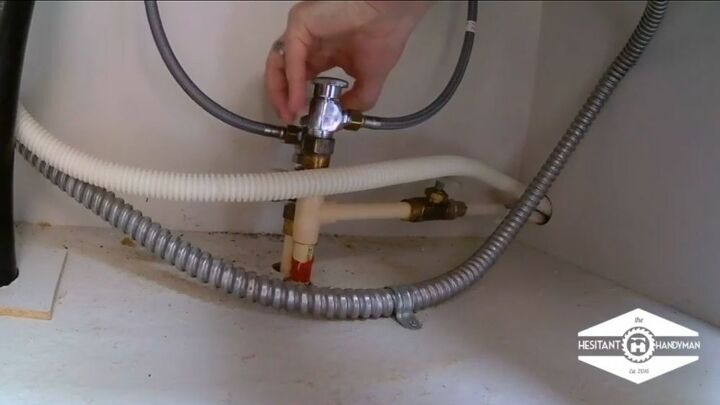
Disconnecting supply lines if you’ve not actually turned off the water to the fixture can get really messy. Typically with sinks there’s a shutoff in the cabinet; if you don’t have one, you may be looking at shutting it off to the whole house. Either case, I cannot stress this enough–Shut it off first so you don’t have to scream and holler to someone else to shut it off while you’re getting blasted in the face like you’re on a sitcom where someone didn’t shut it off. Or like the people on “My First Flip.”
I usually will disconnect them from the bottom (closest end to the water shutoff) because the water will stay in the line until I release it by opening the spigot on the faucet.
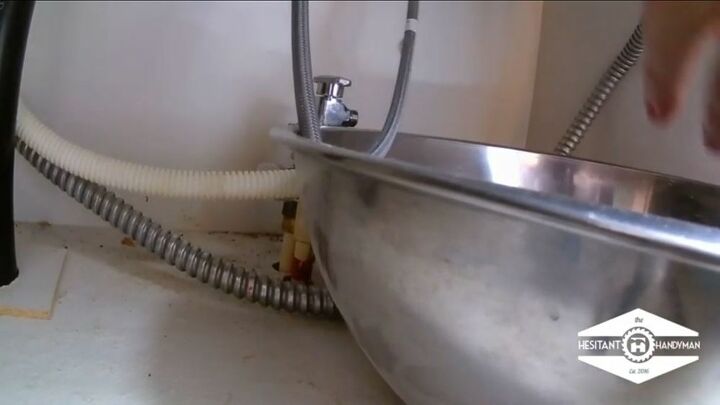
Then all I have to do is drop the ends in a bowl or bucket, open the spigot, and let the water flow out. The amount of water left over in the hoses typically isn’t enough to ruin your day like if you forgot to do step one, but it’s nice to keep the mess to a minimum.
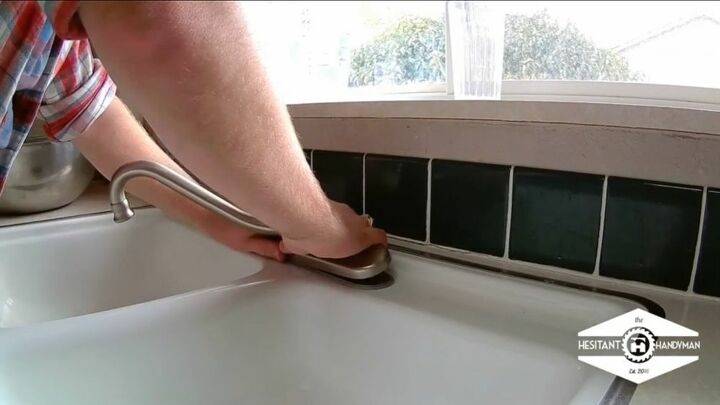
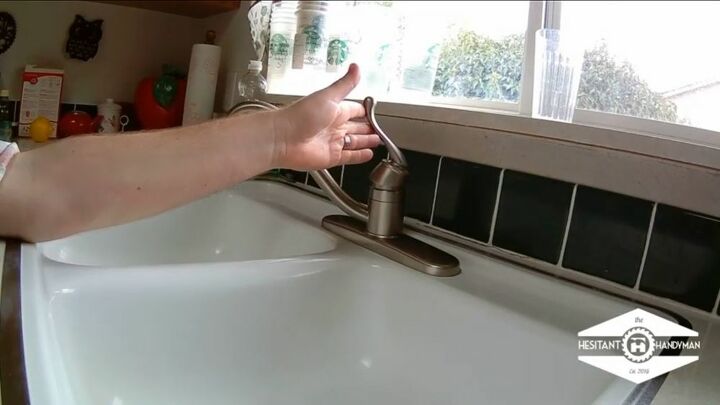
Once you’ve disconnected the supply lines, this is typically a combination of removing the basin nuts with the basin wrench and potentially removing the hose guide for the side sprayer if you’re working on a four hole configuration. You may also need to disconnect the side sprayer (similar to the supply lines, make sure you drop the open end in a bowl and release any water that might still have been trapped in the line) then lift everything out of the sink.
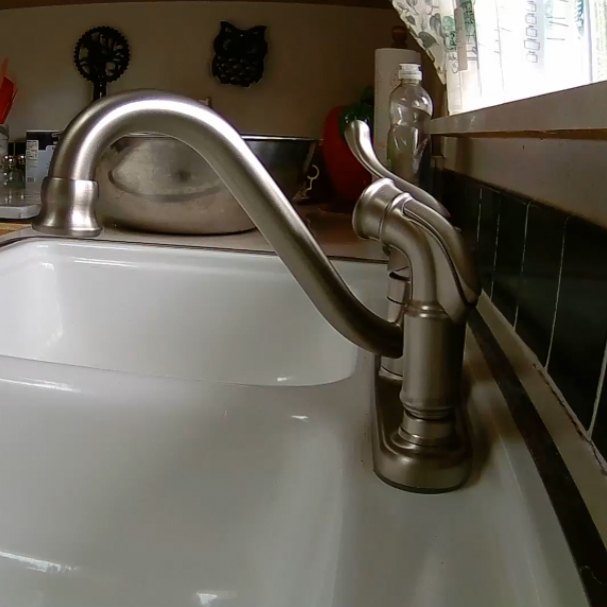
Really, all this is generally going to be is reversing the steps you just took to remove the old faucet to install the new one. Drop the new faucet into the sink holes, attach the basin nuts/sprayer hose guides, drop the sprayer into position and connect it, then connect your supply lines.
In the video, we had a severe case of lost footage. I promise you, I did actually test to make sure nothing was leaking, but bottom line turn on the water, look for leaks at any hose connections and tighten as necessary. Make sure that your faucet and sprayer actually work properly. Once you’ve done this and confirmed you’re not leaking where you shouldn’t be, you should be good to go!


Frequently asked questions
Have a question about this project?