


How to Fix a Leaky Faucet Before It Makes a Dent On Your Water Bill

By Alexa Erickson
The drip, drip, drip sound of a leaky faucet may have been annoying enough for you to seek out this guide. But it’s more than the sound that’s an issue. A leaky faucet will undoubtedly add to your water bill if not dealt with immediately, while also putting your home at risk for extra moisture, ultimately leading to mold and mildew. The end result can be an expensive plumbing project and a home with unhealthy air quality.
If you’re dealing with a leaky faucet, don’t ignore it any longer. Instead, follow this guide to fix it now. We’ll outline how to clean every type of faucet—cartridge, ball, compression, and disc—and teach you about the important parts of the faucet, what might be causing the leak, and how to fix it yourself.
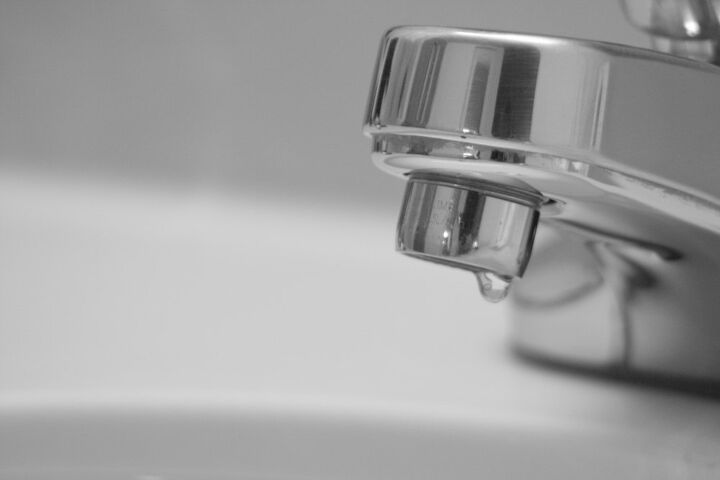
Photo via Shutterstock
Why Your Faucet Is Leaking
Water leaks can cause nearly 10,000 gallons of home waste annually — equivalent to the amount of water it takes to fill a standard home swimming pool, according to the United States Environmental Protection Agency (EPA). Among the most prominent of all home leaks is a leaky faucet. Faucets can leak for a few reasons, with the most common causes being corrosion and mineral deposit on internal pipes, or defective gaskets, o-rings, or washers.
“A leaky faucet that drips at the rate of one drip per second can waste more than 3,000 gallons per year. That's the amount of water needed to take more than 180 showers!” notes the EPA.
Save Water
Types of Faucets
Knowing the type of faucet you’re dealing with makes all the difference in how you approach the leakiness of it. The most common types of home faucets are: ball faucets, disc faucets, cartridge faucets, and compression faucets. Here’s a little bit about each so you can identify what type of faucet you have before you get to unscrewing all of its parts.
Ball Faucets
These are very common in kitchen sinks. Ball faucets are identifiable by their single handle that moves over a rounded ball-shaped cap that’s situated directly above the base of the faucet spout. You tilt the handle backward to activate the water flow.
Disc Faucets
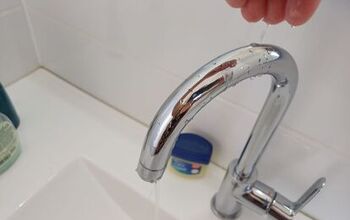
These can be identified by their single lever over a tall cylindrical body. A pressure balance cartridge within the disc faucet mixes hot and cold water. To activate water flow, you typically tilt the handle back, and to control the temperature, you rotate the handle side-to-side. Disc faucets are most commonly used in the bathroom.
Cartridge Faucets
Cartridge faucets can be single or double-handled and are found in both the kitchen and bathroom. The faucet has a hollow metal cartridge that moves to either allow or block hot and cold water from streaming through. Single-handle cartridge faucets work by moving the handle up and down to control the amount of water flowing out. Moving side to side changes the water temperature. A double-handle cartridge faucet involves rotating a handle to turn the hot or cold water line on or off.
Compression Faucets
Compression faucets feature separate handles for the hot and cold lines. Although they look much like a double-handle cartridge faucet, turning the handle of a compression faucet involves applying pressure to move the compression stem up or down. The stem consists of a screw with a washer at the end. They’re the least expensive of the faucet types, are typical in older homes, and are found in both kitchens and bathrooms.
Can’t Tell Your Two-Handle Faucet Type?
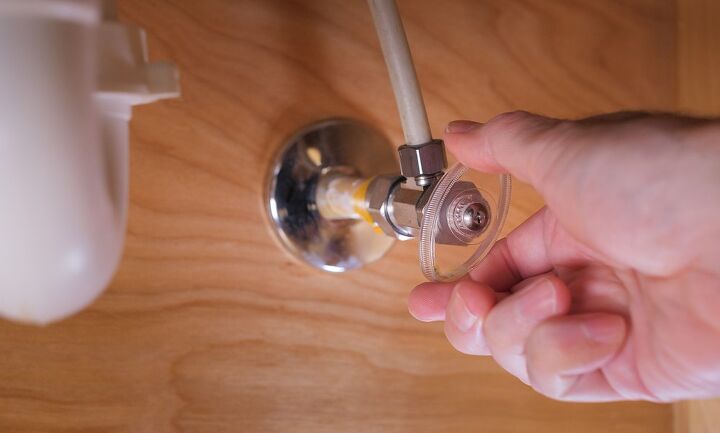
Photo via Shutterstock
How to Prepare for a Leaky Faucet Fix
How you fix a leaky faucet depends on the type of faucet you have. The first step is to always shut off the water supply. Locate the valve under your sink and twist it to to the right to turn off the water supply (There may be two valves: one for hot water and one for cold. If there are, turn both off.)
If there are no individual shutoff valves, you’ll need to shut off the water supply for the whole house. Your house’s supply valve is most likely located at a water meter located inside your home (turn the valve clockwise to shut off), or outside near your property line (you’ll likely need a wrench or pliers to remove a security bolt in order to locate the valve, which you’ll turn off with a wrench or meter key).
Once the water supply is shut off, turn on the faucet so all remaining water can empty into the sink. We’ve broken down the next steps by each type of faucet.
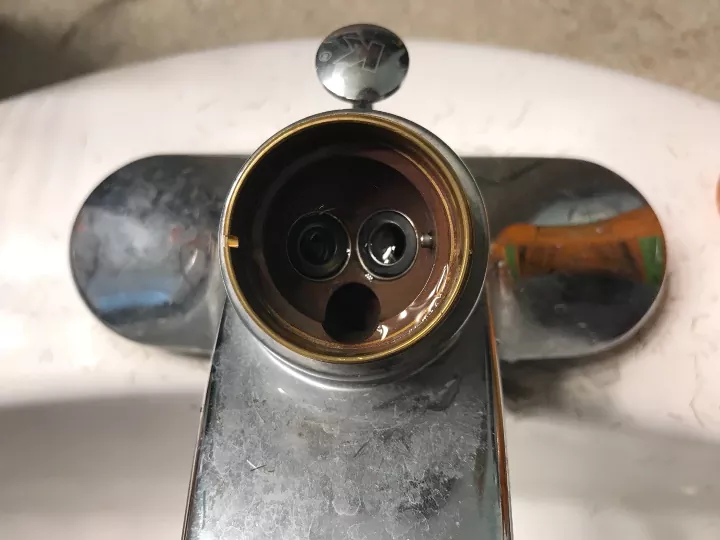
Photo via Andrew Laine - The Hesitant Handyman
How to Fix a Leaky Ball Faucet
To repair a leaky ball faucet, you’ll want to replace the valve’s seats and springs and its ball valve, or the part that lets the handle move side to side. As time goes on, mineral deposits from water can wear down these parts of a faucet, distorting them and their ability to hold these pieces in place, therefore breaking the seal that holds water back. We’ll show you how to replace all parts using a ball faucet repair kit, which you can find at most home improvement stores.
Tools and Materials Needed
- Phillips screwdriver or Allen wrench
- Tongue-and-groove pliers
- Cloth
- Ball faucet repair kit
- Seat removal tool (optional)
- Needle-nose pliers
Step 1: Remove Set Screw and Handle
Gently pry off the decorative cap that indicates the direction for hot and cold. You’ll then be able to reach the set screw. Remove the set screw with a Phillips screwdriver or an Allen wrench (which one you’ll use depends on the model). Remove the handle. Set all hardware in a safe place to the side.
Step 2: Remove Handle Cap
Use tongue-and-groove pliers to loosen and remove the handle cap (this also might be broken into two pieces, if so, remove both). To protect the finish, consider placing a cloth between the housing and the pliers.
Step 3: Remove Cam, Washer, and Ball
Lift out the next pieces in the faucet’s makeup: the plastic cam, the washer, and the metal ball valve.
Step 4: Locate, Remove and Replace Valve’s Seats and Springs
The valve’s seats look like circles, while the springs are located beneath the seats. Once located, use the seat removal tool or an Allen wrench to dig under and slightly tilt up the rubber seats and springs to lift them out. Carefully work new seats and springs (old ones can be tossed) into their places.
Cover the Drain
Step 5: Replace the Ball Valve
Place the new ball valve into its proper position. There’s a little slot on the valve that should fit into a divet inside the faucet’s cavity where you’re putting it. Also, the stem coming out of the ball valve will have a flat edge—that flat edge should face outward toward the sink basin.
Step 6: Add Cam and Washer
Secure the new cam and washer to each other. With the arrow facing out toward the sink basin, slide the cam and washer duo over the ball valve’s stem and push down. Line up the tab on the cam to the slot on the faucet. Secure everything into place by pushing down with firm pressure from your thumb.
Step 7: Reassemble Remaining Faucet Parts
Screw on the adjusting ring using needle-nose pliers. Reattach the handle, tighten the set screw, and then replace the screw cover.
How to Fix a Leaky Ceramic Disc Faucet
To repair a leaky ceramic disc faucet, you’ll want to apply a new cylinder. In a disc faucet, the faucet’s handle moves the cylinder up and down to control the amount of water that comes out and side to side to switch from cold to hot. As the cylinder gets old and wears out, it can let water pass through despite the faucet being “off”.
Tools and Materials Needed
- Allen wrench
- Needle-nose pliers
- Replacement cylinder
- Adjustable wrench
- Plumber grease
Step 1: Remove the Handle
Use an Allen wrench to loosen the set screw on the faucet handle, then remove the faucet handle or knob and the cap with your hands. Set all hardware in a safe place to the side.
Step 2: Remove the Retainer Nut and Old Cylinder
Unscrew the retainer nut with a wrench, then take out the worn cylinder using pliers to pull it up and out.
Step 3: Install New Cylinder
Apply plumber grease to the new cylinder, then slide it into place where the old one was. Re-screw the nut on to hold the cylinder securely in place.
Step 4: Apply Faucet Handle
Slide the faucet handle into play, then tighten the set screw on the faucet handle.
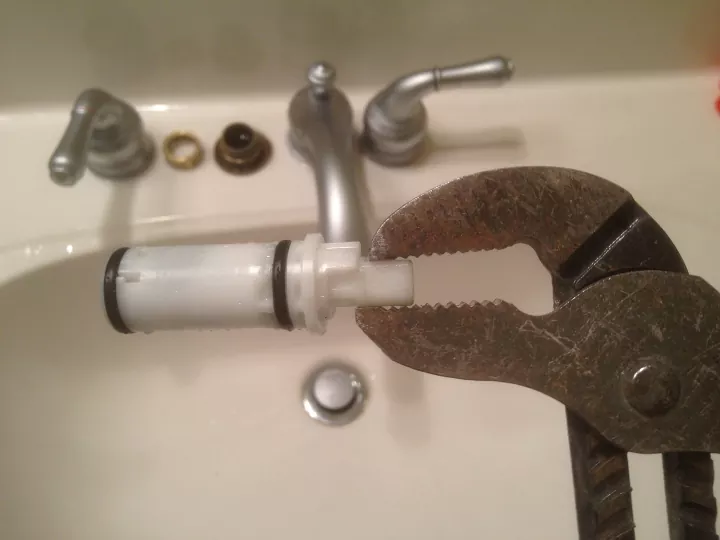
Photo via Home Repair Tutor
How to Fix a Leaky Cartridge Faucet
To repair a leaky cartridge faucet, you’ll want to install a new cartridge. The cartridge is a stemmed piece inside your faucet’s housing that controls water flow. It’ll block water when the faucet is off and let water pass through when the faucet turns on. When it gets old and worn, it’s not as effective at holding water back.
Tools and Materials Needed
- Allen wrench
- Pliers
- Replacement cartridge (the type of cartridge you need might depend on the model of the faucet and whether it has one or two handles; consult the hardware store for help)
- Plumber’s grease (optional)
Step 1: Remove the Handle
Loosen the set screw on the faucet handle, then remove the faucet handle. Then, remove the retaining clip or nut using a wrench. Place all hardware in a safe place where it won’t get lost.
Step 2: Remove Old Cartridge, Apply New One
Use pliers to pull the cartridge up and out. Drop in the new cartridge with the stem pointing upward.
Step 3: Place Faucet Handle Back On
Slip on the retaining clip/nut and use your pliers to tighten it. Place the faucet handle back on, then tighten the set screw handle with the Allen wrench to finish.
How to Fix a Leaky Compression Faucet
To fix a leaky compression faucet, you’ll want to replace the washer, gasket, o-rings, and valve seat. These four parts work together to create a compressed seal that prevents water from getting through. If the washer, gasket, o-rings, valve seat, or all of the above are worn out, water is likely being let through, therefore causing drips to fall out of the faucet.
For the sake of this guide, we’ll show you how to replace all three in a compression faucet.
Tools and Materials Needed
- Screwdriver
- Adjustable wrench
- Compression faucet repair kit (every compression faucet is different and the type of repair kit you need depends on whether the faucet is single- or double-handed, so ask your local home improvement store professional for help with your faucet type)
- Plumber grease
Step 1: Remove the Handle
Loosen the set screw on the faucet handle using the appropriate screwdriver, then remove the faucet handle or knob. Keep the screws in a safe place so they don’t get lost.
Step 2: Remove the Retaining Nut and Valve Stem
Use a wrench to unscrew and remove the retaining nut and the valve stem. Slip off the screw, gasket, o-rings, and washers from the stem.
Step 3: Apply Grease
Lubricate the stem with plumber grease in preparation for applying its new parts.
Step 4: Install New Parts
Slip on the new screw, gasket, o-rings, and washers over the stem.
Step 5: Remove and Replace Valve Seat, Install Valve Stem
Remove the old valve seat from the faucet, which is the cylindrical piece that sits in the faucet hole. Drop in the new valve seat into the faucet, then install the valve stem that you slipped the new screw, gasket, o-rings, and washers over.
Step 6: Replace Retaining Nut and Knob or Handle
Screw on the retaining nut. Put the knob or handle back into place, tightening the set screw.
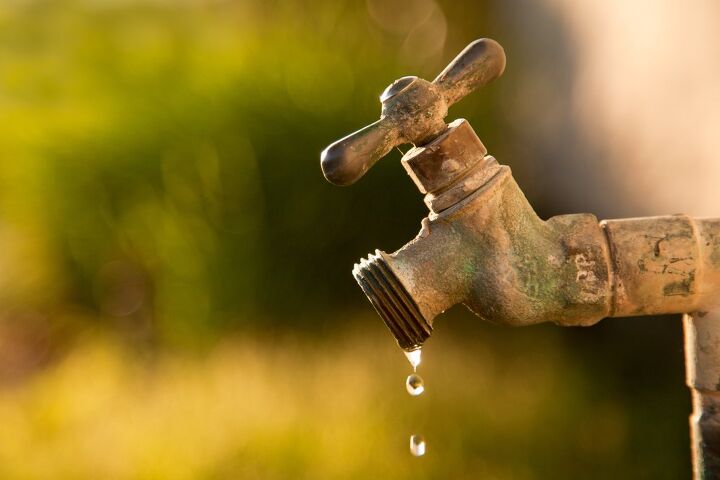
Photo via Shutterstock
When to Call a Professional
If you’ve tried the tips provided and you still have a leaky faucet, it’s time to call in a plumber. Unforunately, the problem might be deeper than the faucet at this point and the pipework may be corroded. Or, replacing a faucet entirely may be the only option, in which case you’ll want to consider calling in a professional since replacing faucets often require pipework with tools the average homeowner won’t have on hand.
Another instance in which you might want to call in a plumber is if you’re trying to fix a leaky outdoor faucet. A leak could mean structural foundation damage or water backup into your home and a fix is best handled by a professional.
Do you have any additional tips or tricks for how to fix a leaky faucet? Share them below!


Frequently asked questions
Have a question about this project?