


Remove Stainless Steel Sink Scratches DIY
Here's how to remove scratches from a stainless steel sink. I use a couple of power tools, very little elbow grease and Autosol paste.
Did you know you can polish stainless steel scratches out easily? I'll admit I didn't know this. That was until I shared my 57ft narrowboat tour video and said I was going to replace the old sink.
I now know that for the sake of 1 hour's polishing, it's less hassle than fitting a kitchen sink and sealing it. Replacing a tap. THEN, installing a kitchen sink waste and trap to the existing plumbing.
Been there. Done that. SO.... let me know you how removing scratches from a stainless steel sink is a doddle! You'll be kicking yourself!
Please note that as an Amazon Associate, I earn from qualifying purchases made through links.
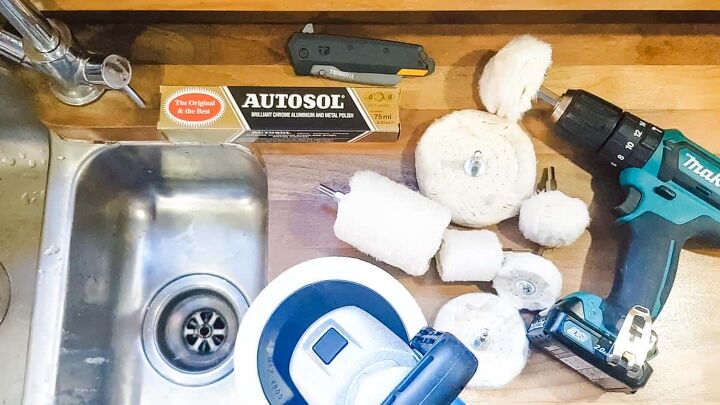
- Buffing wheel pads for drill attachment
- Autosol metal polish https://geni.us/metalpolish
- Toughbuilt knife https://geni.us/foldingknife [Amazon] *Gifted
- Silverline polisher *Gifted
- Makita drill
- Masking tape
- Clear silicone
- Pink Stuff degreaser spray
- Microfibre cloth
- Ear defenders
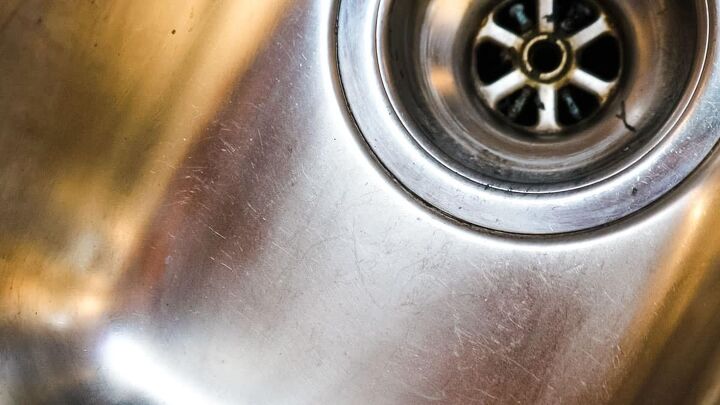
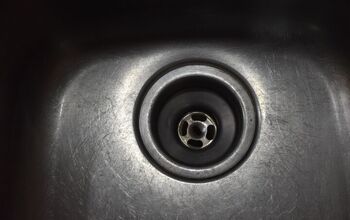
Before I show you how to refinish a stainless steel sink, here's what it looked like before I started. And unfortunately, even a new stainless steel sink scratches easily, so this tutorial could be very useful!
Mine was really dull. Lots of scratches. No shine at all. And, something I only show in my YouTube video, is how I removed old white silicone*. *I later refreshed it with clear silicone.
It looked dirty against my butcher block worktop, which I showed in my recent kitchen worktop repair video.
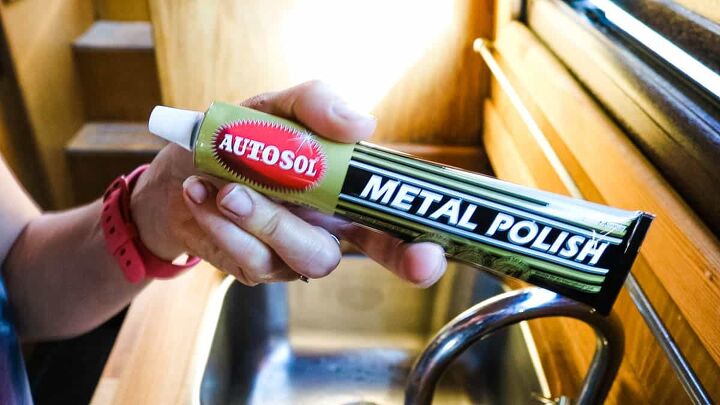
The star of this stainless steel sink repair really was Autosol metal polish in conjunction with mechanical buffers. It's like a toothpaste being buffed at high speed.
If you want to try some alternative cleaners for stainless steel sinks, then here's what my subscribers recommended, although I didn't try
- Flitz drill powered buffing balls and Flitz metal polish
- Oven cleaner
- Pink stuff paste
- Cif with raw sugar* note, I recommend trying caster sugar as opposed to thicker granules
- I'm curious if a polishing type toothpaste will work, too!

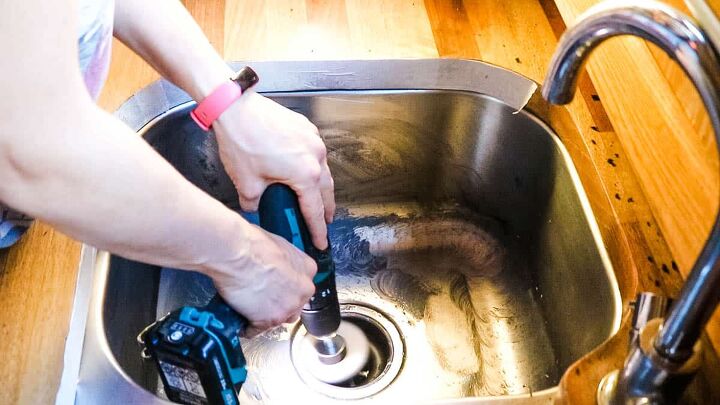
Apply a strand of Autosol metal polish to a polisher with sponge. Or, buffing wheel attached to the drill (below) and work in sections.
It's a greasy type, so I recommend protecting areas if needed, such as masking tape your worktop.
Also, a little bit goes a long way. Oh, and you'll see a black layer coming off in seconds. It gets messy and if you're precious about your nails, wear gloves!
Let me tell you now: neither is perfect. But both speed the job up significantly than polishing by hand.
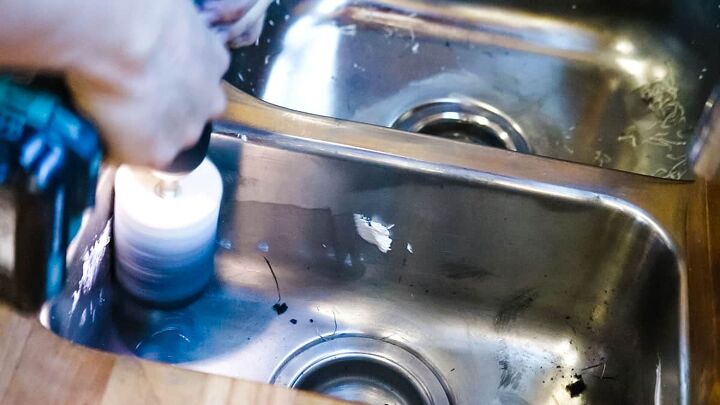
I love the polisher as it's the fastest for large surface areas and you won't run out of power. However, it's not ideal for awkward angles and if you catch it on something, like the overflow, or anything abrasive, it will rip to shreds, rendering a new sponge.
You'll find the drill pad attachments are equally as important though as they are perfect for the drain and tight areas like corners. And, if you don't have an eletrical point nearby, which is dangerous for a sink, they're ideal for battery-powered tools.
Cleaning a stainless steel sink took me 1 hour to do between two power tools.
Although I quickly tried with a cloth as a test, and I honestly think this would take 3-4 hours and would avoid.
Once I had a mirror finish, I then cleaned everything with Pink Stuff degreaser spray.

As I'd already removed all of the visible white silicone from my undermount stainless steel sink, I needed to reapply fresh to prevent leaks.
First, I ensured it was thoroughly clean with a degreaser. Then used fresh masking tape around my wooden worktop before running a bead of clear silicone around. Notice, I didn't masking tape the sink up.
Then, using a degreaser (or washing up liquid solution in a spray bottle), I sprayed the silicone bead and wiped the excess off with a cloth.
It's the washing-up solution that allows the silicone to glide off easily before it sets. If you accidentally get silicone on anything, don't let it dry. Spray immediately to easily wipe it off!
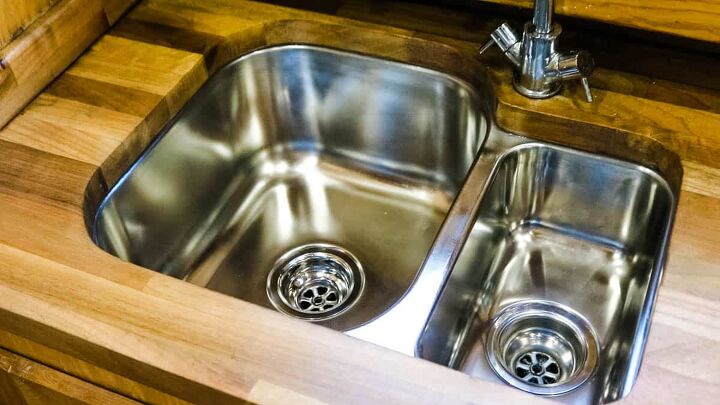
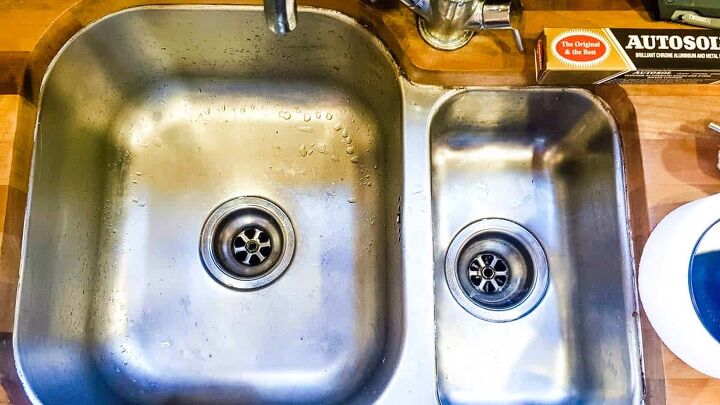
Here's how my first attempt came out for polishing our double stainless steel sink! It looks almost brand new!
And the reason I say almost, is: as this narrowboat is second hand, I then revealed the odd knock that the sink has from general wear and tear. But that's me being extremely picky!
But you'd never know unless I pointed them out. And to finish, I went over it with a microfibre cloth. Although I'm sure we all know, that's not the kind of thing people do every day!
-
Autosol metal polish Masking tape -
Clear silicone -
Pink Stuff degreaser spray
-
Buffing wheel pads for drill attachment -
Silverline polisher -
Makita drill -
Microfibre cloth -
Ear defenders
- Clean the sink to remove any debris
- Turn the water off just in case!
- Squirt some metal polish in the sink
- Buff with a drill attachment or buffing machine -or a mix of both. This will take around 1 hour for a double sink
- Remove the old dirty polish with a degreaser
- Reapply silicone if needed


Frequently asked questions
Have a question about this project?