


Replacing the Seats and Springs in a Rotary Ball Faucet
2 Materials
$15
45 Minutes
Easy
In this video Andrew shows you how to replace a rotary ball faucet’s seats and springs, so you won’t be haunted by that telltale drop late at night.
{
"id": "5100335",
"alt": "",
"title": "",
"video_link": "https://www.youtube.com/embed/izjdP9qrPek",
"youtube_video_id": "izjdP9qrPek"
}
{
"width": 634,
"height": 357,
"showRelated": true
}
I realized the seats and springs were needing replacement when there was a small, persistent drip coming out of the spigot.
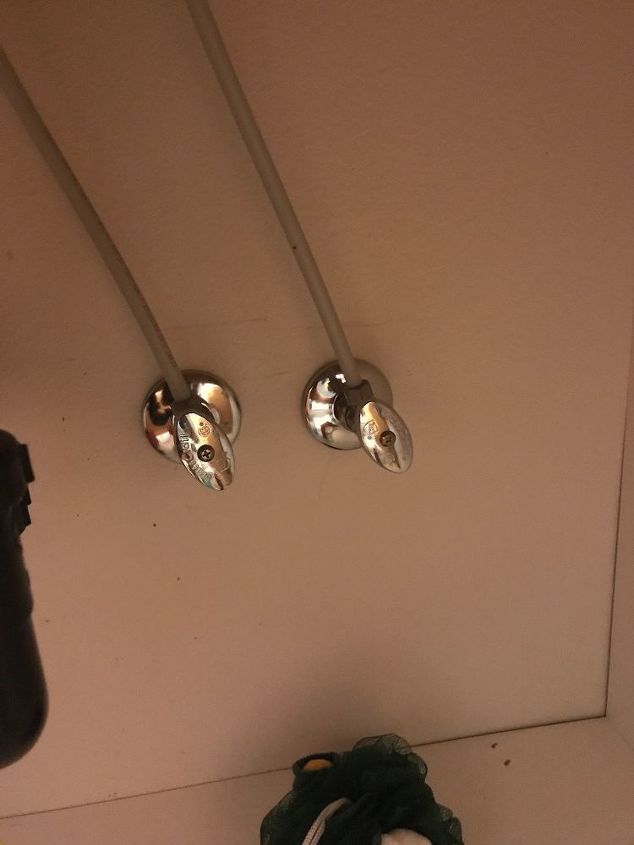
Make sure you shut off the water before working on the faucet. This seems obvious until you’ve forgotten to do it, at which point you’re soaking wet and trying to shut it off anyway. Just shut it off from the outset.
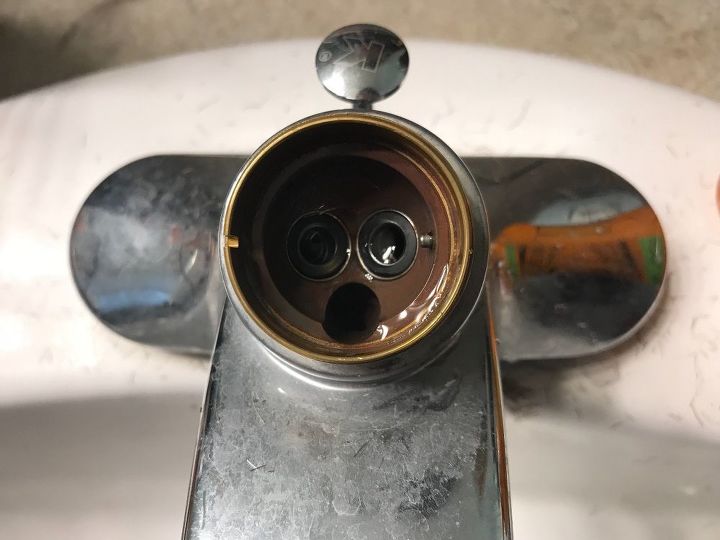
The inside of the faucet will look something like this, which always reminds me of the painting “The Scream”. The eyes are where your hot and cold water come in, and house your seats and springs. You’ll just pull them with tweezers. The mouth is where the mixed hot and cold goes out into the faucet.
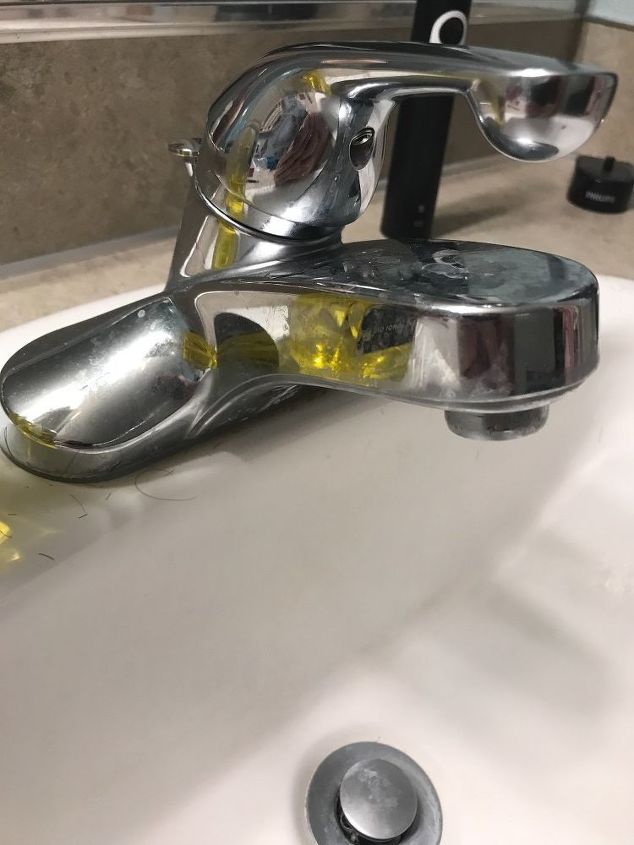
Once reassembled, there should be no leaks in the faucet, and you should only be able to hear the blessed sound of silence from your sink area. If there are leaks, double check your work.

Want more details about this and other DIY projects? Check out my blog post!


Frequently asked questions
Have a question about this project?