


How to Trim a Window
If you're looking to add a little bit of architectural interest to a plain window, it's really easy to add some window trim! It just takes a few hours and will totally transform the entire look of your room. If you love this project you can find more easy and affordable DIY ideas on my blog, Love & Renovations.
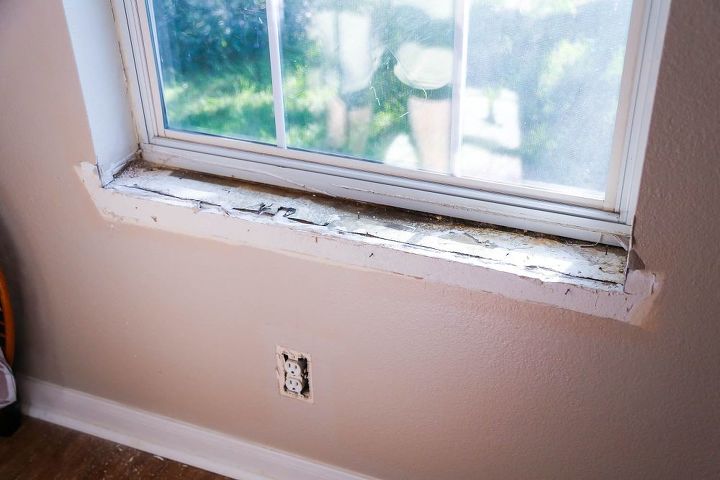
Start by removing your old windowsill. This should be very easy to do with a hammer and a pry bar. Clean up the area underneath it and be sure to remove any lingering nails. Try to keep the sill in one piece so you can use it as a template to cut your new windowsill.
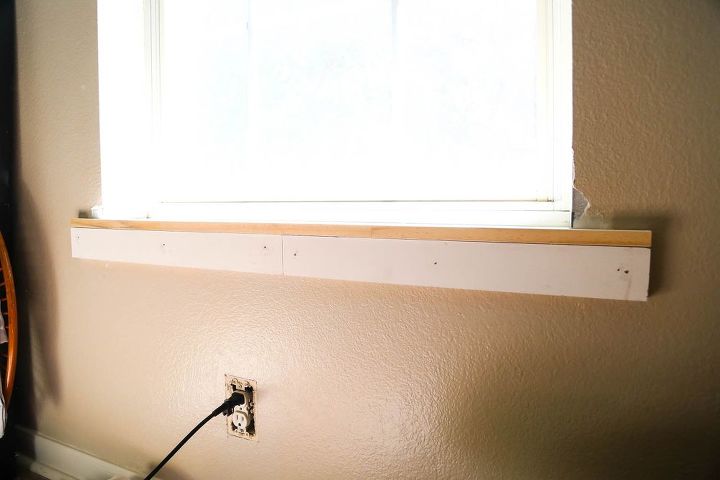
We used a combination of the table saw and jigsaw to cut out a new windowsill. We did not leave an overhang, for a more modern look, and we added a couple of inches to either side so that it would sit flush with the trim we'd be adding on the side.
Once the new windowsill was installed, we added a board underneath it.
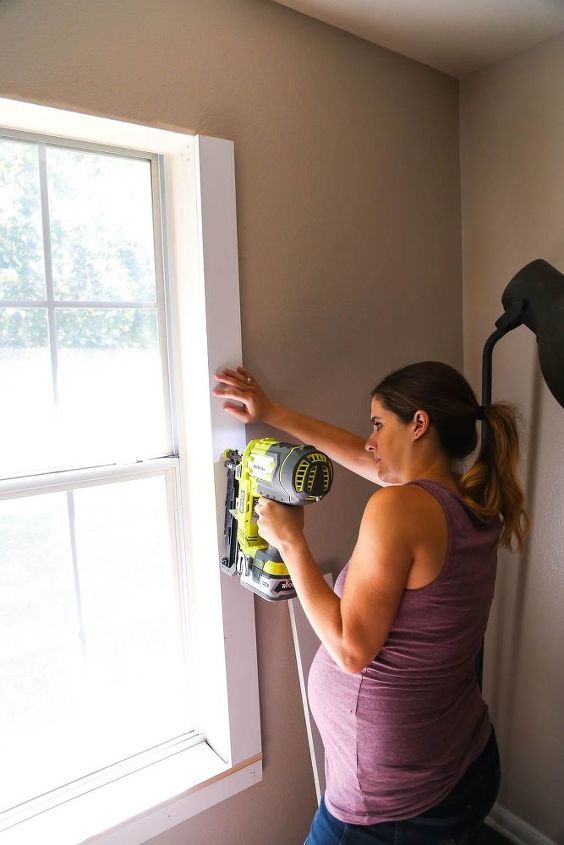
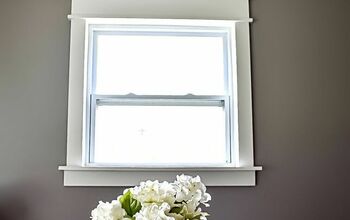
Next up, cut and install the side and top pieces. To install, simply add construction adhesive to the back of the board then use your brad nailer to attach.
We used 1X3 boards for the bottom, 1X4 boards for the side, and a 1X6 board on top.
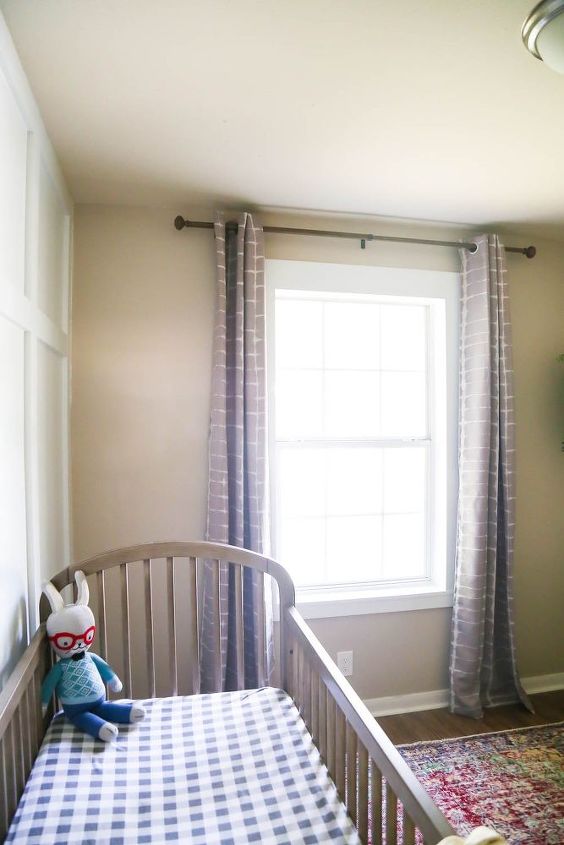
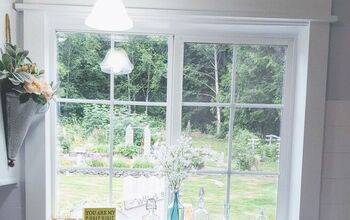
Once all of your pieces are installed, caulk the seams and nail holes and paint it. We did not install wood on the inside of the window, we simply painted it to match.
See more details and photos of the projects on my blog! And find more information on how to trim out a window here!

Comments
Join the conversation
-
Good tutorial. Looks great and no miter corners to mess with.


Frequently asked questions
Have a question about this project?