


Vintage Screen Replacement

6 Materials
$20
1 Day
Medium
If you live in an old house, chances are you have some old windows with old screens...The wooden ones that have strips of wood around them? They are a whole different story when it come to replacing the damaged screens. Take a look:
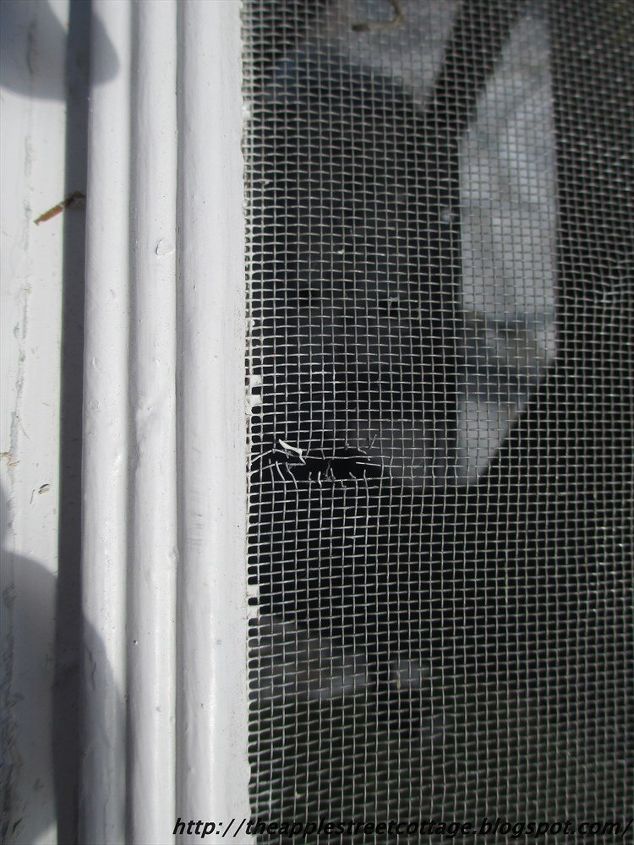
In addition to some holes, they probably also have some 'extra paint', like 75 years worth??

Time to get to work. This is what I did:
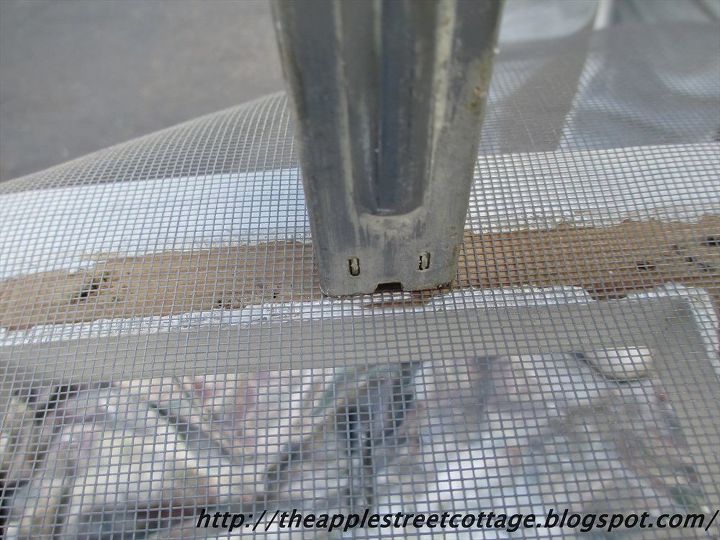
The first order of business was removing the thin moldings around the screen - no rubber spline here, folks, this is VINTAGE! The goal was to remove it without cracking, splitting, or breaking it, soooo, I started by scoring through the 75 layers of paint...
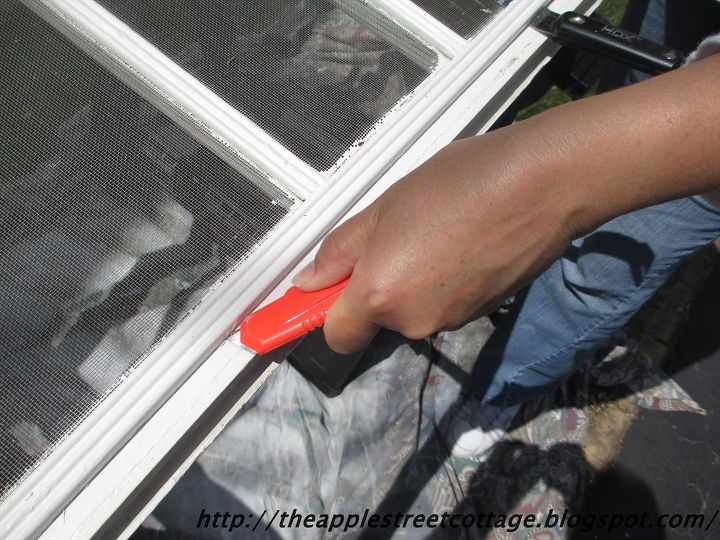
...and gently lifting the moldings:

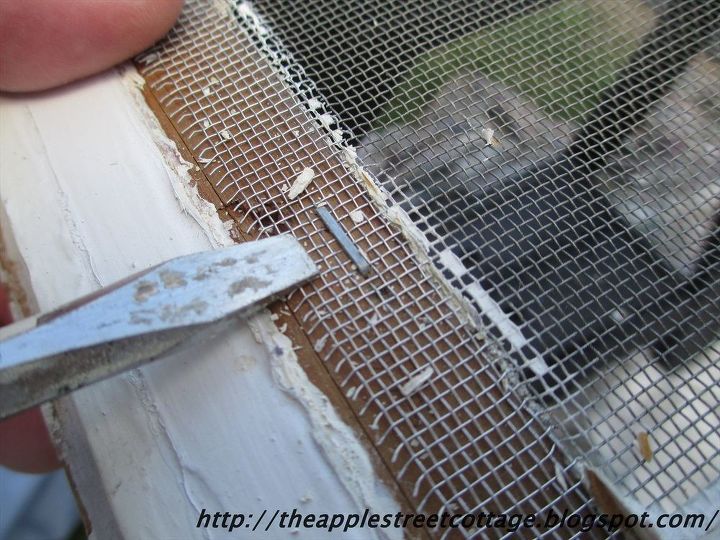
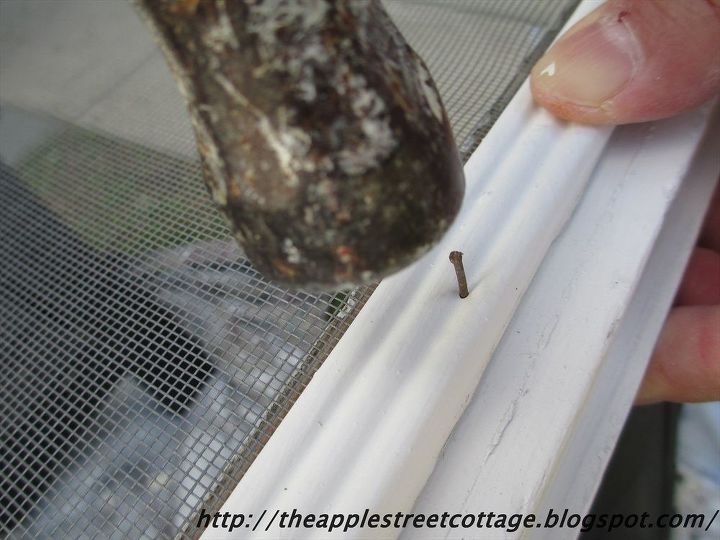
A few of the finishing nails stayed put, so they had to be pulled out, along with the staples - there must have been 100!
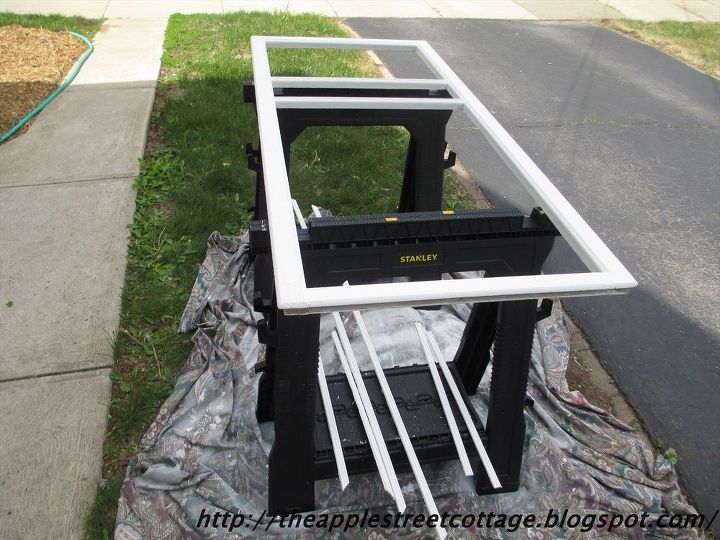
After the old screen was removed, the frame and moldings were scraped, painted and left to dry:
It was finally time to rescreen! The new screening was layed across the frame, stapled, stretched, and stapled again.
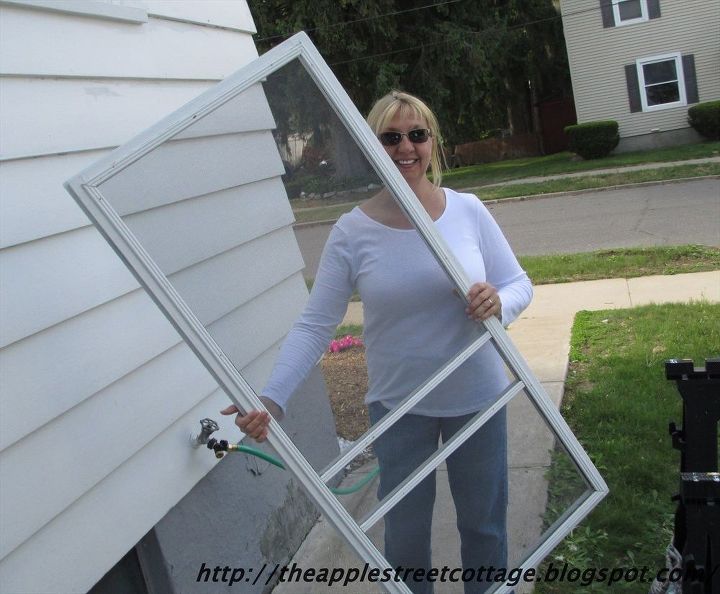
The screen was trimmed and the freshly painted moldings were reattached:
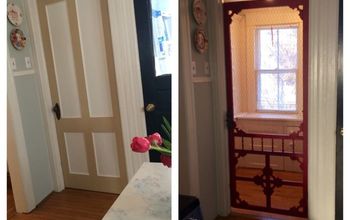
The screen was finished! This was the screen for the front door. It was an old wood storm door - So much character!
For more info on our vintage window and screens and why we didn't replace them, head on over to the blog. We love having visitors at the Cottage!
Resources for this project:
See all materials


Any price and availability information displayed on [relevant Amazon Site(s), as applicable] at the time of purchase will apply to the purchase of this product.
Hometalk may collect a small share of sales from the links on this page.More info


Frequently asked questions
Have a question about this project?