


Part 3 of My Hallway Makeover

by
Cynthia H
8 Materials
$100
2 Weeks
Medium
About a year ago, I started pulling apart my downstairs hallway. Why you ask? The house is over 100 years old. We've been working on it off and on for over 30 years, but, sometimes we had to do it on the cheap, as we raised and educated 3 beautiful daughters. The house had been a rental for over 20 years when we purchased it. The furnace didn't work, the wiring and plumbing all had to be redone. Prior tenants had taken everything that wasn't nailed down, and more than a few things that were, even pipes and the hot water heater. It needed everything. The hallway, full of plaster ready to fall off the walls, received a quick makeover, pulling down the plaster, insulating and putting up blue patterned wallboard at the time (it was a huge improvement). Fast forward to the last couple of years, with the nest empty, and the need to improve the way things looked in some parts of the house, and freshen up the rest. This is where we left things last time: https://www.hometalk.com/diy/decorate/walls/ongoing-project-update-fixer-upper-part-two-32751577
and where we started: https://www.hometalk.com/diy/decorate/walls/fixer-upper-downstairs-hallway-part-one-20414155
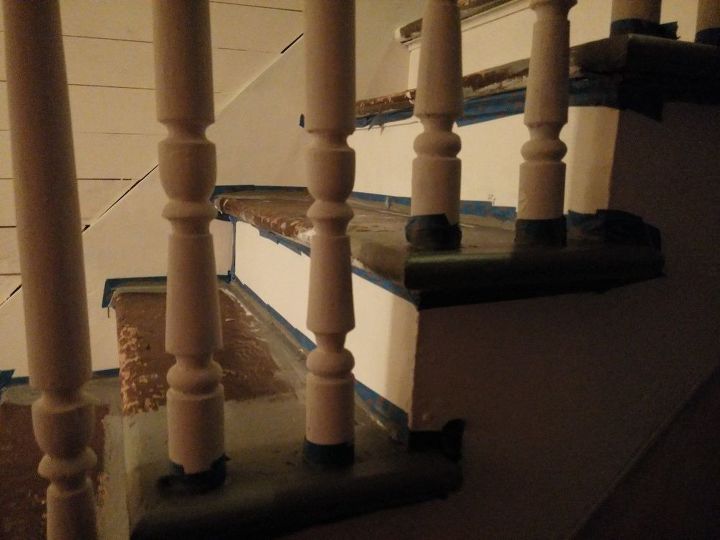
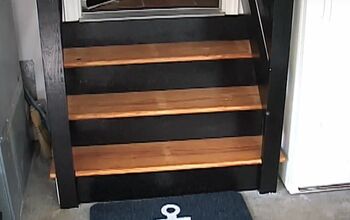
I taped off the spindles, and started painting sections on every other stair, hoping to avoid our cats from tracking through the paint. I would wait until all three were taking their afternoon nap, and tackle part of the stairs.
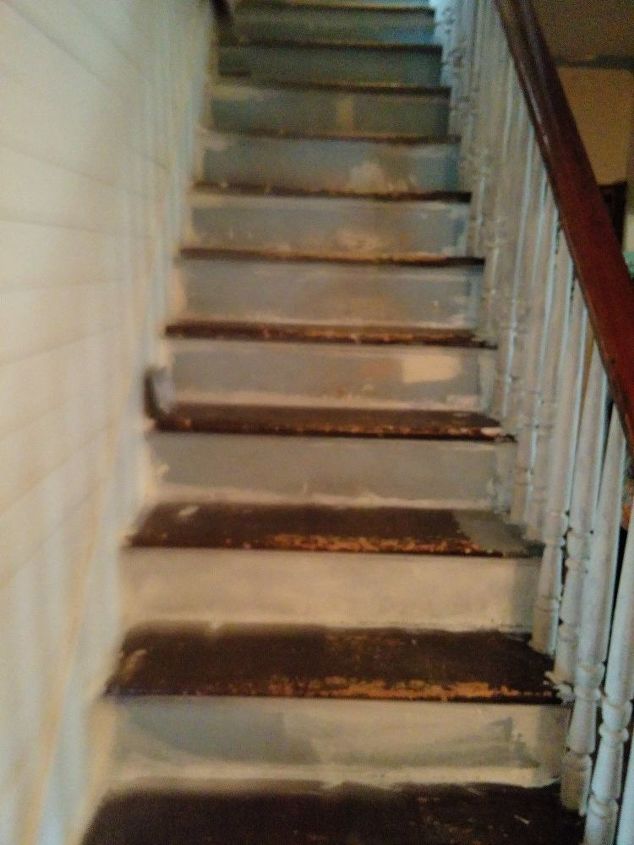
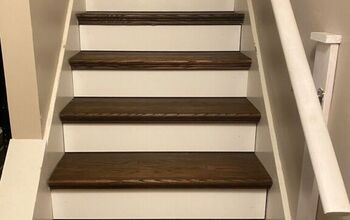
I had decided to paint the old brown treads gray and the risers white.
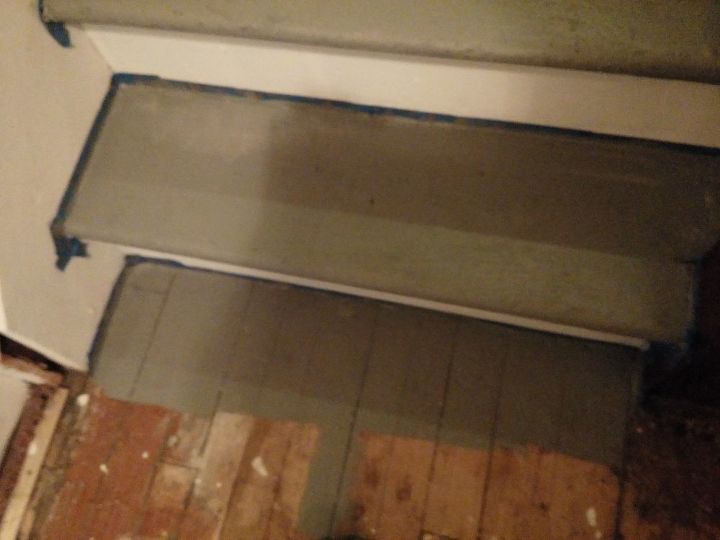
Once I finished the steps, I started painting the floor. I was using Kilz floor paint, which I ordered online, since it wasn't available locally. The floor was first covered with linoleum when we moved in, then carpet for several years. The plank floor didn't strip or sand well (I tried), so in the end I decided to paint it.
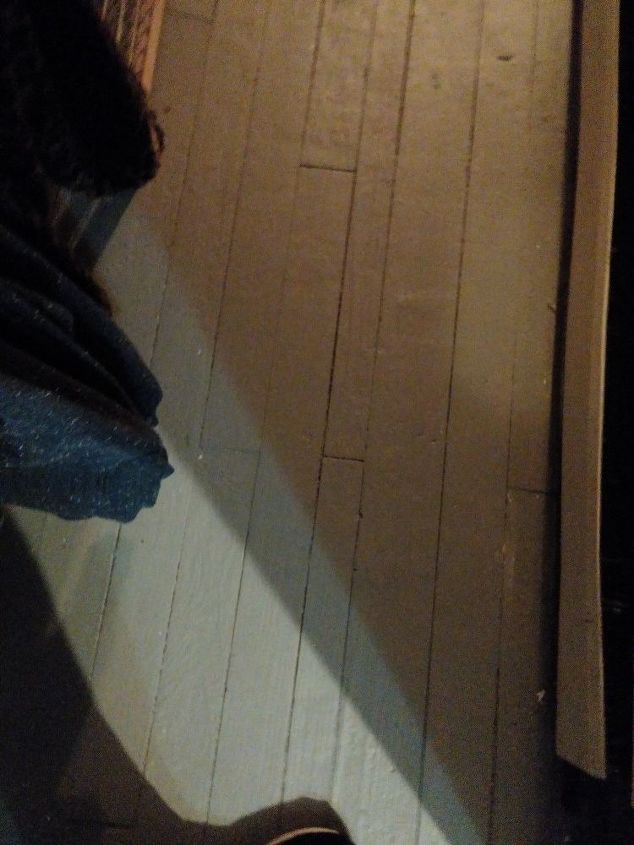
After just one coat a paint - what a difference! It doesn't look like the same floor!
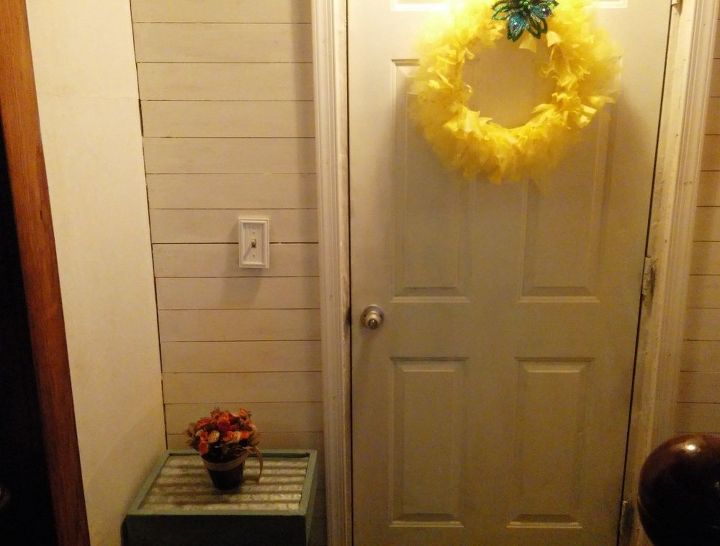
I put wall liner on the uneven plaster inside wall, and will paint it in the future. It goes up like wall paper, smoothing out the uneven wall. The little table project (in the corner) can be seen here: http://www.hometalk.com/diy/bedroom/furniture... wreath will be in another post.
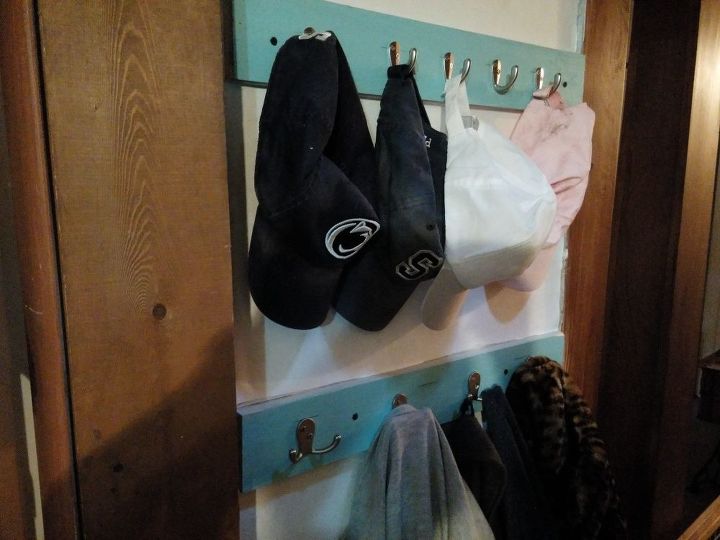
Liner paper was also put here. I used two extra pieces of plank painted Pool from Waverly paint, and added hooks I'd purchased on Amazon.
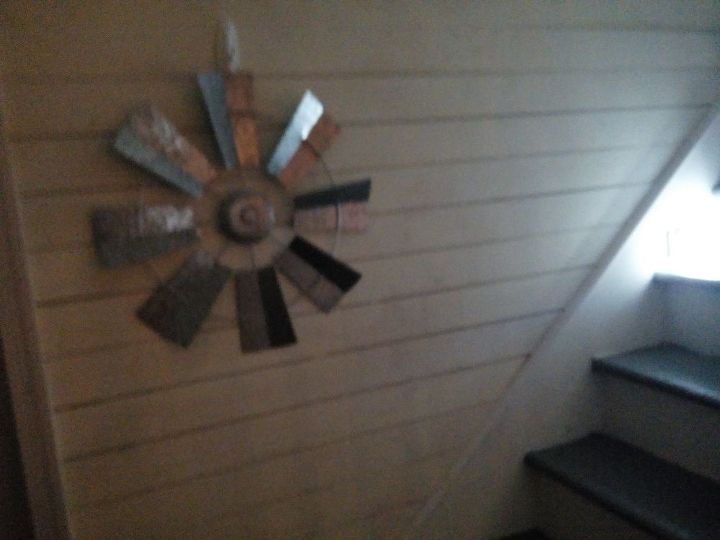
This is the stairwell with the lights out. What is that light you might ask? It's a motion sensor light I purchased from Amazon. I have several on the stairs, to make them safer at night. With rechargeable batteries, we don't even need to add wiring. The windmill was a purchase for $10 at Walmart and hung on a Command hook in case I change its location.
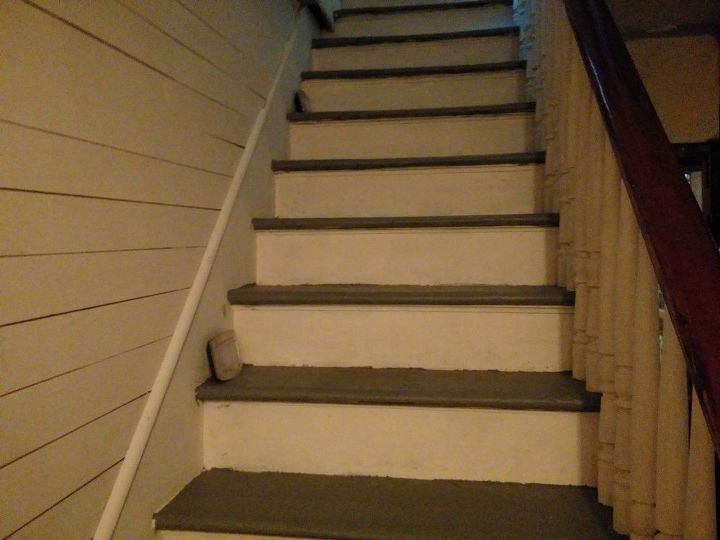
You can see the motion sensor lights on the stairs. Once I have their spacing the way I want, the backs can be attached to the wood next to the stairs. The back slides off to replace or charge the batteries. I have some spots to touch up (which are much easier to see in photos than in person) here and there, and I plan to add more paint to the floor and sealer once I can open windows again. The planks are much easier to keep clean on the floor with the paint on them! I'm planning on a runner, also. At some point we will be painting the papered walls (the liner paper, which I purchased on Amazon can be wallpapered over or painted.
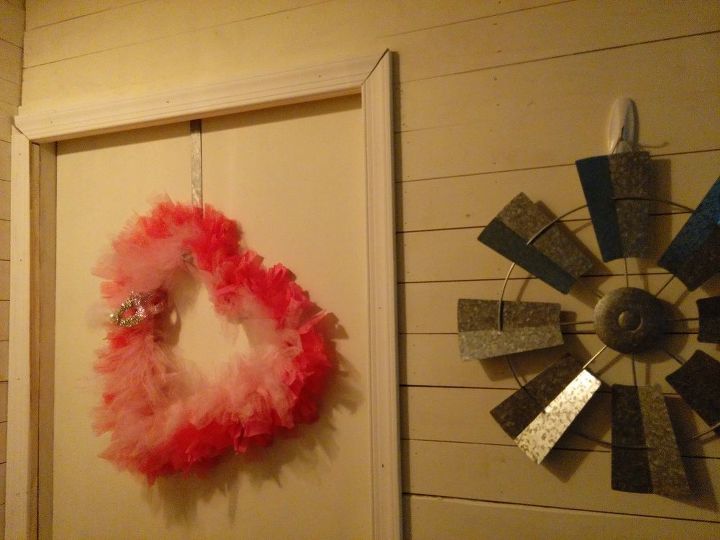
Some more of the decor. I will post this wreath at a later time, but, I made it. I hoped you enjoyed the update! If you click through the links I provided, you will see the extent of the improvements. Now on to something else!
Comments
Join the conversation
4 of 6 comments
-
Wonderful makeover!
-
I love the vintage look. It's very welcoming.


Frequently asked questions
Have a question about this project?