


Rustic Rail

by
Kelly-n-Tony
3 Materials
$1
20 Minutes
Easy
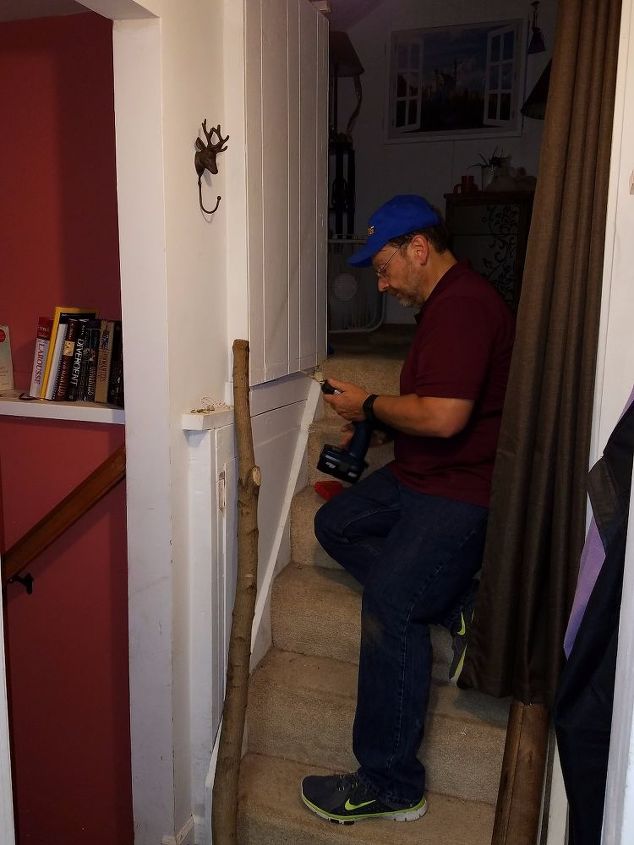
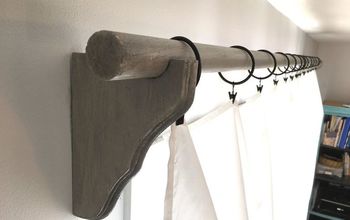
The existing plain wood handrail that was here when we moved in was too low and needed to be moved. I mentioned I'd really love something with a more rustic look for that room and my husband made it happen!
Simply decide how long you want the handrail and cut an appropriately sized length of tree wood with secure bark.
Our wood came from a skinny wannabe tree he cut down last fall. It's a good thing to let it sit in the garage to let it dry a bit and any bugs in/on it will go away.
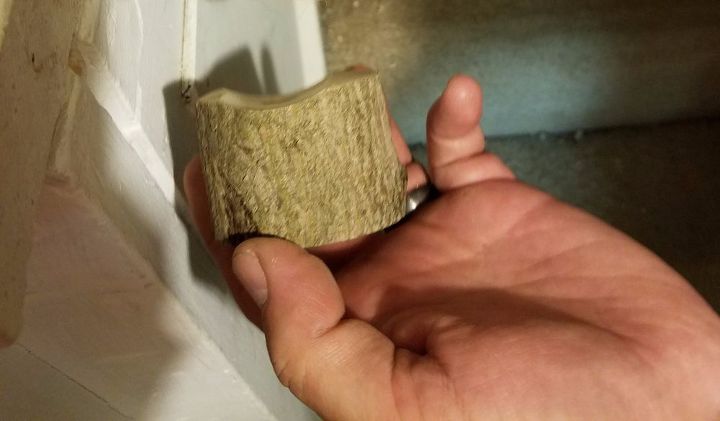
You'll also need two pieces of wood from your leftover length of tree to hold the handrail away from the wall. Your hand should fit comfortably on the rail without being too close to the wall. We went with about 1-3/4 inches.
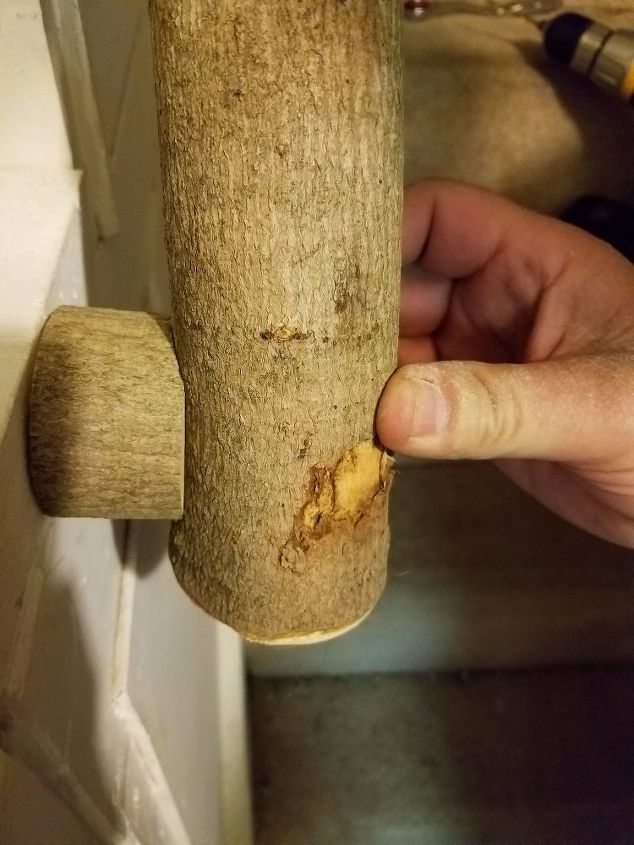
One side can be cut flat and will be against the wall. The other side should be curved to hug the tree branch rail. To curve it he used the round end of his belt sander.
Once you determine where the rail needs to be mark the wall.
Drill a hole into the branch, then the extra piece of wood. Then screw them in together to the wall using a 4 inch screw. Repeat for the other end of the handrail.
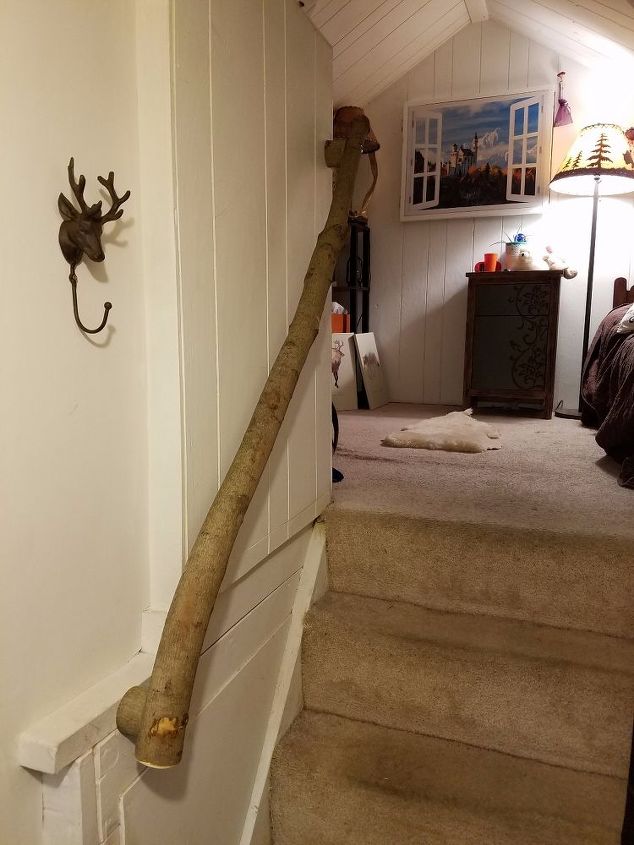
This handrail was for an alcove room with just a few steps but I think it really gives it an inviting and warm look!
The only cost was the 2 long screws which were under $1
We want to help you DIY, so some of the materials in this post are linked to sellers. Just so you know, Hometalk may collect a small share of sales from the links on this page.
Comments
Join the conversation
2 comments
-
Wow! It adds such a lovely woodsy feel to your home!
-
LOVE IT!! So much better than a basic rail. Great idea.


Frequently asked questions
Have a question about this project?