


DIY Serving Tray {Yes, ANOTHER Thrifted Placemat Repurposed Project!}
7 Materials
$7
2 Days
Easy
Don't ever overlook a humble piece at a thrift store! Thanks to some creative members of our Facebook group, I was supplied with three fantastic ideas to repurpose $1 cork backed placemats. Read on to see what the final one became.

This is what I started with. Nothing fancy or particularly gorgeous. Just an old, cork backed placemat I bought from my favorite thrift store last year for $1.
I bought three, not really sure how I'd repurposed them, but pretty sure I'd eventually figure something out.
So this year, when I ran across them in my cleaning out, I asked members in our group for their input - and that turned out to be a brilliant idea because I got three brilliant suggestions!
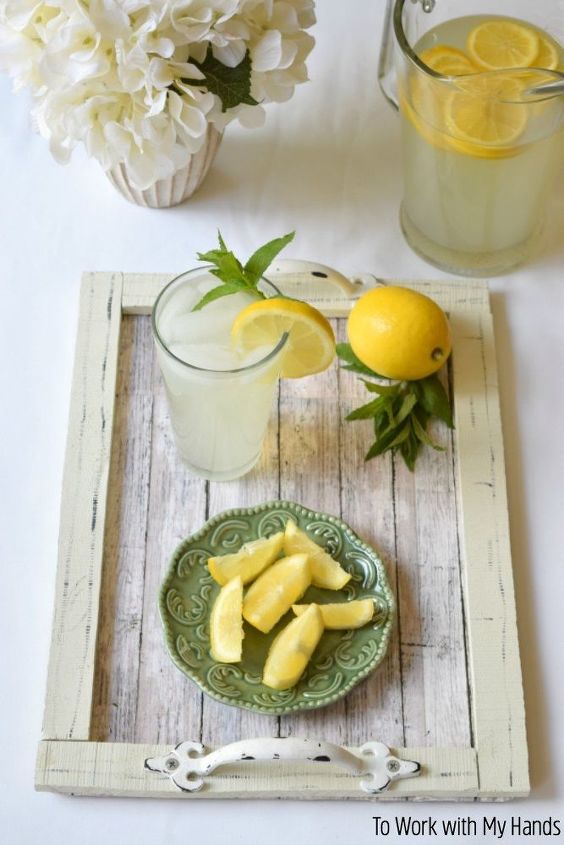
For the final project, I made a serving tray.
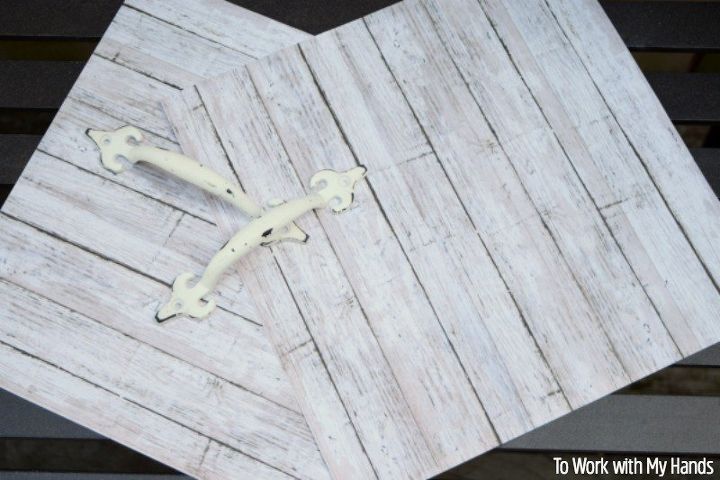
I decided to go with a Farmhouse theme, so the first thing to do was to get that vibe going with some shiplap-ish scrapbooking paper and distressed handles. I found both at Hobby Lobby.
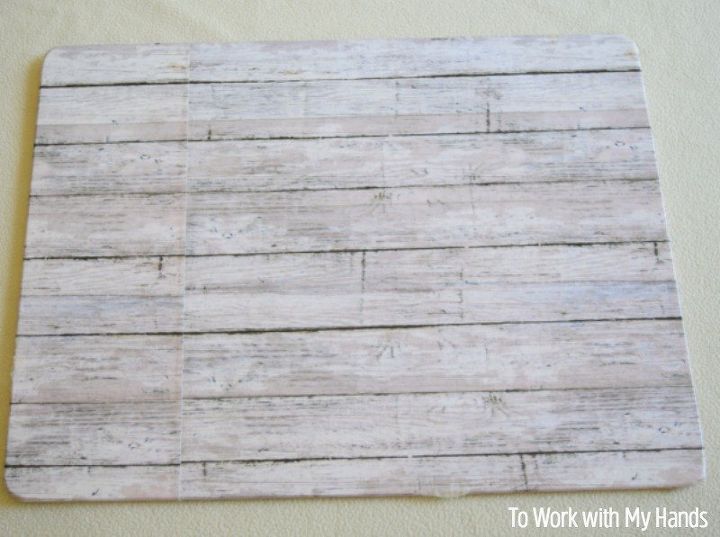
Before covering the placemat with the paper, I gave it a light sanding to remove some random cuts and dull coating.
Mod Podge is great, right? I just spread a layer over the top of the placemat, smoothed the paper on and over the edges, then spread a second layer on top to seal it. It took more that one sheet of paper to cover (see that seam there?).
I thought it gave it somewhat of an authentic look, but if I did it again, I think I'd make more than one seam and make them random.
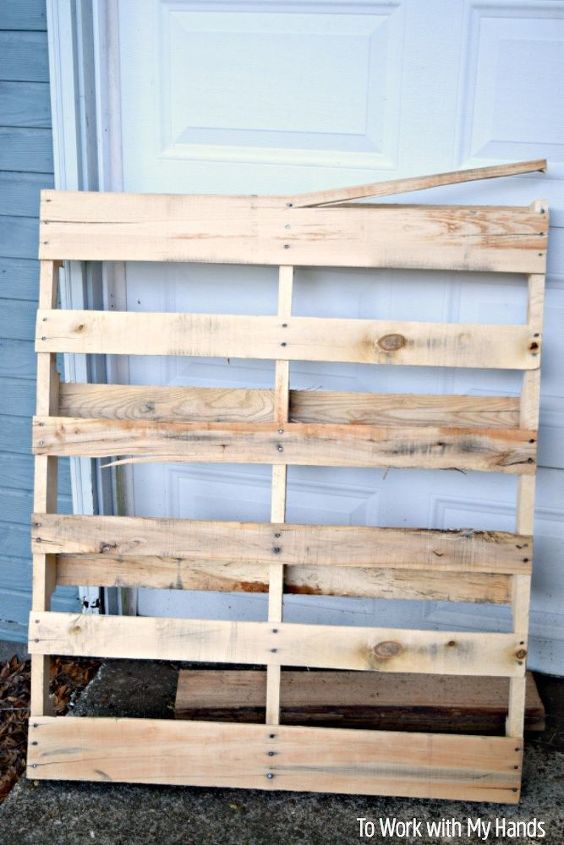
My suggestion was to use pallet wood for the sides of the tray. And that was really what fueled the Farmhouse theme.
Thankfully I have an easy source for pallets, so I headed right out and got myself one!

I only needed a really small piece of the pallet, so I grabbed a handy and very capable helper, and just gave the directions  :
:
: Cut here,
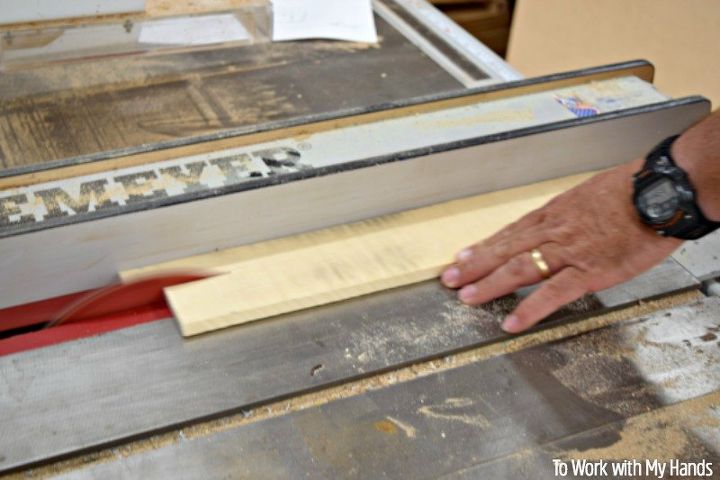
rip there,

and border the edges like this.
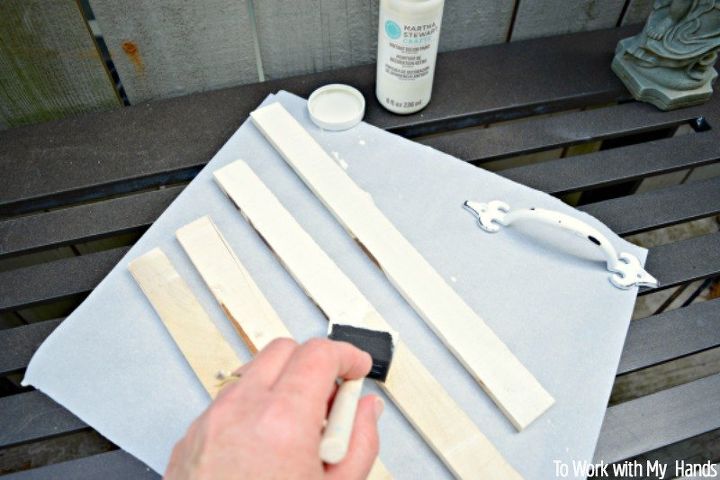
With the pieces cut to fit, it was time to paint. I used a white chalk finish paint as a base, then added some random highlights with grey craft paint - just so they would look more rustic and not so finished, somewhat like the paper.
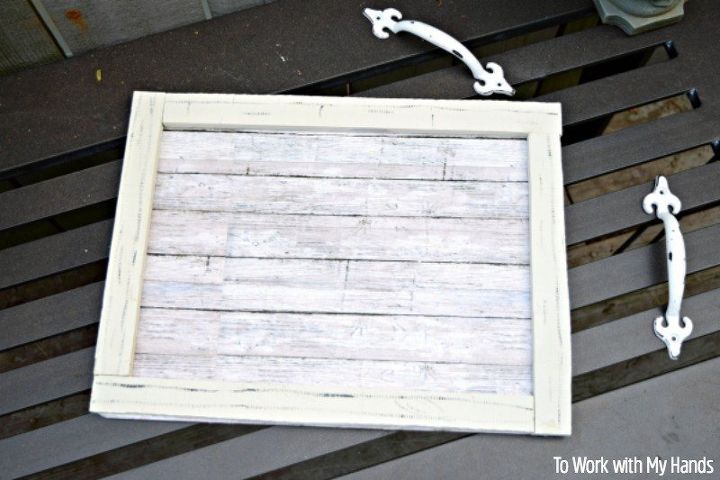
Finally, I attached the handles to the side slats, then glued all the pieces on with gorilla glue.
It takes the glue a good 24 hours to cure to a solid hold.
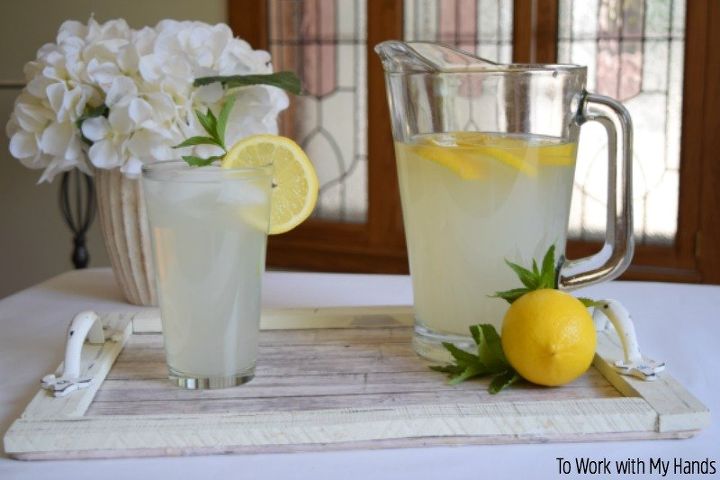
Now my once ho-hum cork backed placemat is a rustic and useful serving tray!
And if you'd like to see what else you can do with cork backed placemats, check out the chalkboard and patio table I made with the other two.
Resources for this project:
See all materials


Any price and availability information displayed on [relevant Amazon Site(s), as applicable] at the time of purchase will apply to the purchase of this product.
Hometalk may collect a small share of sales from the links on this page.More info

Want more details about this and other DIY projects? Check out my blog post!


Frequently asked questions
Have a question about this project?