


DIY Tiny Window Greenhouse
Looking for a greenhouse? Try this simple tiny greenhouse made from windows! Check out more DIY's by subscribing to the blog!

This tiny greenhouse is made out of two old 6 pane windows, a used piece of 1×12, and four table knobs. These pieces were not in perfect shape and I felt like that was the best part about making it because, it added character. I started with staining the 1×12 board and the four table knobs.
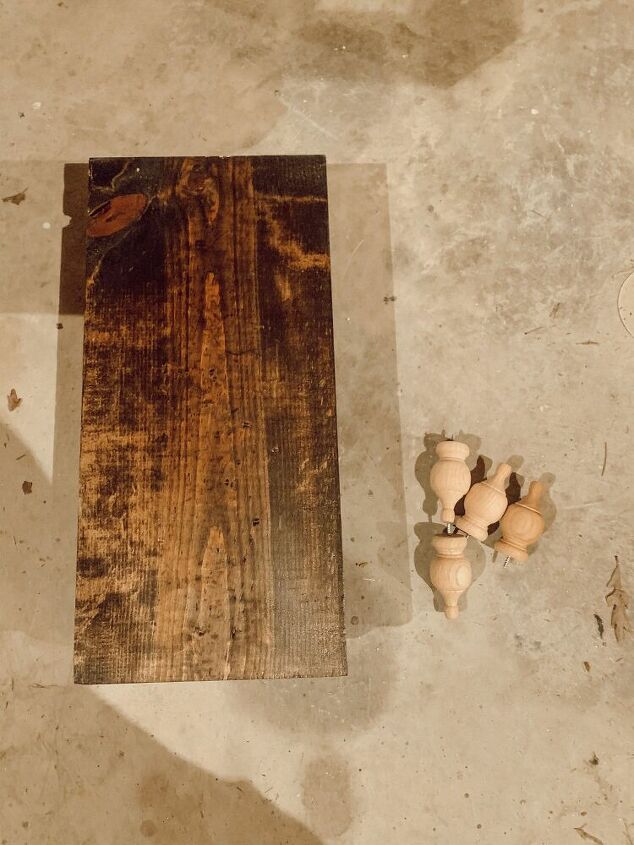
I chose to use a scrape piece of board that was 28in L X 12in W X 1in thick. The wood was stained with Minwax Dark Walnut and a set of finials, I had laying around. I used this board because you want the board to either be the same length as your window panes or the same length.
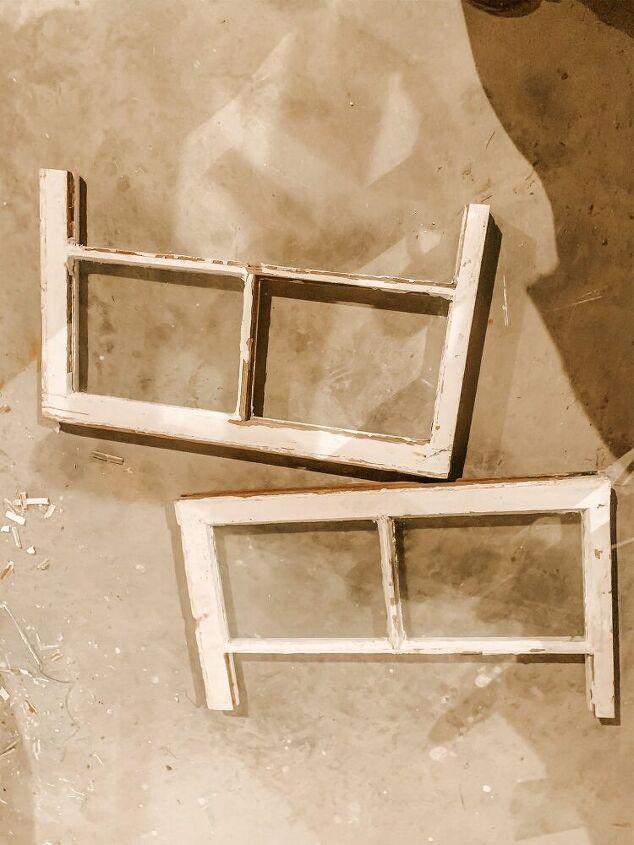
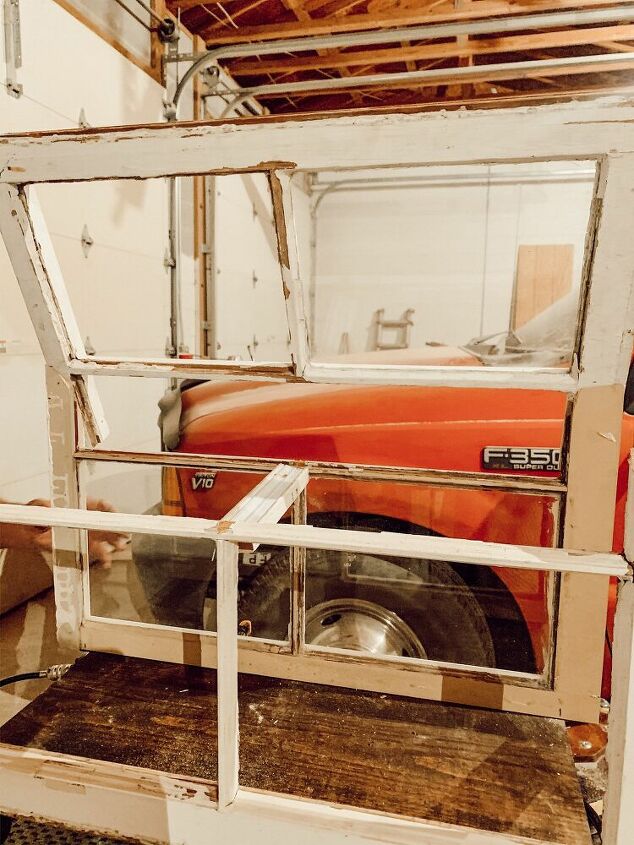
Before you start cutting you want to measure the length of the window and find the middle. I marked the middle on both ends for the cut points. Once that was marked, I took a hammer and broke out the two middle glass panes. After the panes were removed, I used a table saw to cut the window panes in half.
Now that the windows were cut, it was time to start building the greenhouse. I attached the table knobs ( the feet) to the bottom of the board, 1 in off the edge of the board. Then, I took two halves of the window panes and put them on the edge of the wood base and mark where they were. Once I had the marks, one side at a time, I used screws underneath the board to attach the window pane to the base.
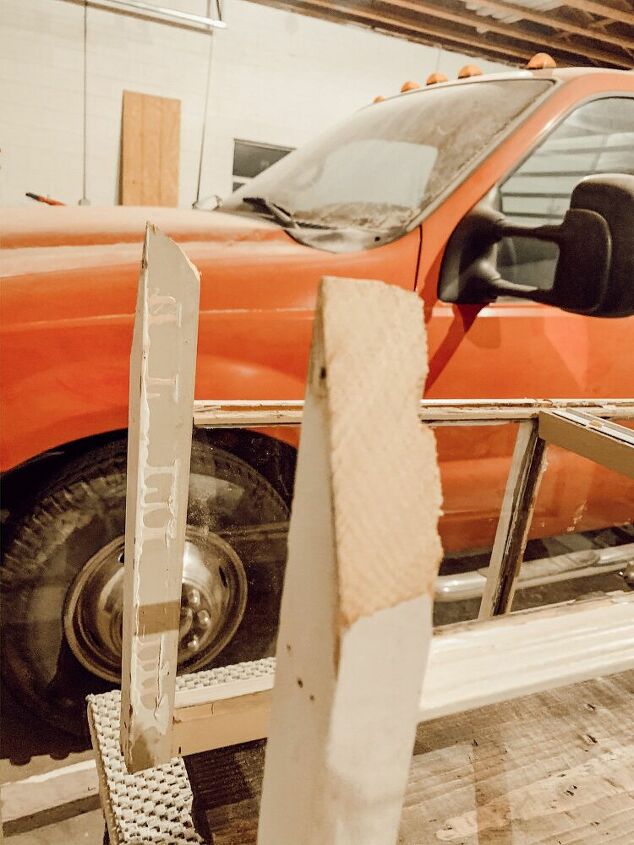
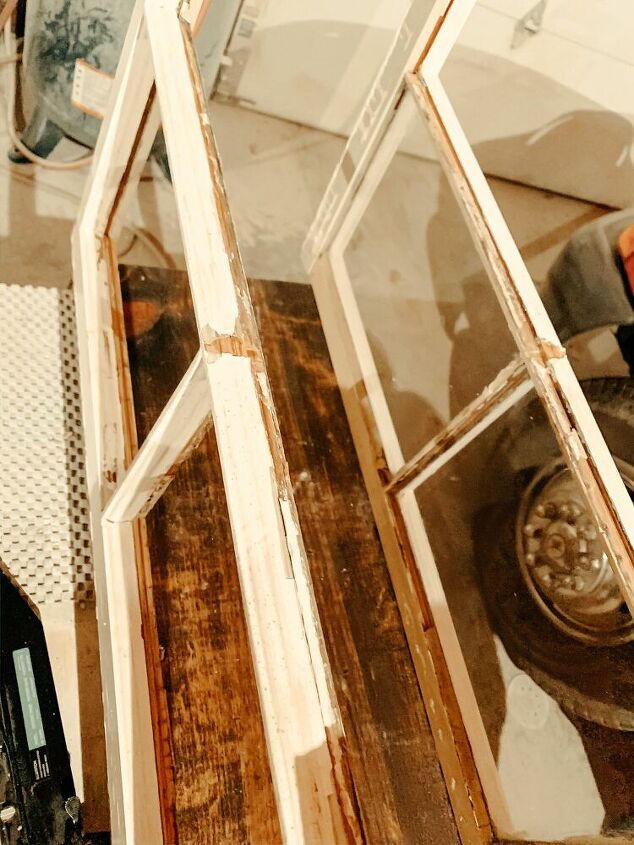
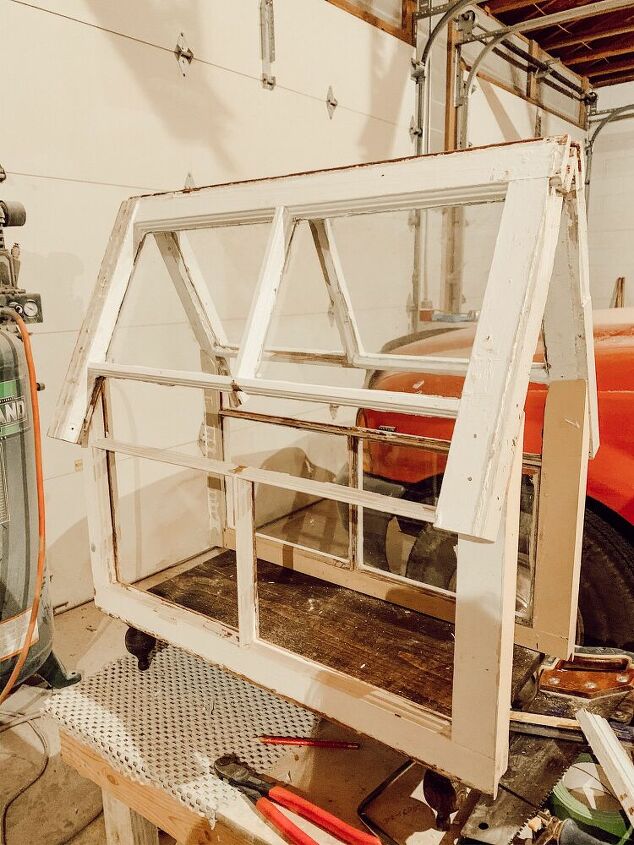
Once the base was attach, I took the the other half window pane and figured out the angle of the top of the greenhouse. This will depend on how wide the wood base is that you chose and the size of your windows. I held the window pane up on one side and angled it just how I wanted it, then marked it with a pencil on both pieces. I then took a jigsaw ( you can use a handsaw as well) to cut along the line on the window. I did this to both sides.
After cutting the angles, the only thing left was to attach those two halves to the side pieces. One side at a time I lined the top piece up with the angle and used a nail gun to attach it in place. Then, I did the other side and the two pieces created the V peak. I personally used the nail gun to attach the top together as well with extra long nails, just for more stableness.
Once the greenhouse is assembled, you want to make sure that it is sturdy for your use!
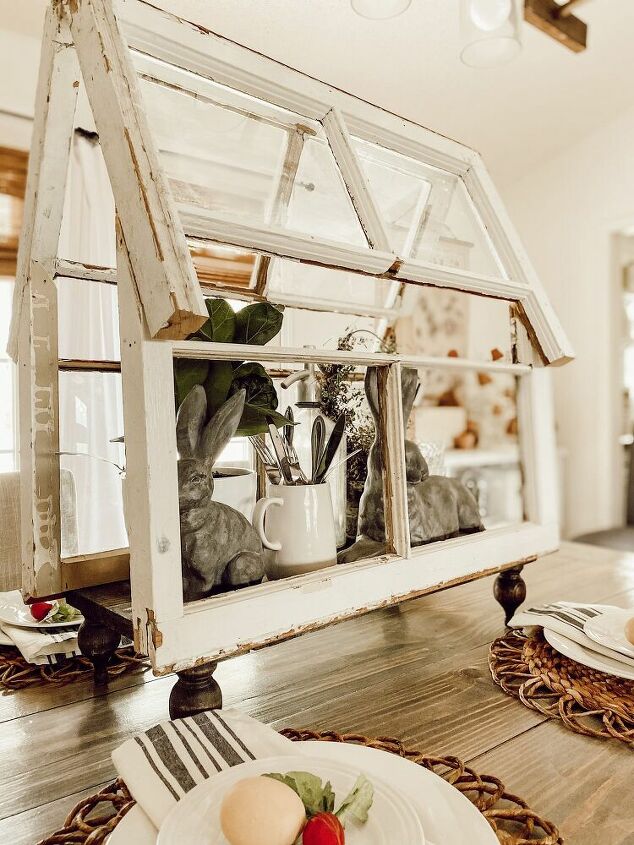
Now it is time to style your fun new tiny greenhouse. For fun ways to style this greenhouse, check out Pinterest!
Resources for this project:
See all materials


Comments
Join the conversation
-
Gorgeous!
-
I adore this!


Frequently asked questions
Have a question about this project?
that would block the view to the person seating in front of me, no?
Hi there,
I see where you write 2 6 pane windows, but in the picture and listed supplies it looks like 2 4 pane windows. So is it 6 pane or 4?
BTW, it is beautiful, thanks for sharing!
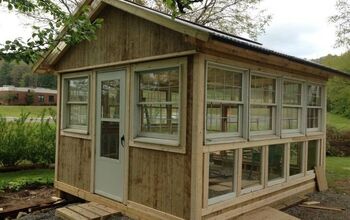
My dad used to dig the size of an old window on the side of the house facing the morning sun, frame it in and attach the window to open upwards to create a hot bed. He started his plants in the spring there until they got big enough to transplant and tolerate the cool mornings. I cannot find old windows anywhere. Any ideas where I might look for some outside of going to rebuild store and paying so much I can wait to buy large mature plants?