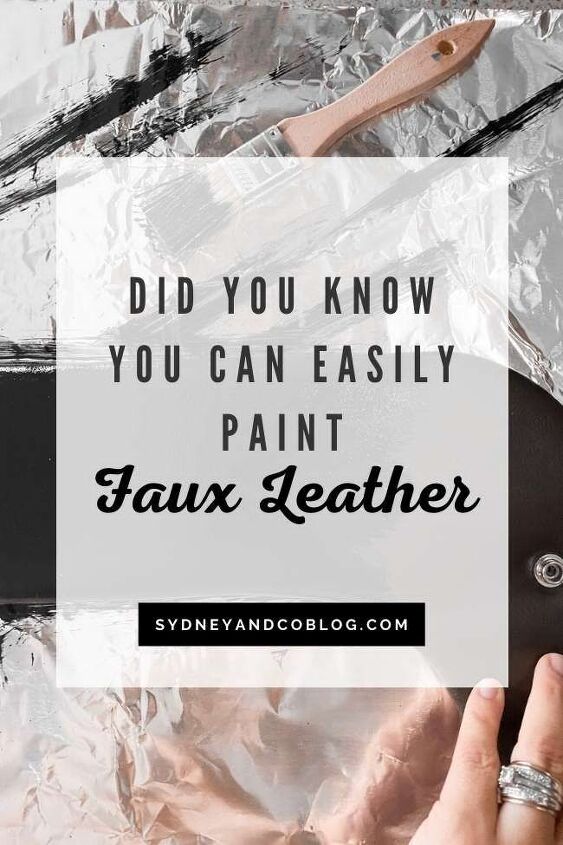
Easily Paint Faux Leather | Sydney And Co.

What happens when you’re gettting ready to start a project and you realize the thing you had intended to update with a simple paint job is actually made of FAUX LEATHER? Don’t fret… Painting faux leather is as simple as painting any other object, let me show you how!
Have you ever heard of the “domino project?”
It’s where you start one project and it falls into another, and another, and another… You get the picture.
Well, let me tell you, I the Queen of letting one project domino into at least twelve other projects.
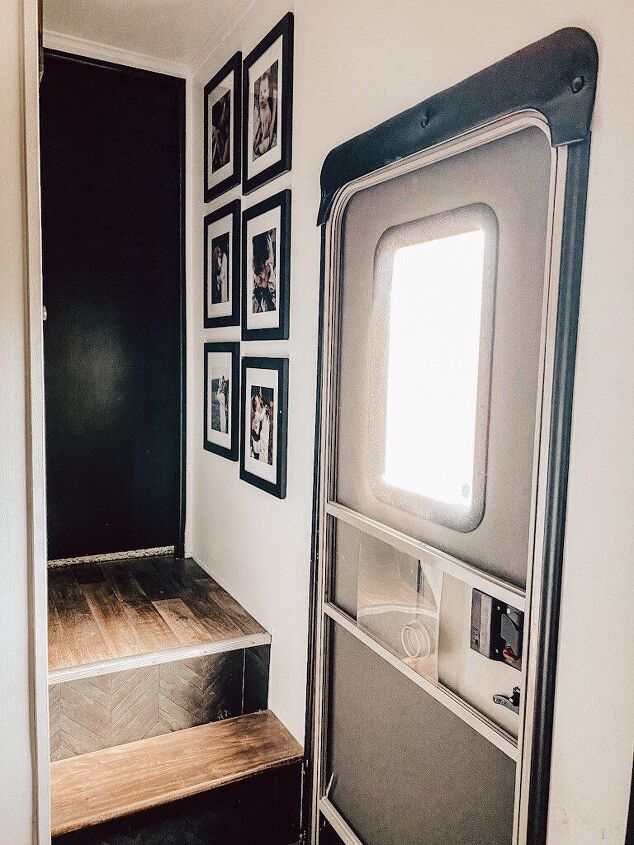
That is how I ended up updating the inside trim around our camper door.
You see, my first project in the camper was painting the walls white. It needed some more white and less beige faster than I even I could slap paint on the walls.
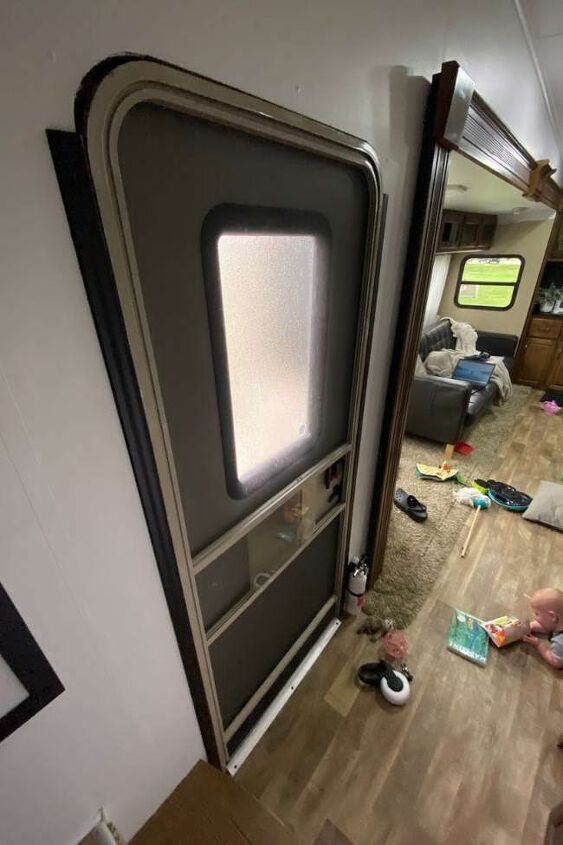
Then, the door trim looked… OFF.
I knew I wanted to completely replace this trim. However, while I was already letting this project domino, I wasn’t ready to take on a project that large. (ie, one that made
So, I turned to my old friend… PAINT!
HOW TO PAINT FAUX LEATHER
SUPPLIES:
Some of these may be affiliate links, which means I earn a small commission from purchases made through that click at no additional cost to you.
- PRE-PAINT CLEANER
- PAINTERS TAPE
- FOAM PAINT BRUSH
- FAUX LEATHER PAINT

STEP ONE:
PREP
I would argue the most important part of any paint job is the prep work. It’s also most often the step I skip, and I always regret it!
In order to paint this faux leather piece above my camper door, I made sure to clean it really well. Paint will never, never, never stick to oil or grease.
I like to use Krud Kutter pre-paint cleaner. It is a TSP substitute, so unlike regular TSP products, it is safe to have around children and pets.
Just wipe on the TSP, let sit for a few minutes and wipe off. It contains a degreaser, that will remove any oil or grime. As well as a deglosser, which will help your paint better adhere to the surface you are painting.
I also removed the door header from the wall. If you have any areas you do not want to paint, go ahead and use painters tape to tape off those areas.
STEP TWO:
PAINT
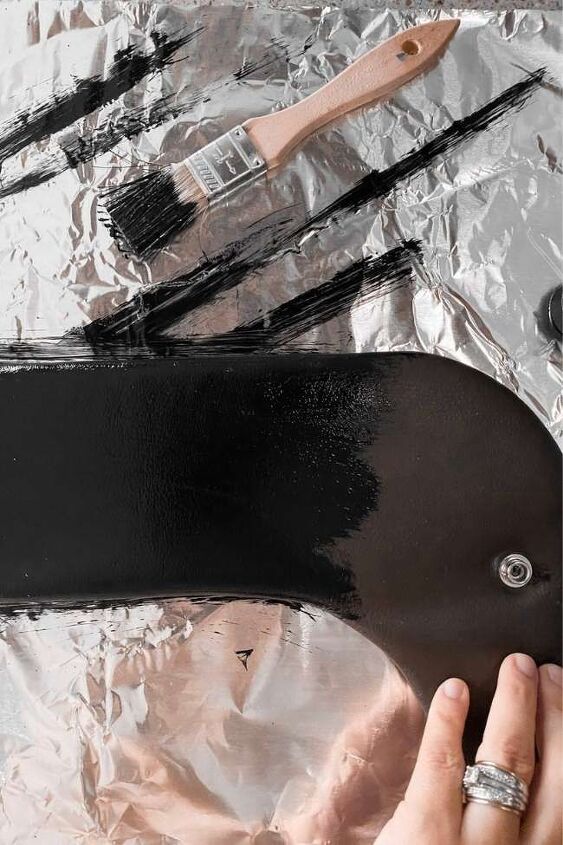
Once you have fully prepped your project for paint, you’re ready to get started.
This faux leather paint can be purchased on Amazon. The jar is relatively small, however, I found that a little bit goes a LONG way!
It also comes with it’s own paint brush built into the cap. This would make this product the perfect thing to use for a leather touch up. Such as on a couch, or in car interior.
If you are painting a larger surface area, you will want to use a larger brush. A cheap, disposable, foam paint brush will work really well without leaving brush strokes.
STEP THREE:
CURE
This is very important, and another step I usually have trouble with. What can I say? I’m impatient.
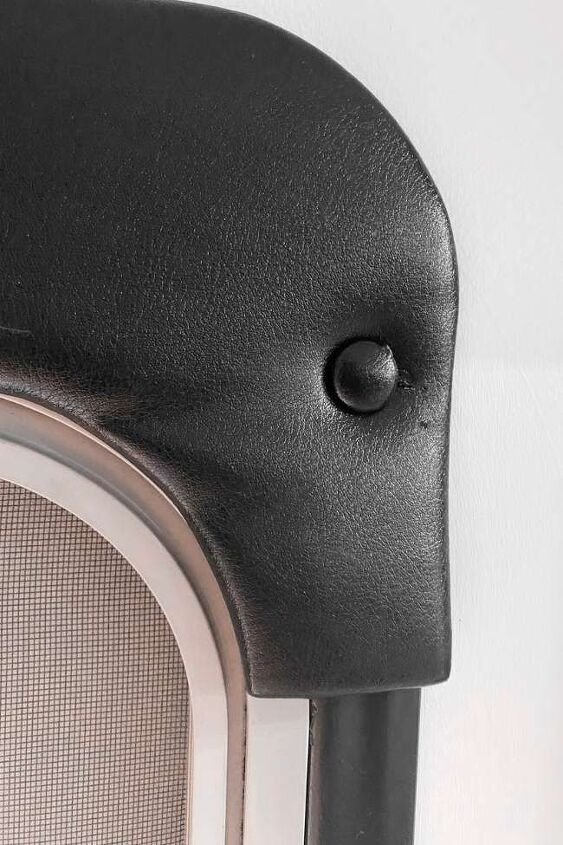
While your project may be dry to the touch, this paint really needs 24 hours to cure. By allowing this proper dry time, you will ensure your project does not crack, chip, or scratch.
what can you come up with to paint today?
♥
Sydney


Comments
Join the conversation
Inspired, Yes! I'm refurbing an old truck and have replaced armrests but with a different color. Think this will work?