


From Slab to FAB
My hallway was a dark and dingy cave, I needed to show it some love, and boy did I! Once the hallway itself was done, it was time to turn my attention to the slab doors that were original to my 1952 ranch home. Not sure that they were hollow as they weighted way too much for that. The time had come to put the frosting on the cake and finish this hallway makeover with a bang!
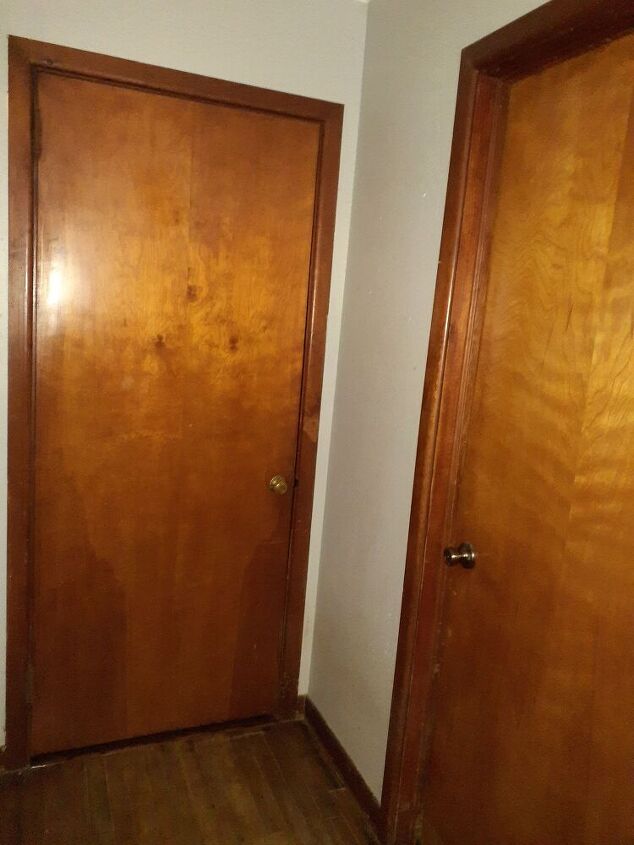
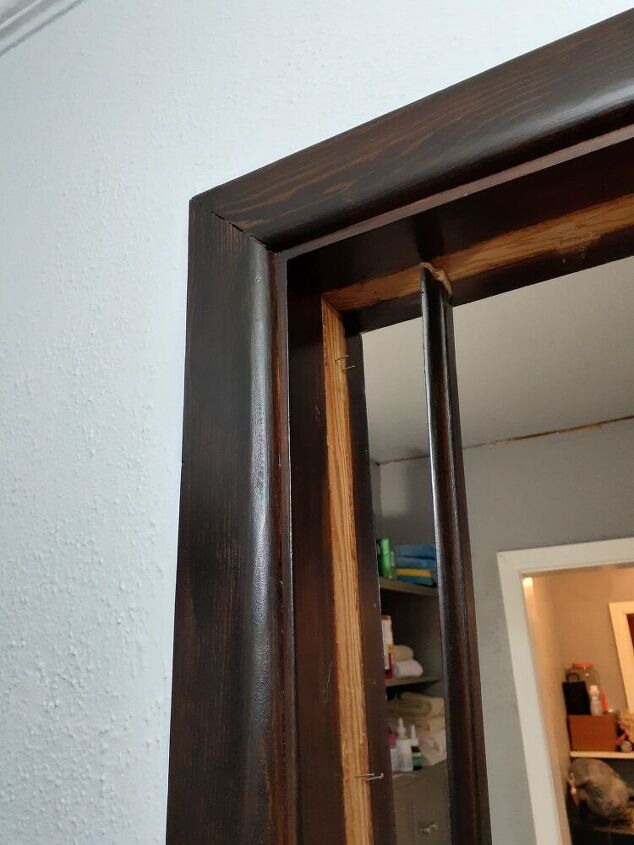
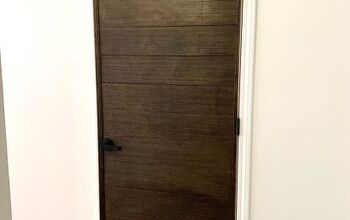
So I started out with these doors, such a lovely shade of brown orange on the doors and the trim... NOT. --that was addressed in this hallway makeover.
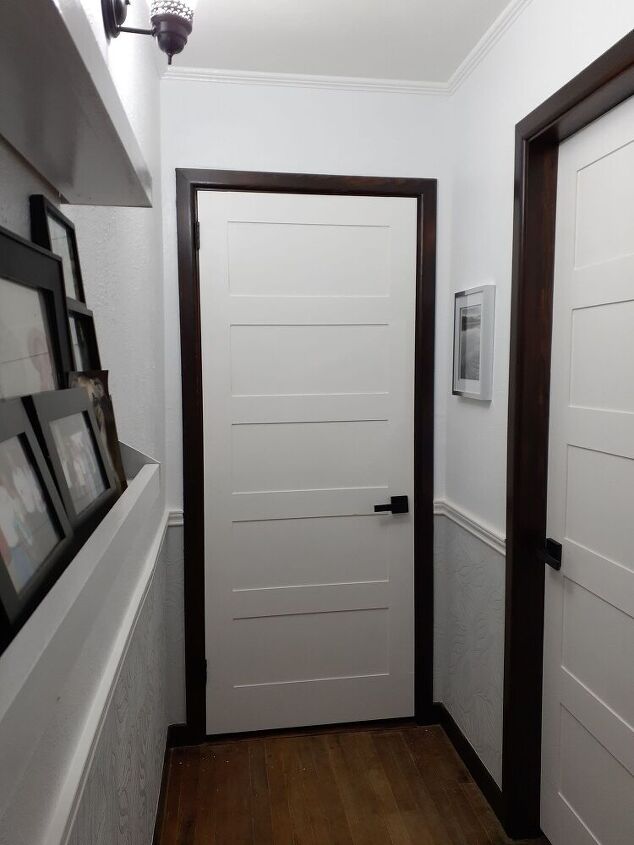
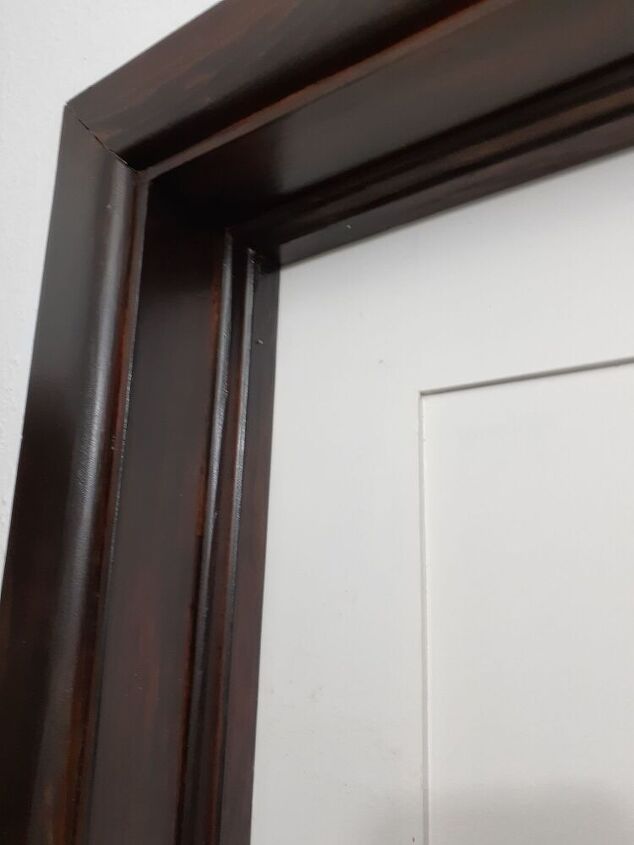
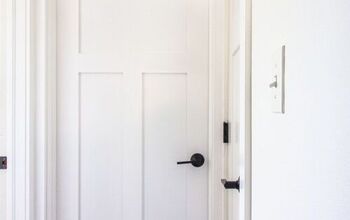
and this is the finished product... same corner...
what a difference!
So how did I change these doors? Buying new doors was out of the question, there are 9 doors in my hallway, that would have been expensive just to buy new doors, and installation would have been way beyond my skills and budget.
I would like to give you a detailed step by step tutorial so that you can do this yourself. I had to do a lot of research and studying to learn to do this properly. I hope to address all your questions, and put all your doubts to rest. If I can do this YOU can do this! So lets begin.
I took all the doors off the hinges and took them outside. When I took the doors off, I marked each one at the top what room door it was and what way faced the hallway. I then address any repairs that they needed: filled holes and damages with wood fill. At this point I was still hesitant about doing this project vs just painting the doors and calling it a day. I headed off to HD to buy the wood. I decided I would make up my mind tomorrow, but I needed to at least have the wood on hand. What I bought at HD was underlayment (important to use underlayment as it is not actually 1/4 inch and you need it to be less so that the finished door is not too thick for the hardware!) -which is in the plywood sheet section; each sheet was $14, I needed five sheets so that was $70. I had my cheat cheat with me,- the cuts sizes I needed the sheets ripped down too. My cuts were as follows (this is how I wanted my doors to look, you can use whatever measurements you like or what suits your style). The cuts were as follows: 3 sheets at 4" strips, 1 sheet cut at 8" strips, the next sheet was and 4 at 5 inch strips, plus left over at 2 and a half. I had already decided that if I was going to do this I was going to do both sides of the doors at the same time (I also got extra so that I can do 3 closets and my pantry- at a later date).
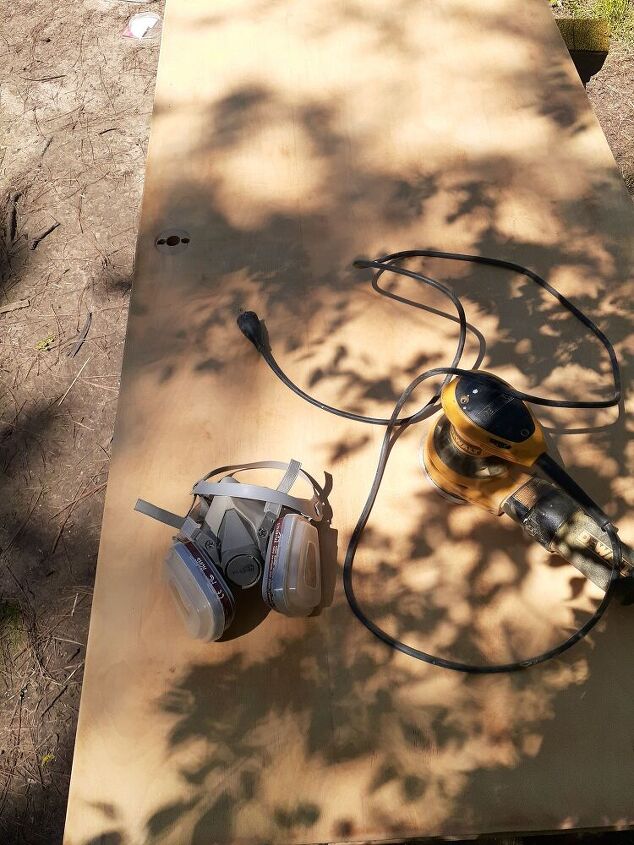
The next morning I got to work sanding the doors. I was still on the fence about moving forward with the transformation. I sanded the doors smooth, down to bare wood. That is how I do ALL of my projects that involve wood- they always get sanded down to raw wood. Do you need to sand them? That is up to you, you do you, for me I will always sand down to raw wood ( I do not want to finish a long project and have any problems with the surface underneath, no I do not use chalk paint or any miracle paint that tells me I do not need to prep- I Always PREP).
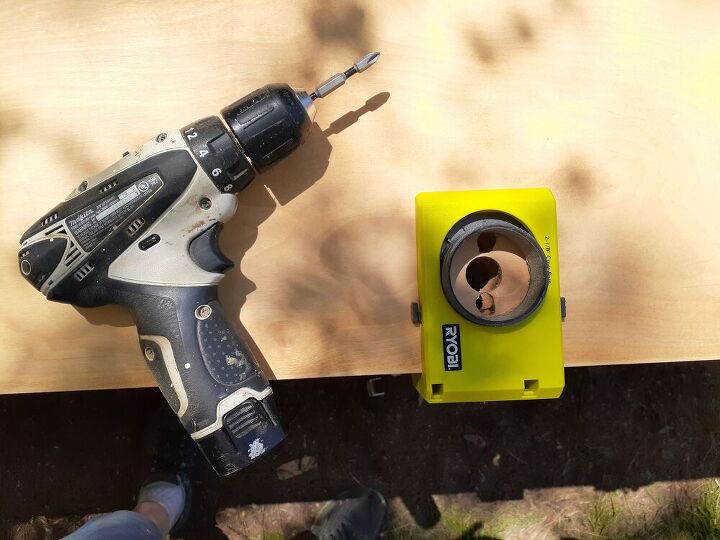
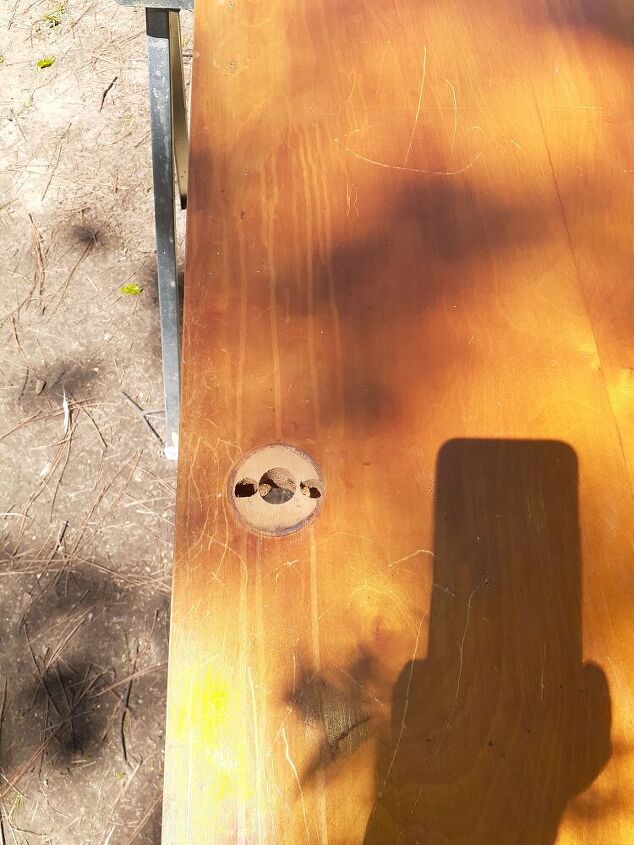
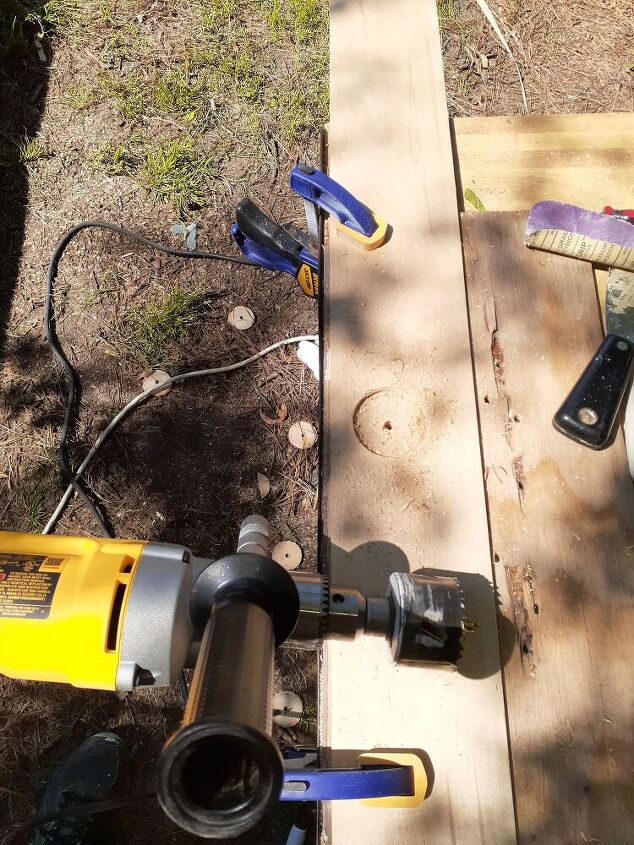
Next I had to address those weird knob holes as my new modern hardware would not work with this. This Ryobi gadget was easy to use and just like that I had holes! You will not have to do this step if you have full holes.
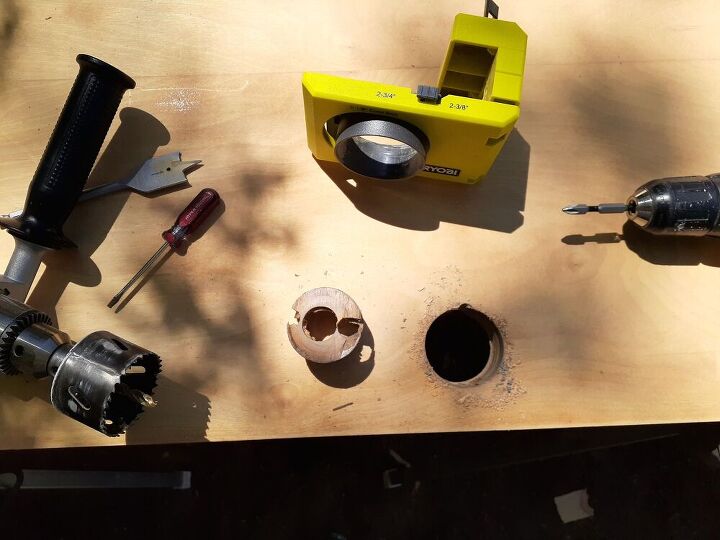
Woohoo, look at that hole! And now I am ready to go. Now it was time to cut some wood (I decided that I would never be happy with them unless I did the full makeover).
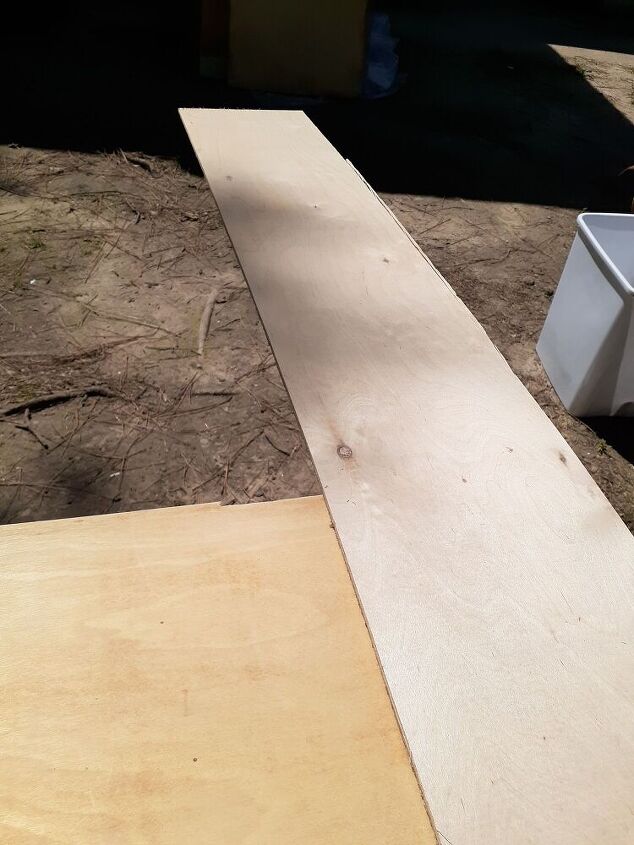
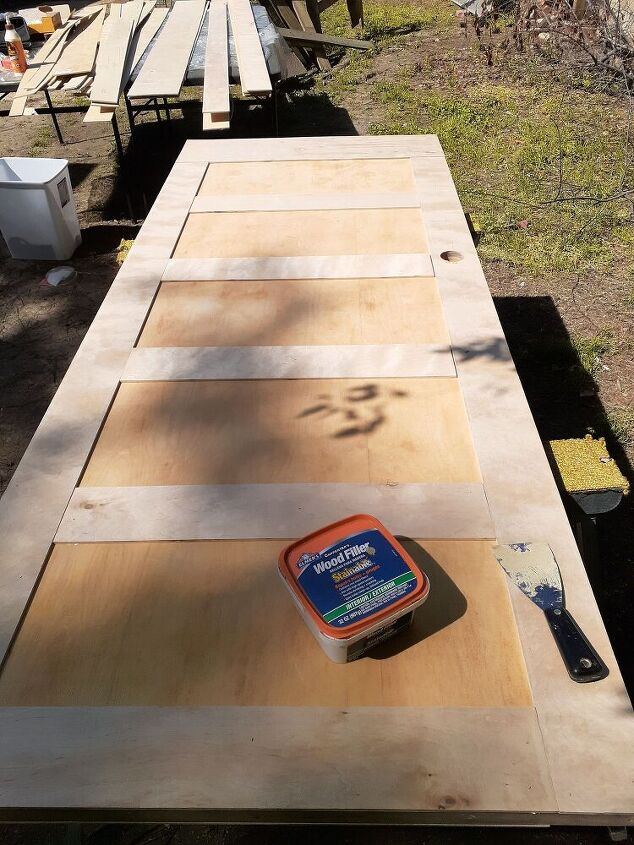
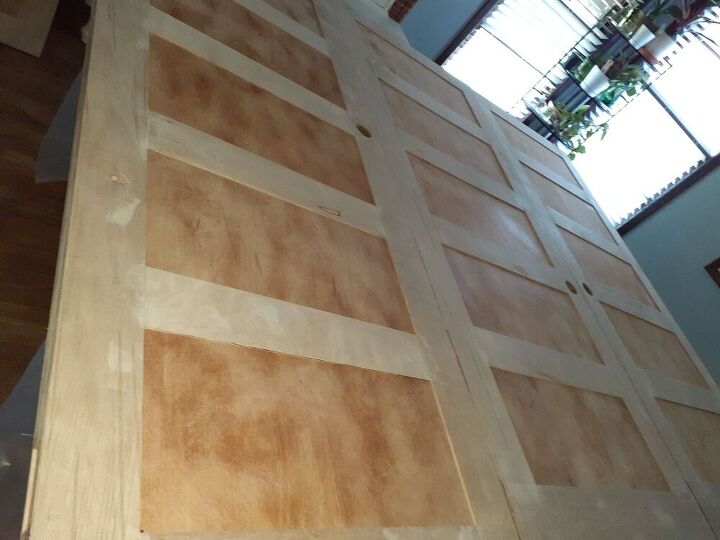
I did not use a measuring tape I just lined up the wood and marked the bottom for my cut. The bottom of the doors got an 8 inch piece, all the rest of the wood I used the 4 inch pieces, this was for the big full size doors. I sanded each piece on all side, not the flat side but the ripped/cut side, this is important to do now. I wore gloves when handling them and hand sanded them so that they would be smooth - no more splinters and a nice smooth edge to your finished product. I also cut a wooden yard stick at 10.4 inches times two, this would be my spacers.
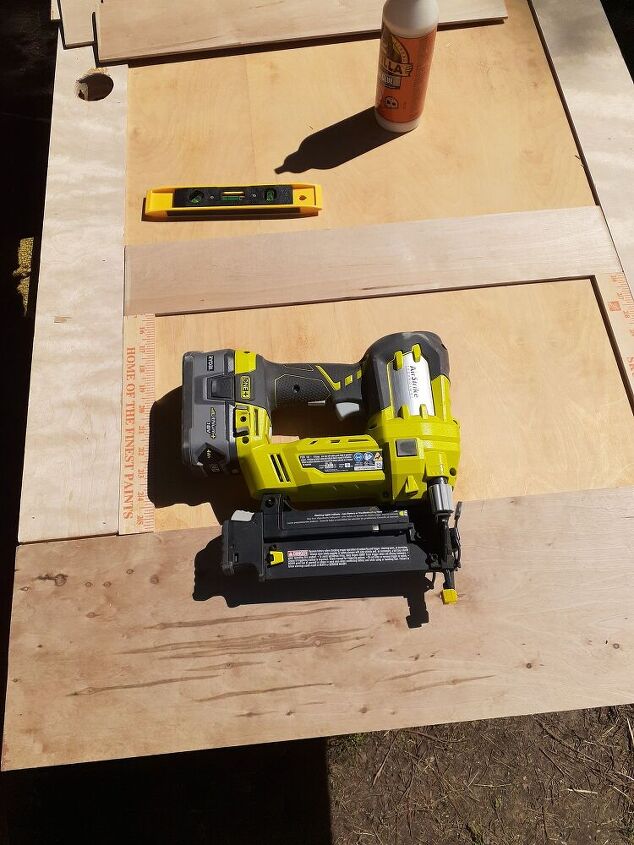
You can see the spacers to the left and right of each side. I glued the strips and also used 5/8's brad nails to hold them in place. The order that I assembled it was: first the bottom piece, then the side pieces, and then the top piece, then for the rest I started the spacing from the bottom of the door.
For the side that the knob would be on, I drilled a hole on another table. I marked the opening while it was in place (not glued) and then drilled the hole on my mark, fit over the knob hole like a glove!
And there she is, in all her beautiful splendid glory! I filled the gaps and nail holes right away, and moved on to the next door. The Next two steps are the Important part to making these doors fit your frame. This is where the confusion and questions come in.
The hinge side. You must cut off the lip that hangs over the mortise indention so that the hinge will be able to side right in!
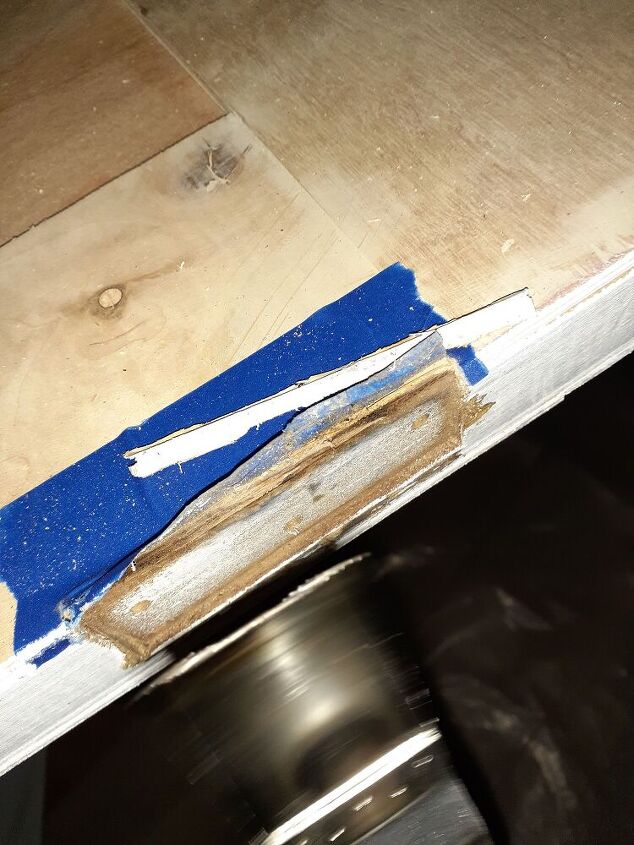
You can use whatever method you like to trim this out (chisel, or knife or roto blade- osculating tool, or a dremel). I used my osculating tool. Sanded the cut smooth.
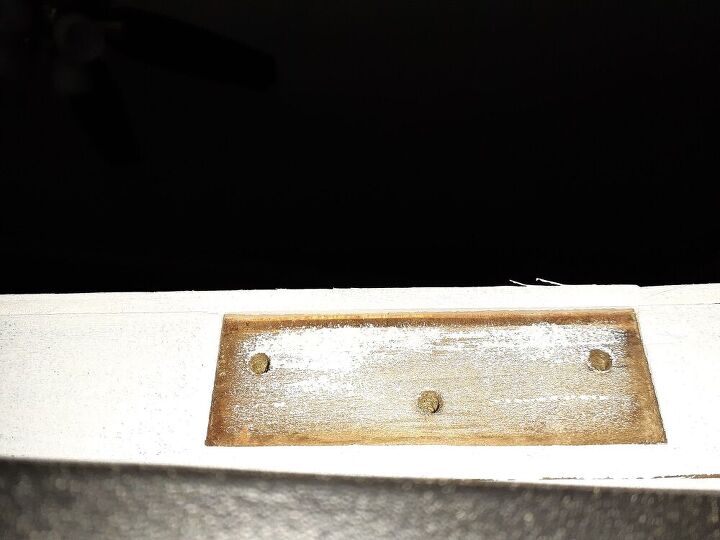
This is the last Important step, You must remove the door stop trim so that the new thicker doors will fit. ( I had already done all the other doors before I stained them, but somehow forgot this one). Once you hang the doors you will replace the door stop. Once you remove the door stop you will either have to paint or stain (whatever your trim is/will be in the end). So I had to stain and poly this area before replacing the door stop.
Door stop installed. And its as simple as that.
After two and a half days of trimming, it was time to paint. I wanted to spray paint them with my spray gun, but the weather was not going to allow that, there was rain in the forecast for the next week, so inside they went. Ugh I had doors everywhere.
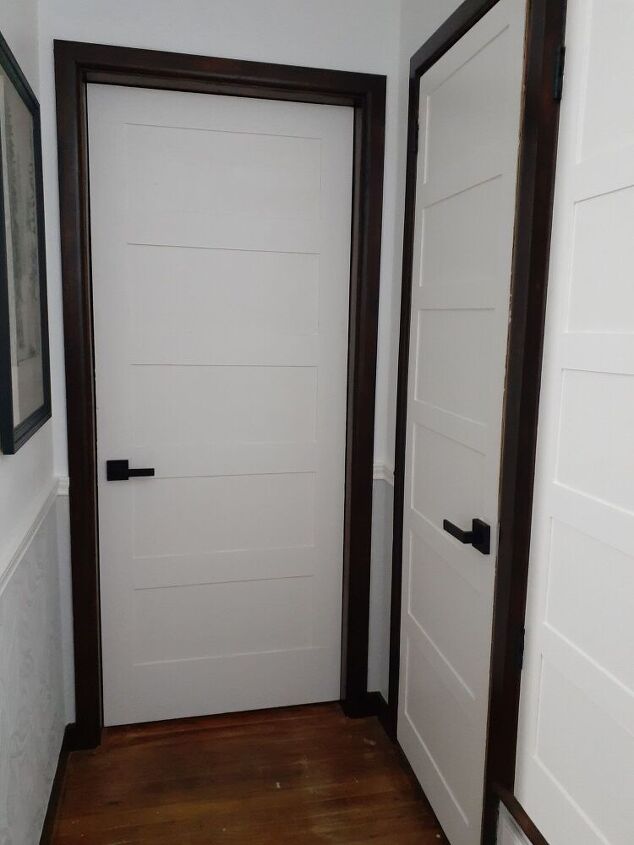
Another view: from the other end of the hall. The two doors on the right were smaller doors (one was a hall closet and the other was the air conditioner closet), so the trim wood that I used on these two doors was smaller in size: 5 inch strip for the bottom and 2 and a half inch for all the rest, I did that for scale reason, may not be right but it is what I did. As you can see you can do whatever size strips you want, it will work out in the end.
I hope that you find this tutorial helpful and informative. Give these 5 panel shaker doors a try, it's a timeless look that will take your doors to a whole new level.
Resources for this project:
See all materials


Comments
Join the conversation
-
I too live in a 1950s ranch home. I’m afraid to sand my trim for fear of lead paint!
-
Thanks for stopping by Karen.
About sanding the trim, is yours painted? Are you wanting to sand your trim to (re)paint or to stain it?
My trim was not painted, it still has the original stain on it, other than the rooms that I have completed (living room, dining room, kitchen, hallway and now my bedroom, which will leave me with two bedrooms after this room). However I wear ventilator mask, and close off whatever section of the house I am currently working on (again, it happens to be my bedroom!). I have been working on this sanding/staining project for just over 3 years now, still going strong.
You know your house better, so sanding would be what you think is best...
Are you wanting to paint your trim or stain it??? I would like to see your completed project .
Good luck with your project!


Frequently asked questions
Have a question about this project?
The doors and hallway look great; but why the dark trim when all the rest of the trim ( wainscoting) and the doors are white??
Did you do both sides of each door?
What color did you use for your trim? Just like you I want to paint my trim, which is pretty much the same as your original, but not while.