


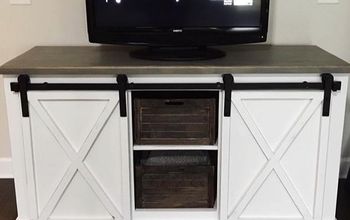
Plain White Slab Door to Painted Panel Door: Weekend DIY

Recently I helped my son Eric decorate his Airbnb home. He goes to school at the University of Alabama and is a student there.
He decided that, rather than have roommates, he'd live in a home and pay the monthly mortgage by Airbnb-ing the property during busy game day weekends.
So, we worked to remodel the house and make it very football and U of Alabama themed.
You can view the entire renovation and before and after photos of the Alabama Airbnb here.
In this post, I'm reviewing just one DIY project that we undertook.
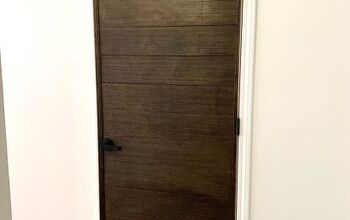
We wanted to make the plain hollow core closet doors look better, but we were on a limited budget. So a little bit of wood and some black paint really helped to transform these doors on a super low budget.
Here's how we did it:
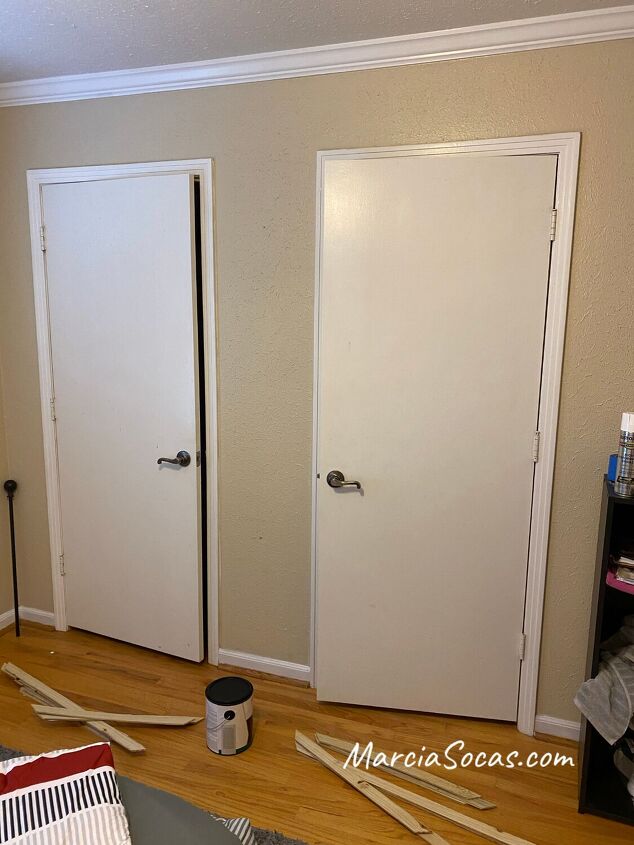
We started with very plain looking doors. They had some scuff marks and minor damage in some areas, but no holes or anything like that.
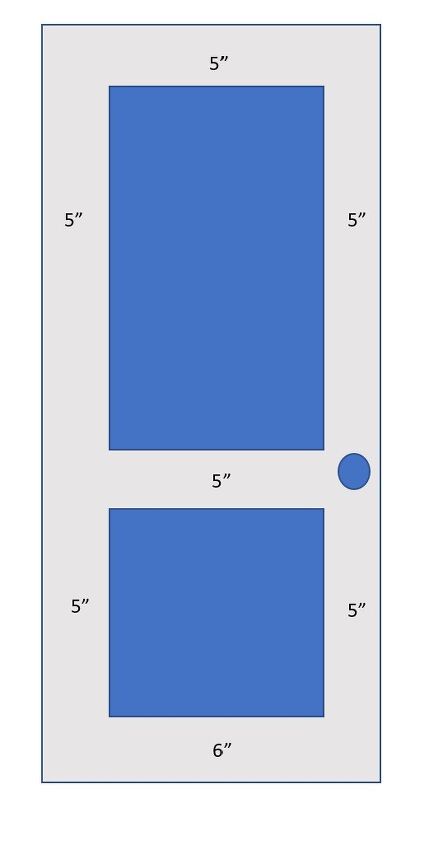
I scoured the internet searching for the proper placement and measurement of the wood panels. Opinions vary a little bit, but the general consensus I saw was to start 5" from the top; and to leave 6" from the bottom. In order to keep a visually pleasing look, it worked to also place them 5" in from each side, and to maintain approximately 5" in between the two panel sections. The diagram here shows it a little more clearly.
I purchased wood to create the raised panels on the door. The specific product I purchased was 1/4 in. x 1-1/2 in. x 6 ft. Pressure Treated Pine Lath. It was cheap! (under $2 per piece) I found it in the fencing section of the hardware store.
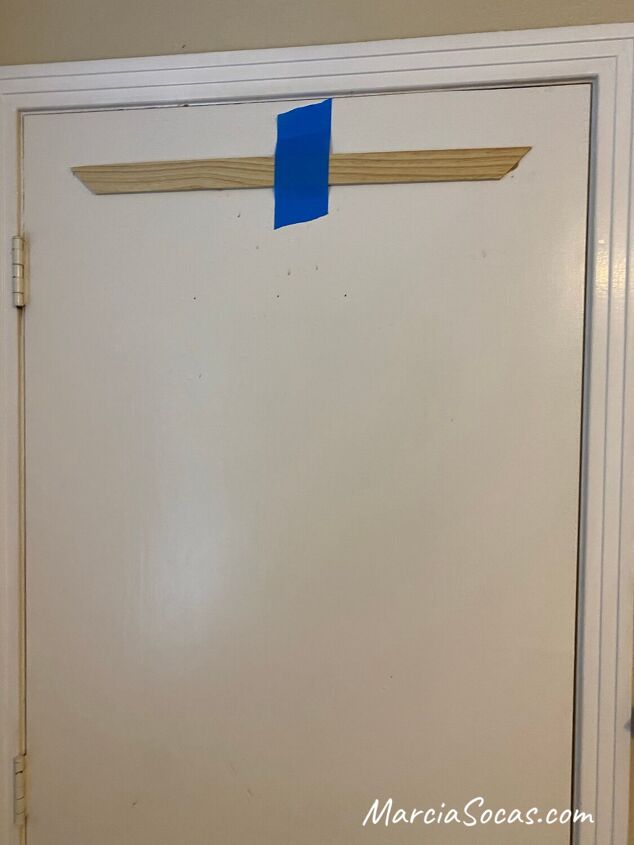
I measured the first piece and cut it with a 45 degree angle at each end.
Place it onto the door using liquid nails, and secure with painter's tape until it dries. (Use a level to make sure it's straight).
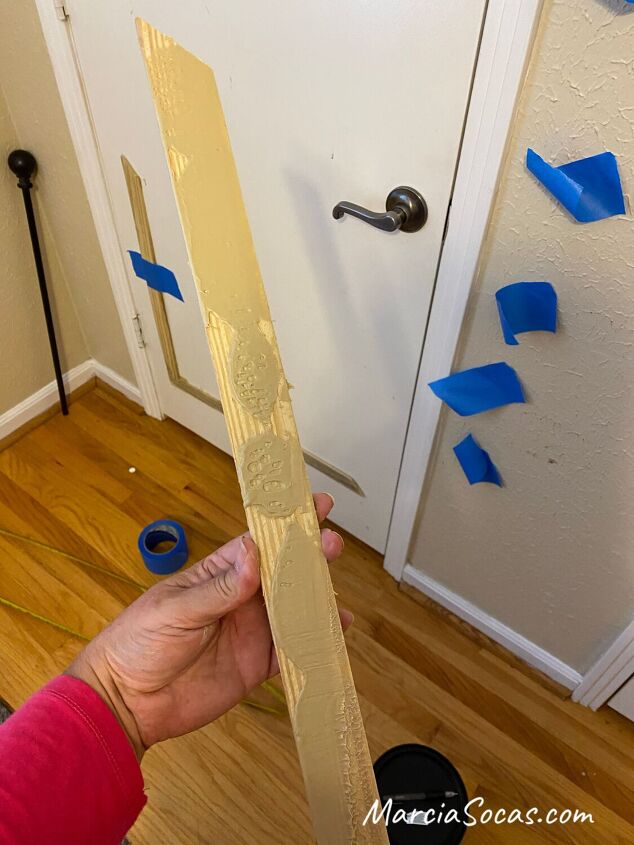
This is how much liquid nails I applied to the back of the "sticks"
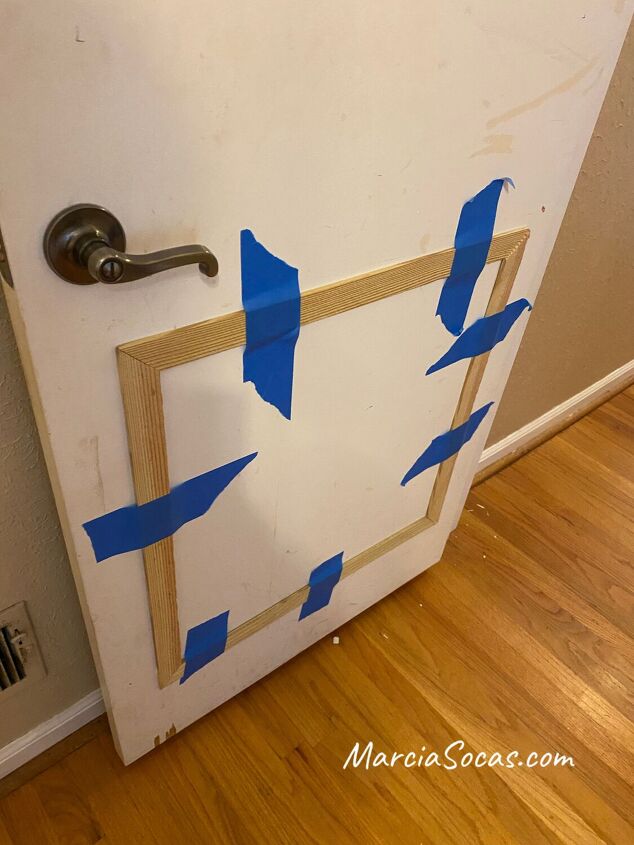
Continue placing your pieces together. The corners should match up well but don't worry about them fitting together perfectly, some small gaps are ok and we will deal with them later
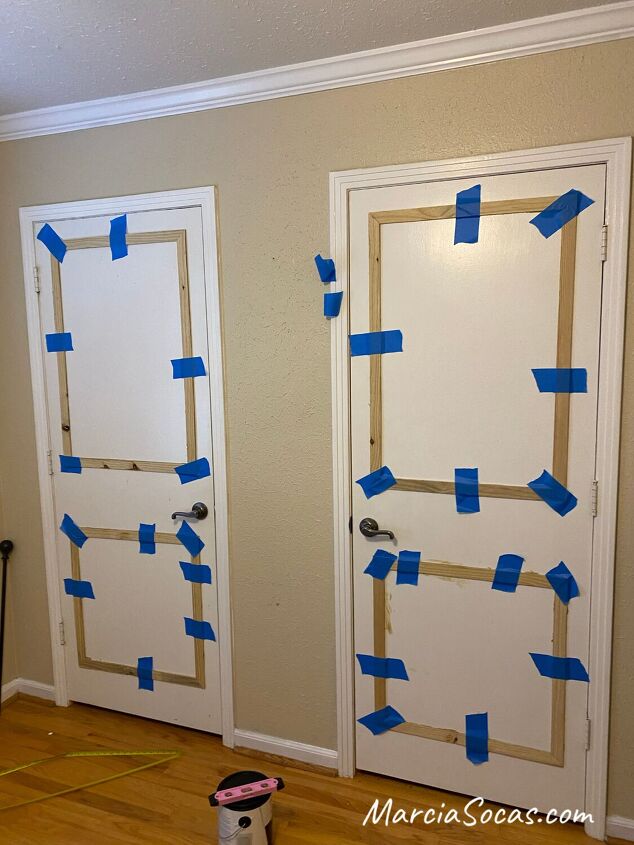
Here's how the doors looked with the molding panels installed and taped. Take a little break while they dry.
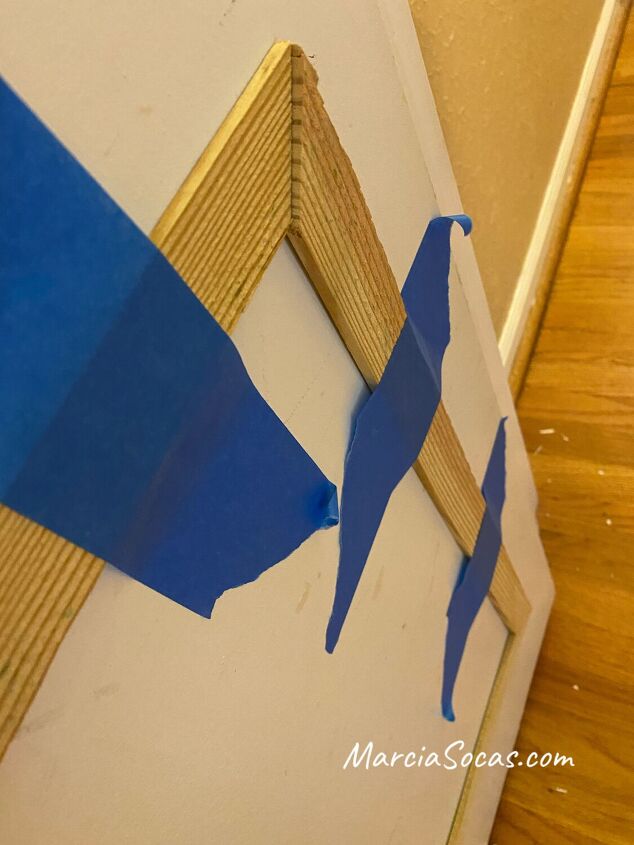
When you take a closer look at the wood against the door, you'll see there are some gaps. The wood is pretty cheap and isn't perfectly adhered to the door.
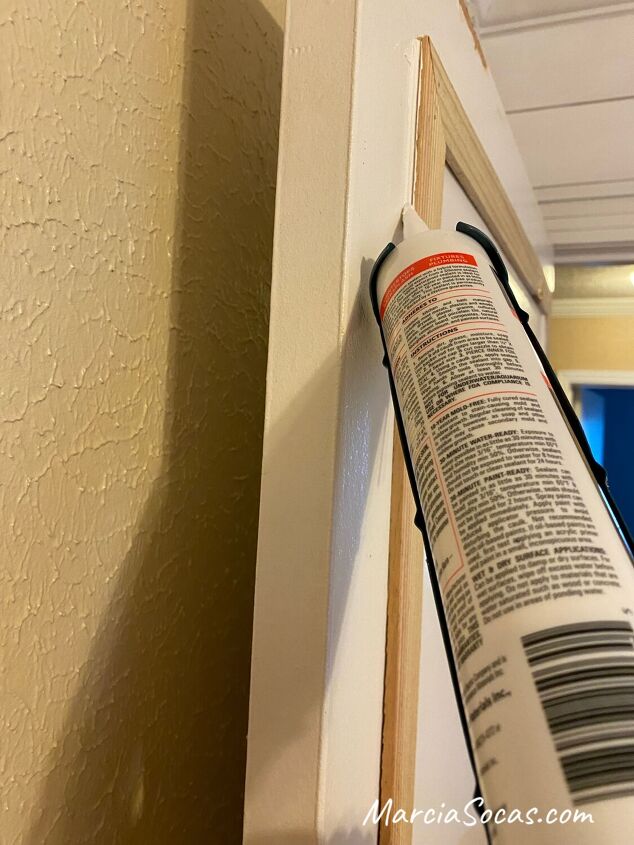
In order to give the door a better finish, I used paintable silicone caulk to seal the gaps. Make sure the product you buy is the paintable kind! The exact one I purchased is: GE Paintable Silicone Supreme 9.5 oz. White Kitchen and Bath Caulk
Let that dry for a bit.
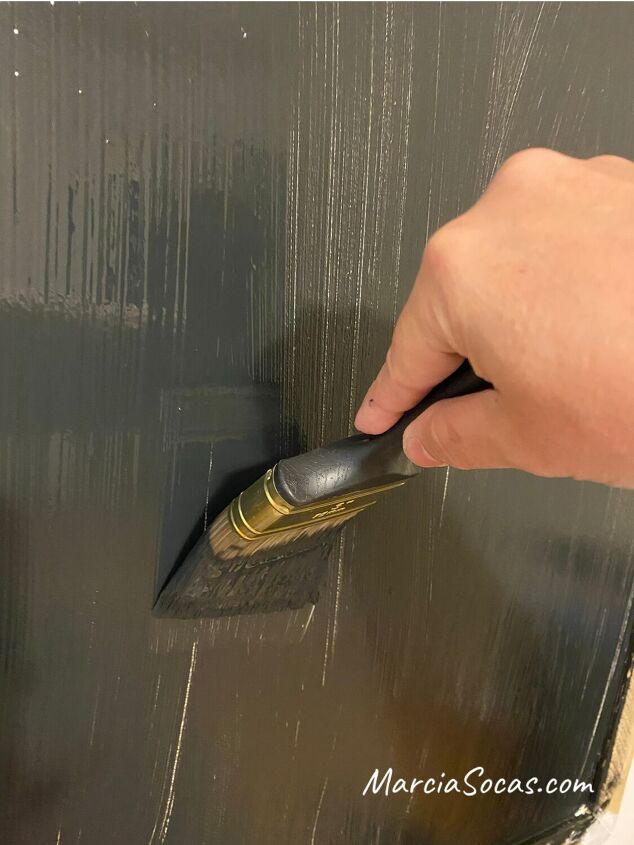
Now apply your first coat of black paint. Don't use a heavy hand or you'll get drips. Just skim the surface and leave it. You'll need to apply a few different coats for it to turn out beautifully.
I know, all these drying steps take time, but it's worth it.
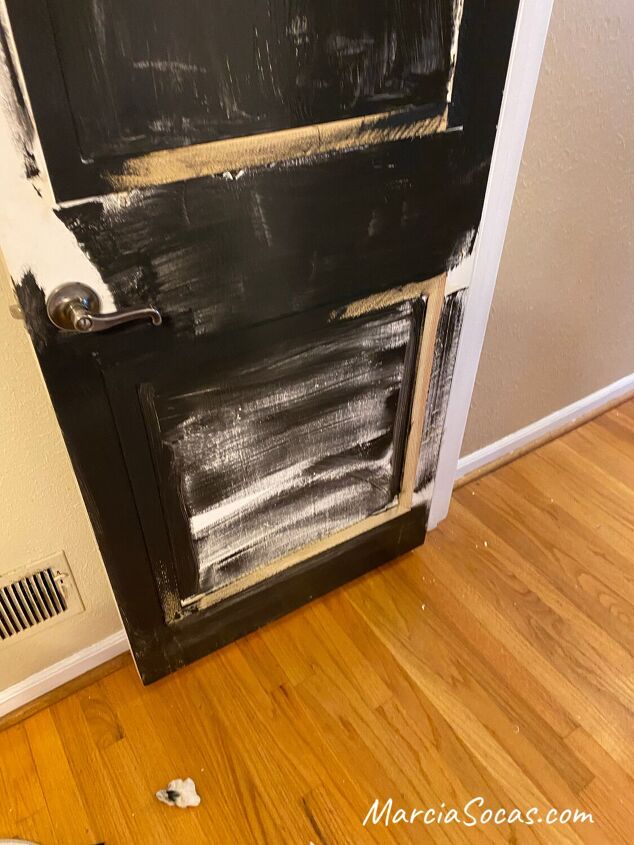
Progress...
Patience, this way we have no drips when we’re done.
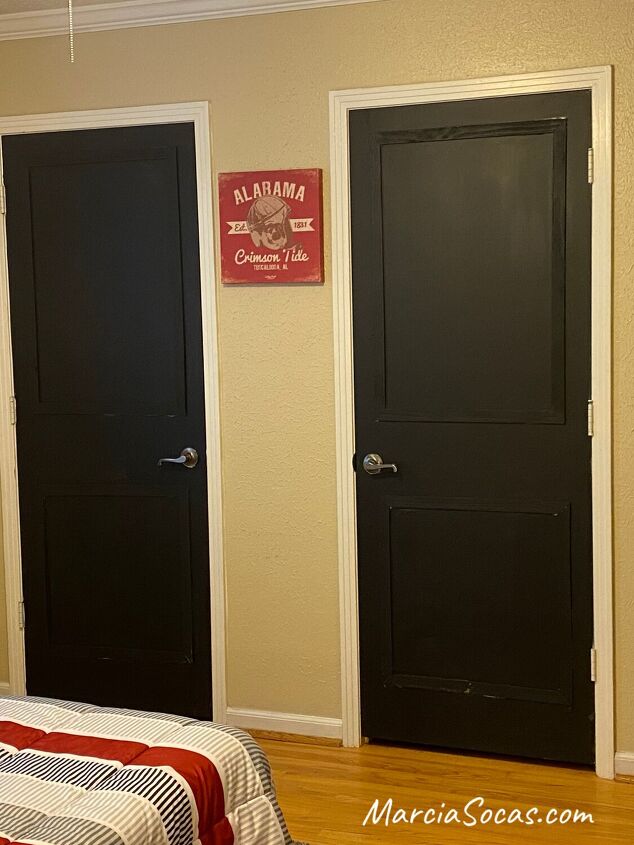
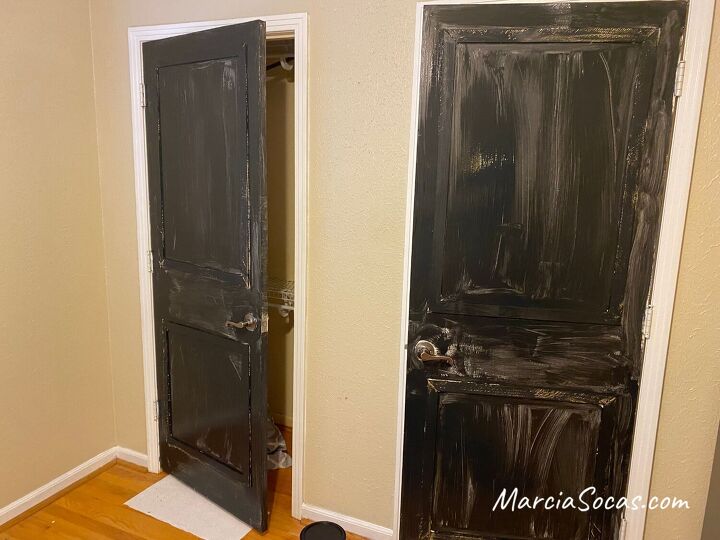
By the time you add your second and third coat, it'll look beautiful! So much more elegant and finished. It really looked great in our olde Alabama room (the 1831 room since that's the year the University of Alabama was founded).
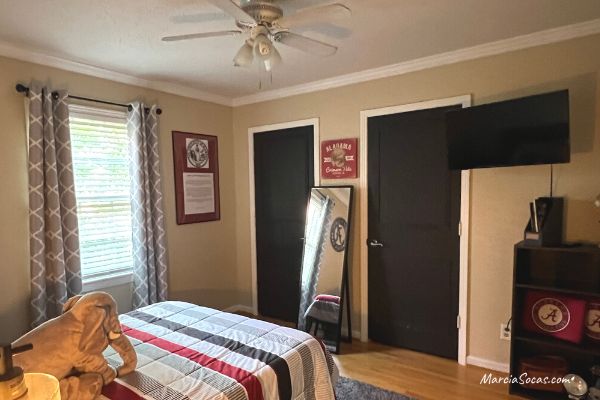
The finished room


Comments
Join the conversation
-
I think your son hit on a great way to afford his home while a student, paying guests (who probably weren't there much since they were at game-related activities and, of course, the game. So a season of income and maybe some high jinx with most of the year, private, genius! You two did a great job on the doors and room. Well done!
-
Thank you so much!


Frequently asked questions
Have a question about this project?