


Beat the Heat! Window Transfers.

***Please check with a window/glass professional that it is safe to install film on your windows before doing this project! ***
I live in a home that faces the East. Here in Utah, that means I have a beautiful view of the mountains. But it also means that the heat of the afternoon sun beats on the back of my house which is where our main living areas are, complete with several windows. This year our AC unit has had a hard time keeping up with the 100+ degree days. I decided it was time to do something about it. Window Transfers to the rescue!
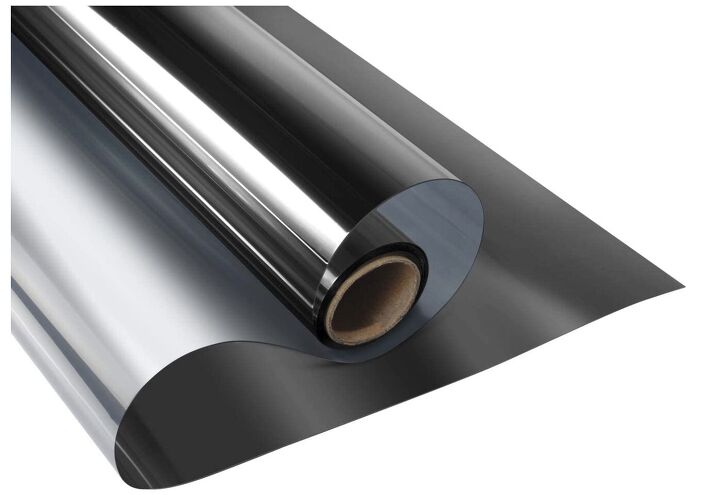
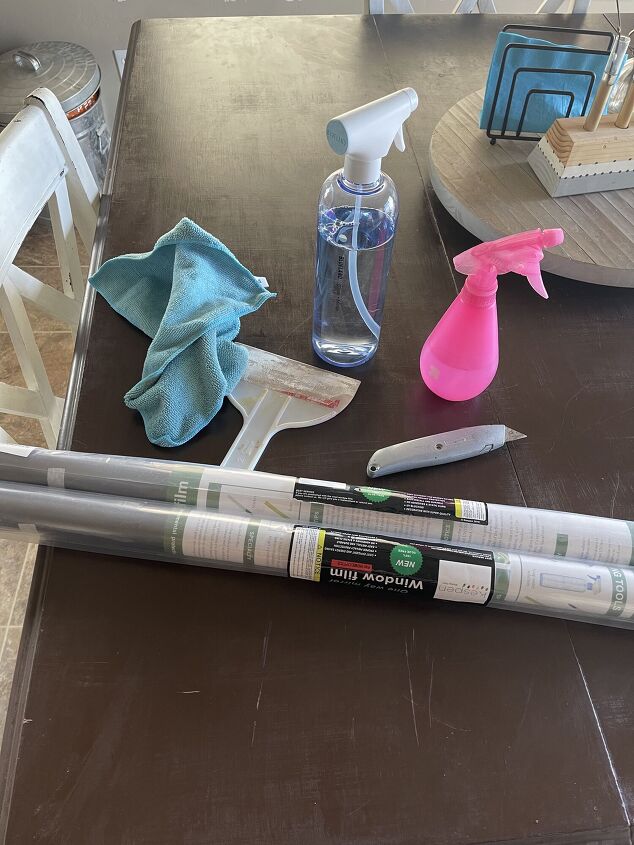
I found this window film on Amazon and it was SO easy to use. It came with simple instructions and a list of supplies that most homes already have on hand. For my 4 windows and sliding glass door I ended up using 4 rolls. The list of supplies was: window cleaner, rag, utility knife, squeegee (I used a plastic putty trowel), soapy water in a spray bottle, and the film.
First I cleaned my windows, making sure to do a really good job. Anything left on the windows would be stuck under the film and make it difficult to smooth down. Next I opened the film and peeled a small portion of the backing away where the film would attach to the top of my window/door.
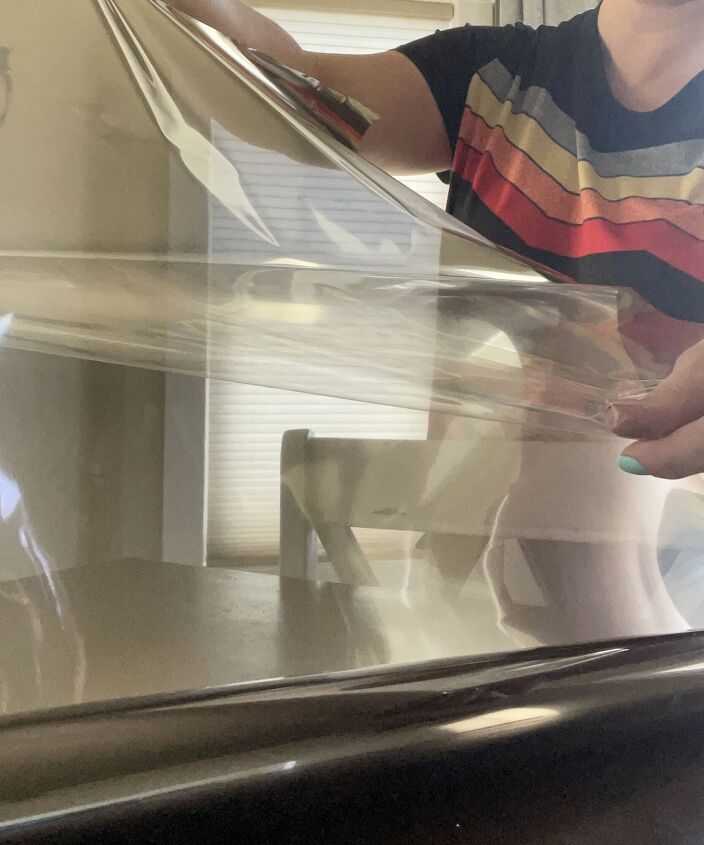
Then I gently set the film back down on my table, making sure to keep the backing separate from the film. Then I grabbed by spray bottle that had my soapy water mixture and sprayed the top portion of my window/door.
With the heat of the sun this mixture dried pretty quickly so I only did small sections at a time. I would recommend waiting until a time when the sun wasn't hitting the glass surface. Next I grabbed my film, lined it up with the top of my window/door. The film was wider than my glass panels so I lined one of the straight factory cut edges up with the side of my glass, so I would only have one side to cute with my knife.
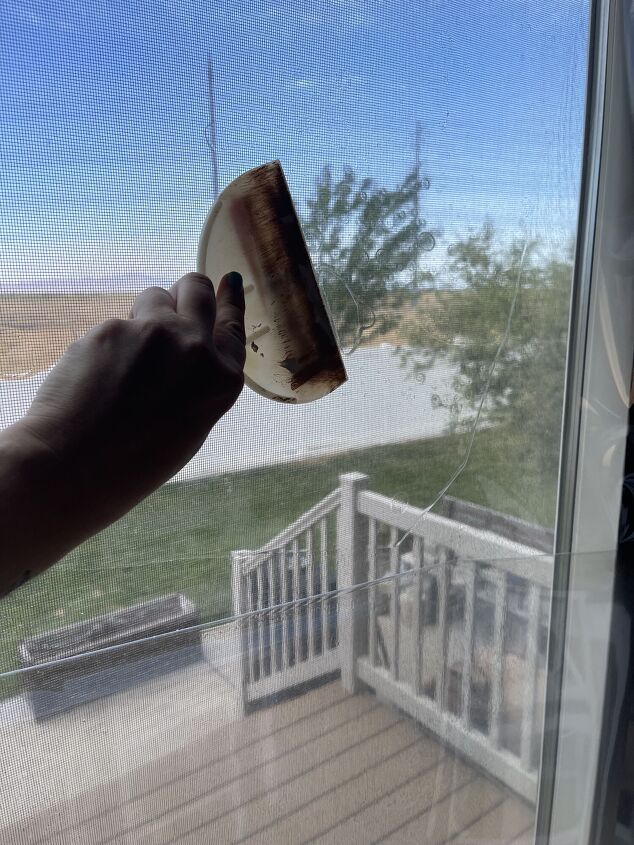
This part was a bit time consuming, but taking my time meant it would look good and stick longer. I then used my plastic trowel to squeegee the film to the window/door. I started in the middle of the section and worked my way to the edges. This allowed any excess water to escape on the sides. I then pushed my trowel up against the side that had too much material and held the film in place while scoring the film with my knife in the other hand. It took a minute to figure out the pressure needed to cut through the film without scratching my window/door. An alternative way to do this would have been to do an exact measurement of the glass, but I didn't trust that I would cut the film in a straight line.
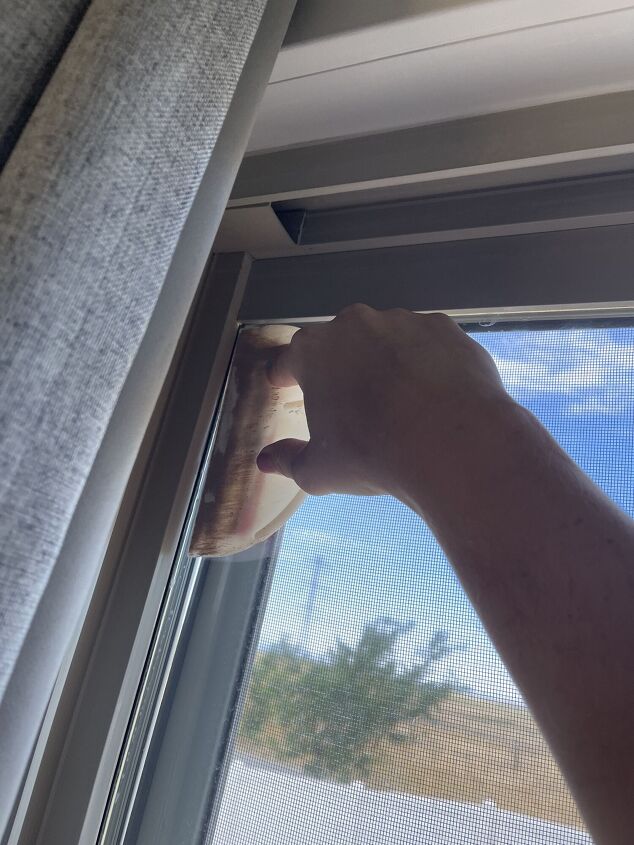
Once all the excess was cut off I used my trowel again to make sure all the edges had a good seal. Each section of the door and windows took me about a half hour to do. The key to using the film is to NOT rush.
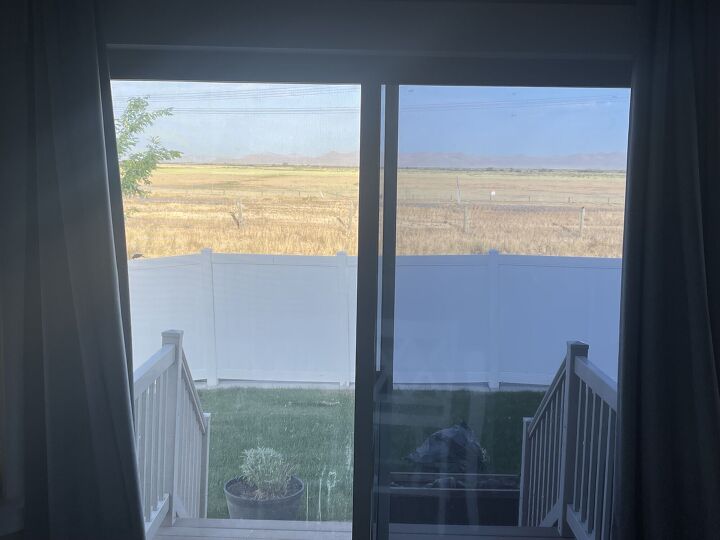
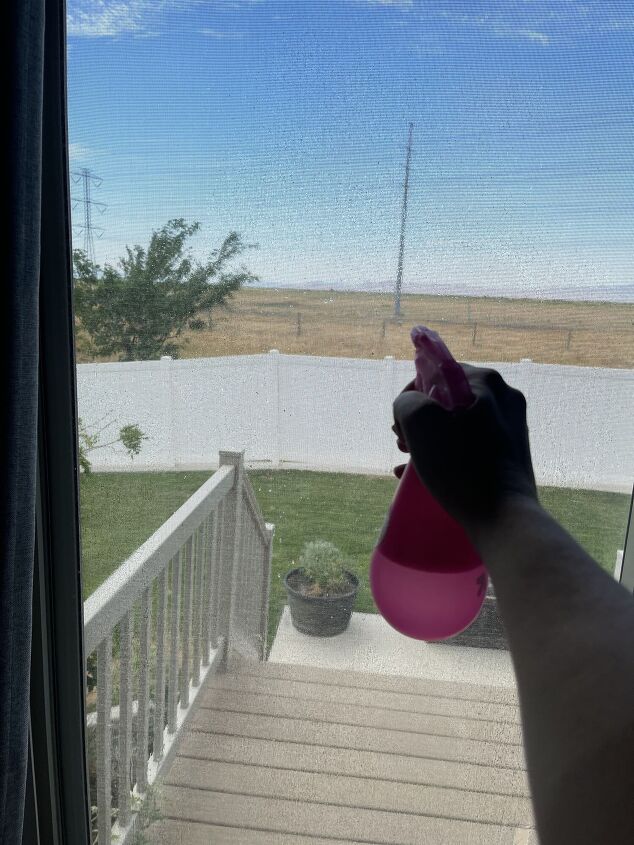
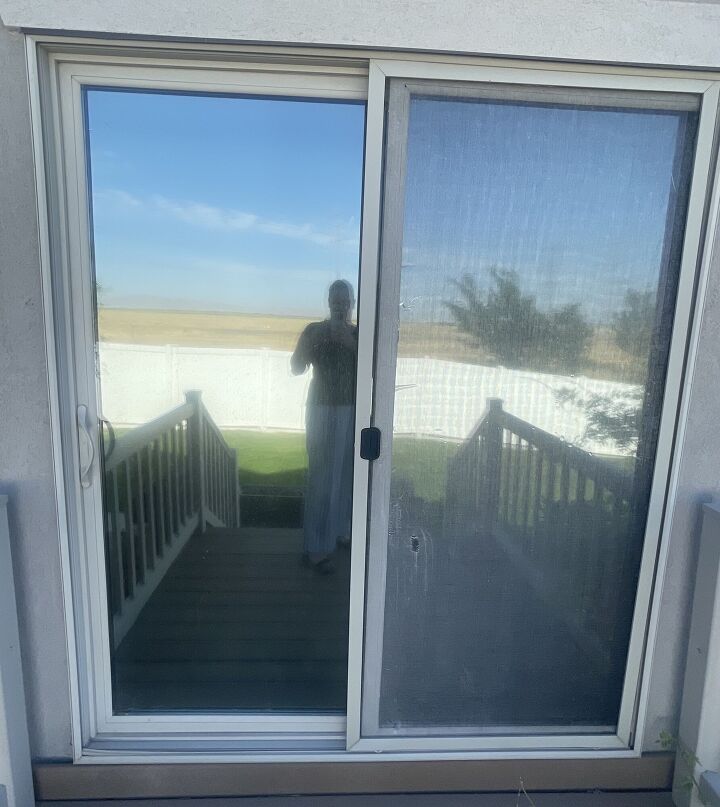
In this picture you can see that the right side has the film on it, and the left does not. I could instantly tell a difference in the amount of heat that was coming through my door! And as an added benefit, the film is one way mirrored on the outside. So we get privacy from the trail that runs behind out house!
0 views0 commentsPost not marked as liked
Comments
Join the conversation
-
Here is some information.
https://www.rcwindowfilms.com/can-you-put-window-film-on-dual-pane-windows/
-
Your welcome. I didn't expect you to remove the film. It was just a caution just to watch and see what happens. Especially when buying from a third party seller. I know that Gila does make window film for double pane windows but do not recommend one way mirror film as many manufacturers do.


Frequently asked questions
Have a question about this project?
Can people see inside house in the evening when it’s dark outside and lights are on inside? We live on a busy street….