


Craftsman Style Window Trim Built in 3 Days, by Myself!

by
Holly Prim
$100.00
3 Days
Advanced
I love all things Craftsman Style, so I built my own Window Trim for our basement! It's hard but if I can do this, anyone can!
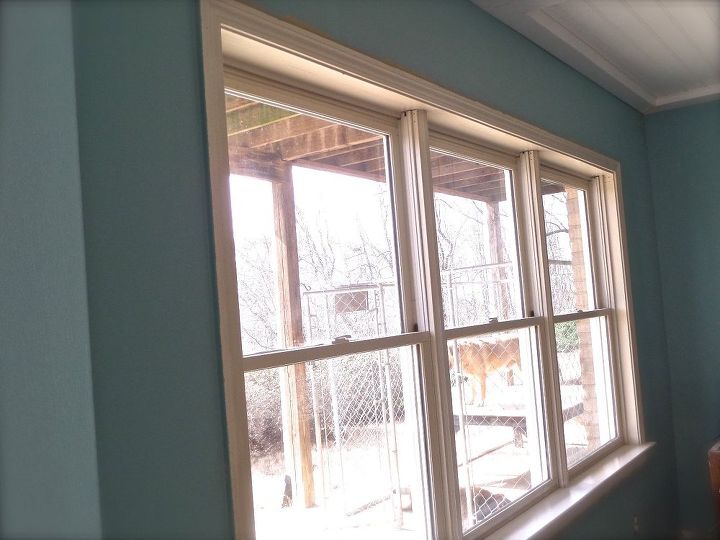
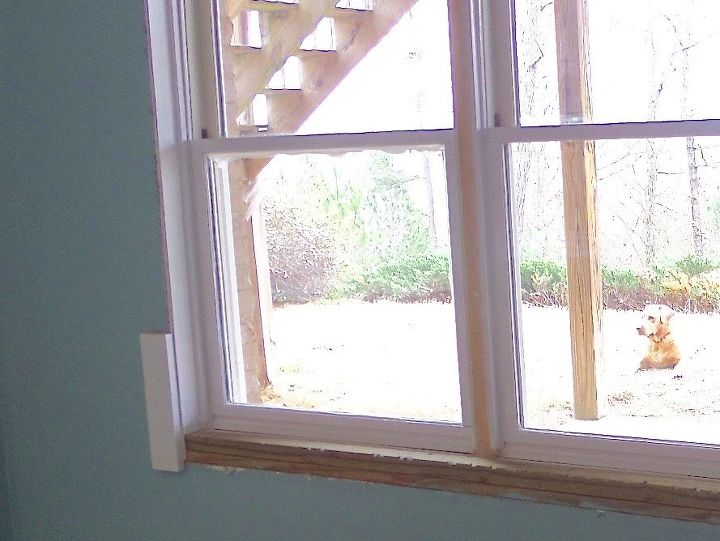
Here is our window trim Before
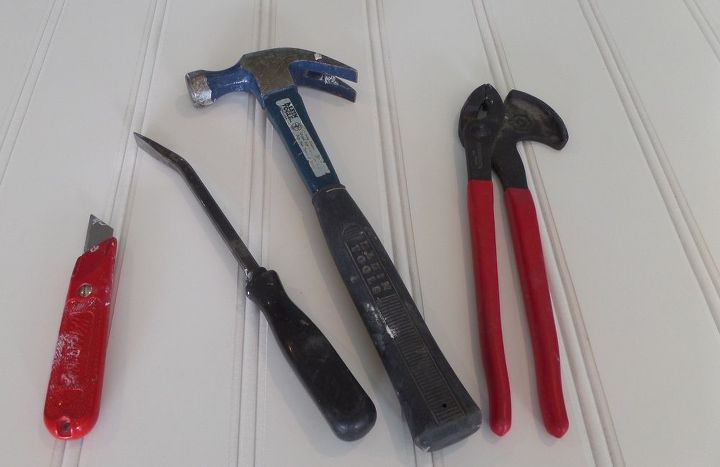
I used a box cutter to score the caulk/paint along the inside and outside of the casing. Next, with a pry bar and hammer, start on one end of the trim and tap and pry the casing off.
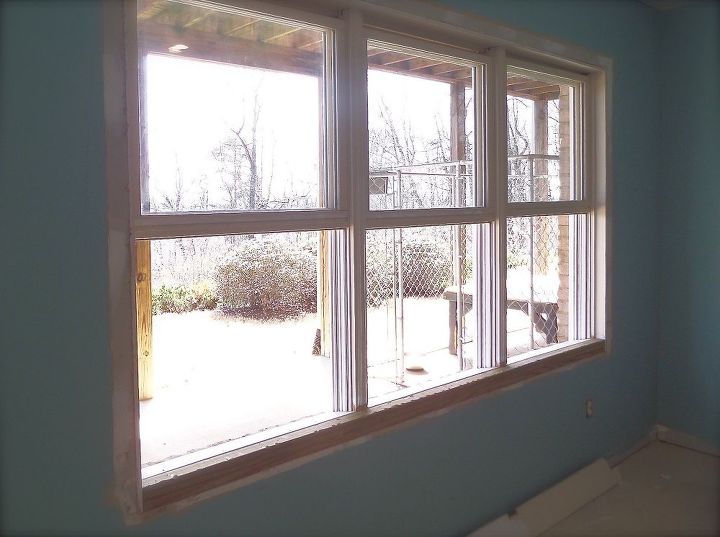
Trim Removed
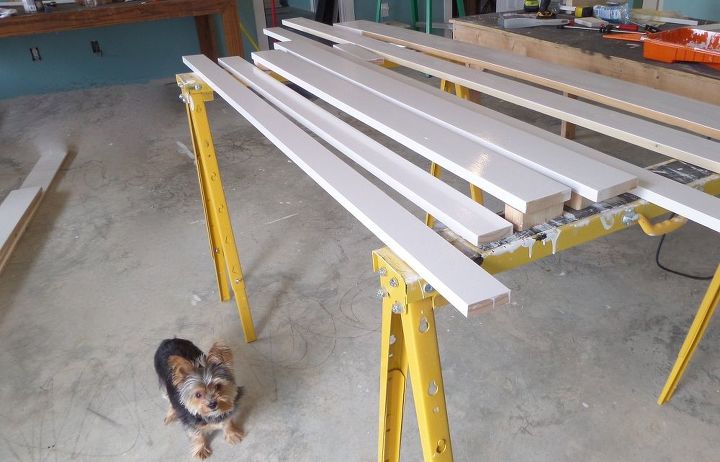
I got a fantastic deal on the wood (like 70% off retail) because I purchased it from Loading Dock South (an overstock warehouse) in my area. With that a little more work is required on my part to get the wood smooth and straight so I spent the whole first day prepping the wood by sanding, filling any holes and painting with Glidden Door and Trim Paint and cutting the boards to the correct length.
Measurements for the wood:
When attaching the bottom 1x4 I used a "cheater board" to help me get it in the correct position where they would line up correctly when side casings are hung.
Using a level to keep boards straight
Once complete I start cutting the wood to create the "Craftsman Style Header" part of this window trim.
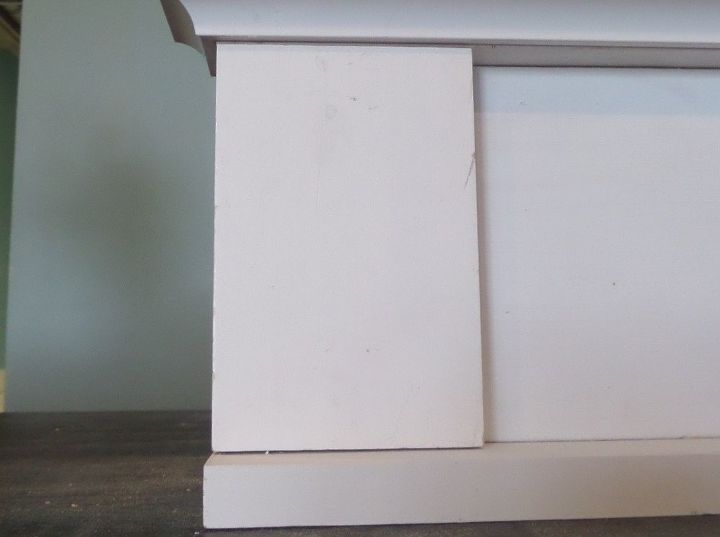
I used a 1x4 and cut two pieces to attach vertically onto the 1x6 I cut them 5 1/2" long since a 1x6 is really a 5 1/2 inches not 6 :-) The pic below shows how it will look.
I stack 3 rows of 1x2 on top of each other to create additionally height. I will attach the cove molding to the bottom row of 1x2's, then add a Drip Cap molding to the top row of 1x2's.
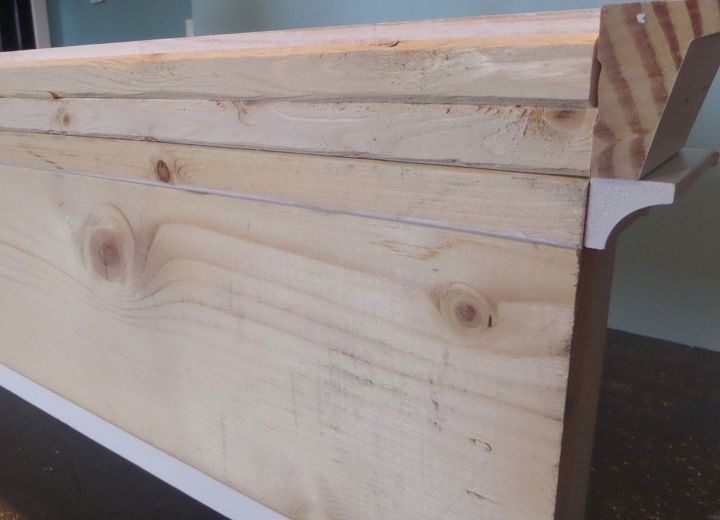
Here is a pic of the backside
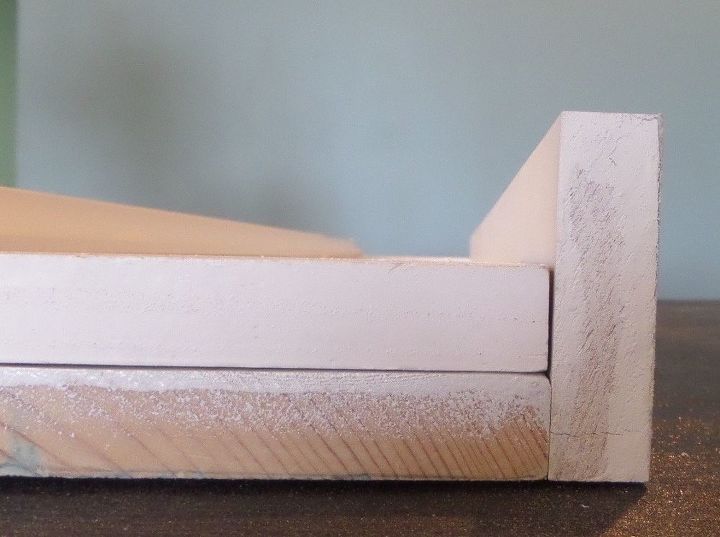
Again, using a cove molding I attach first with liquid nails and then add several smaller 18 gauge finishing nails to secure. The cove molding is pretty small and the 16 gauge nail gun is a little overkill.
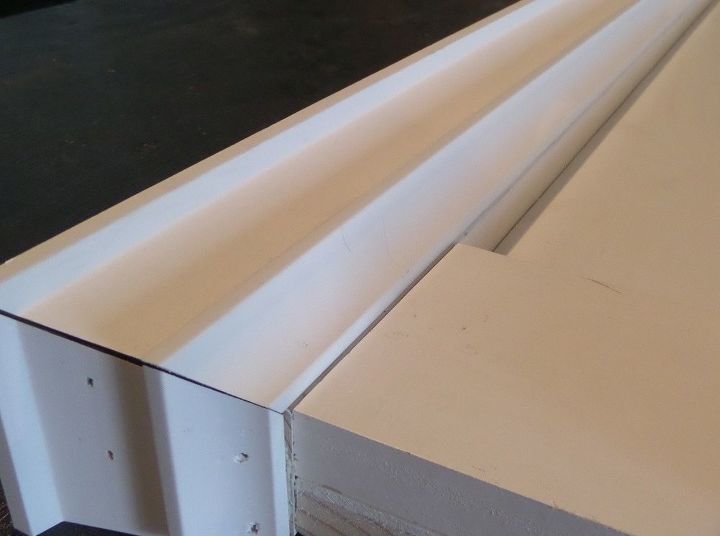
Here is an up close of cove and drip molding
I did the finishing work before attaching to the wall to avoid being up and down the ladder more than necessary.
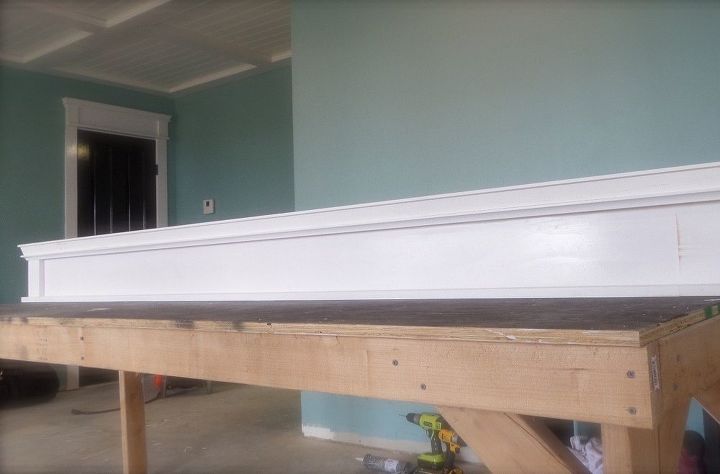
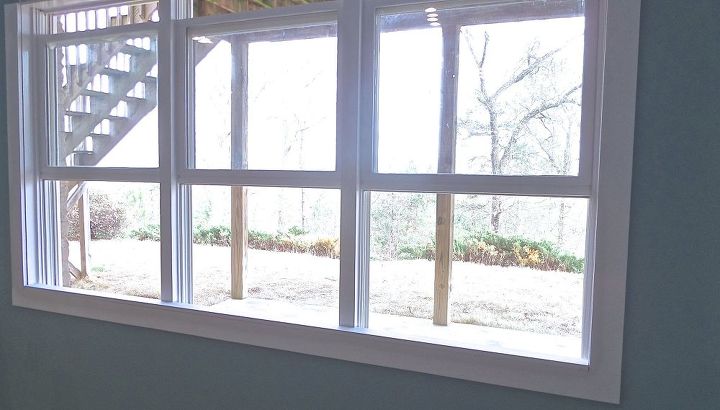
Here it is built, mine was just over 9 feet long! The next day I attached it to the wall and did all of the finishing work.
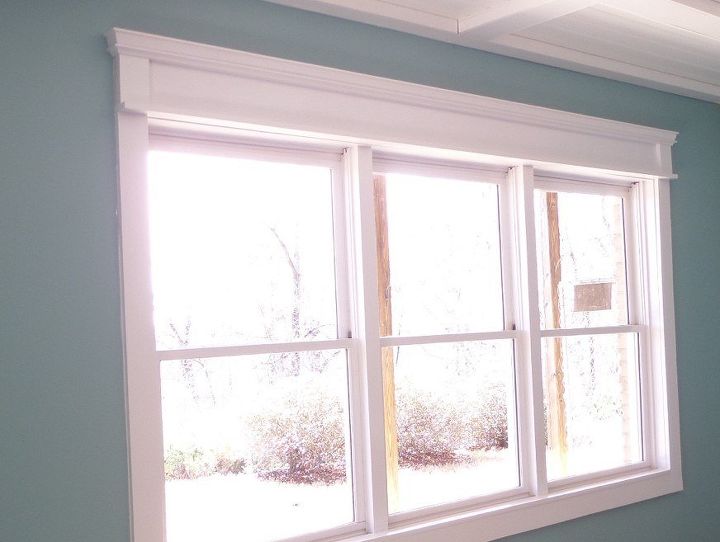
After
If you love "Craftsman Style" anything like me, check out my blog for the matching door casings I built!
{
"id": "2960079",
"alt": "",
"title": "",
"video_link": "https://www.youtube.com/embed/Bc0W_1h9wAo",
"youtube_video_id": "Bc0W_1h9wAo"
}
{
"width": 634,
"height": 357,
"showRelated": true
}
Below is a link to my YouTube video which includes the highlights of how the whole thing went.
Want more details about this and other DIY projects? Check out my blog post!


Frequently asked questions
Have a question about this project?