


How to Make Custom DIY Privacy Window Film in 4 Easy Steps
Are you searching for a way to add a touch of elegance and privacy to your living space without sacrificing natural light? Look no further!
In this post, I will guide you through a simple and creative DIY project on making your own decorative privacy window film. Not only does this solution provide a stylish aesthetic to your windows, but it also enhances your home security and privacy.
This post was transcribed by a member of the Hometalk editorial team from the original HometalkTV episode.
Whether you're a renter seeking a temporary solution or a homeowner looking to customize your space, this project offers the perfect blend of functionality and design.
So let's dive in and discover how you can transform your windows into stunning focal points while maintaining a sense of seclusion and tranquility.
Materials:
- Roll of non-adhesive cling film
- Cutting mat or ruler
- Pencil
- Craft knife or scissors
- Painters tape
- Water spray bottle
- Craft scraper or credit card
- Paper towel
1. Prepare the Film
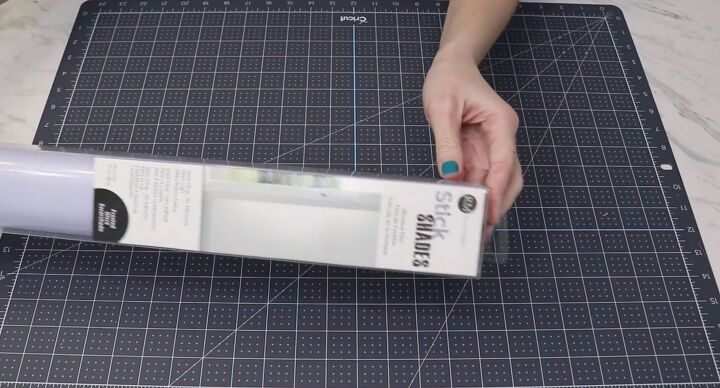
To begin this project, you'll need a roll of film. I recommend using a non-adhesive cling film, as it offers a temporary privacy solution that's perfect for renters.
Instead of simply applying the film directly to the window, take the extra step of unrolling it and creating a unique design.
For ease and precision, a cutting mat with grid lines is highly recommended, although a ruler can also do the job effectively.
2. Cut the Film
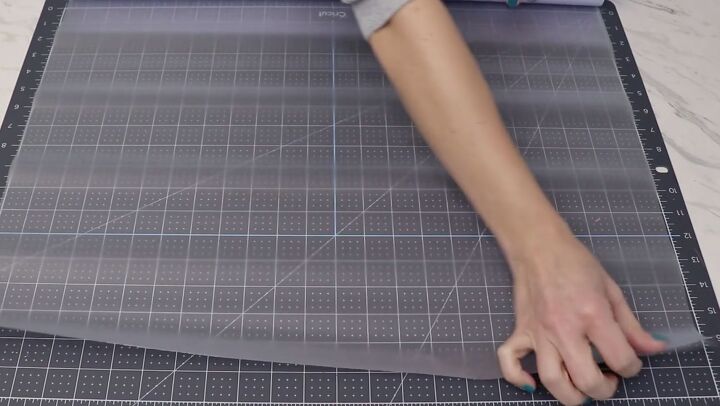
I started by cutting a sheet of film just a little bit larger than the size of my glass.
There are two sides to the window film I used. There was a frosted side, and a clear carrier sheet on the back. I placed my piece down with the clear carrier sheet on the table and held it flat with some painter's tape.
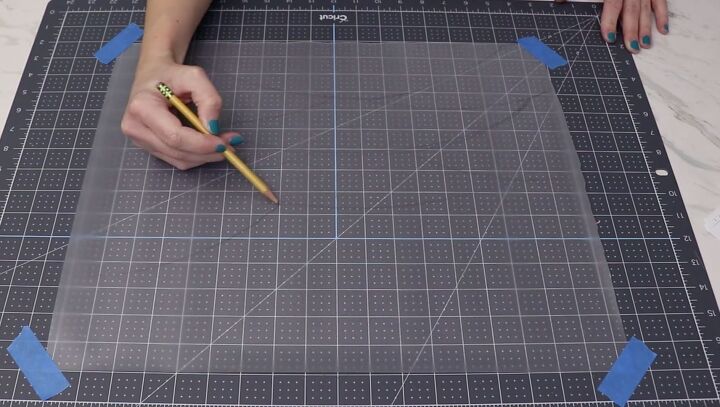
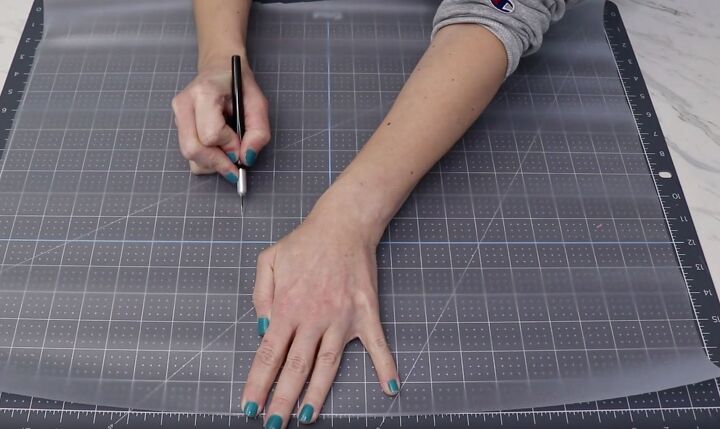
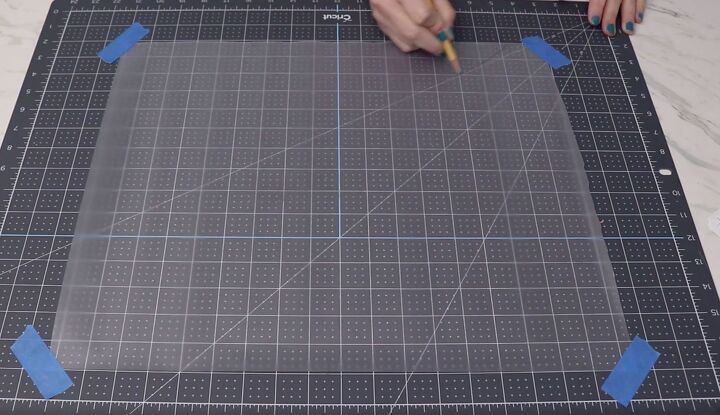
Using a pencil, I sketched a design onto the film that I could cut out. You want to make a design with simple, straightforward lines that you can cut apart easily.
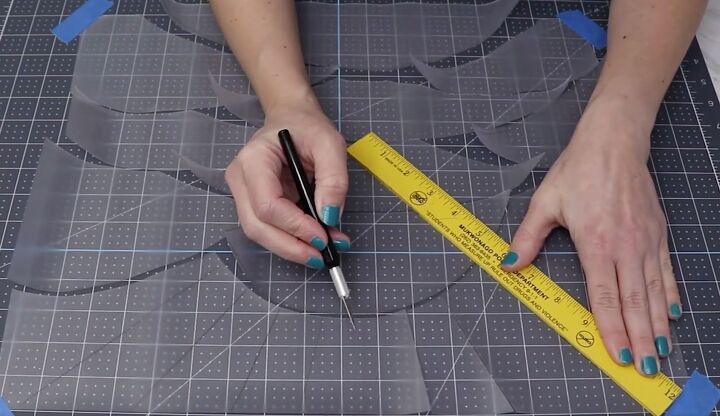
Next, I used a craft knife (you can use scissors) to slowly cut out each piece. I just ran my knife along all the pencil lines I had drawn. As I sliced the lines I left all of the pieces in place but just separated them a little bit.
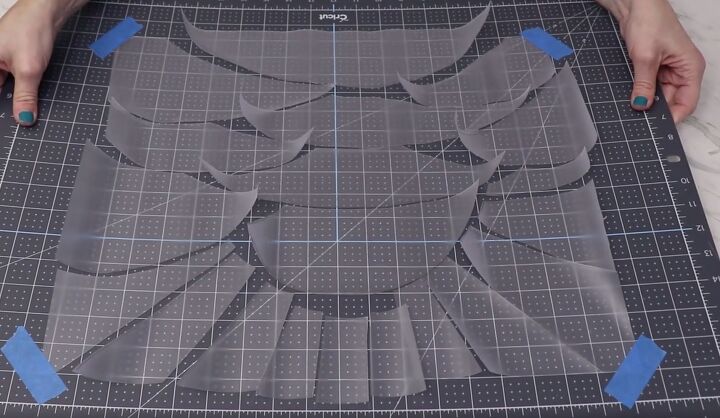
With everything cut out, I took the whole cutting mat over to my window. I wanted to leave all of the pieces in the right order so didn’t want to pull them apart yet.
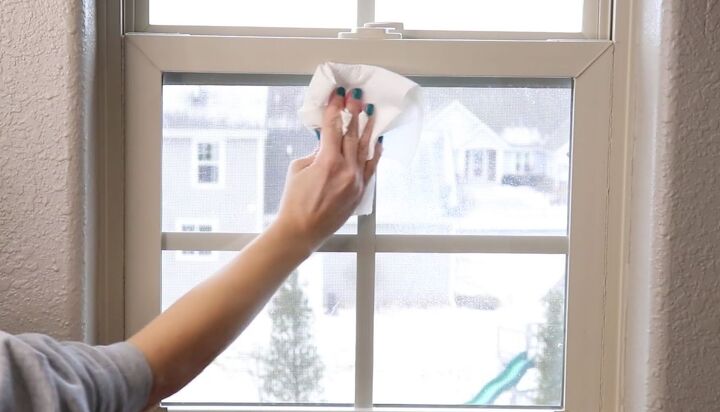
3. Prepare the Window
To apply the film to the window, first I made sure it was nice and clean.
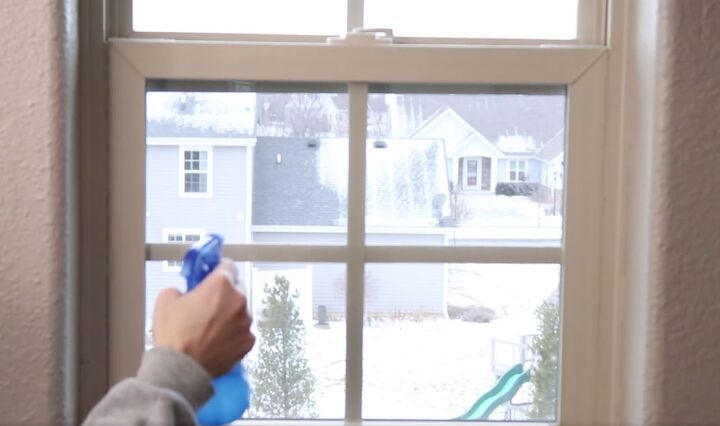
Next, I sprayed the window with water. This window film adheres to the window through static cling, but adding some water to the window helps it stick really well.
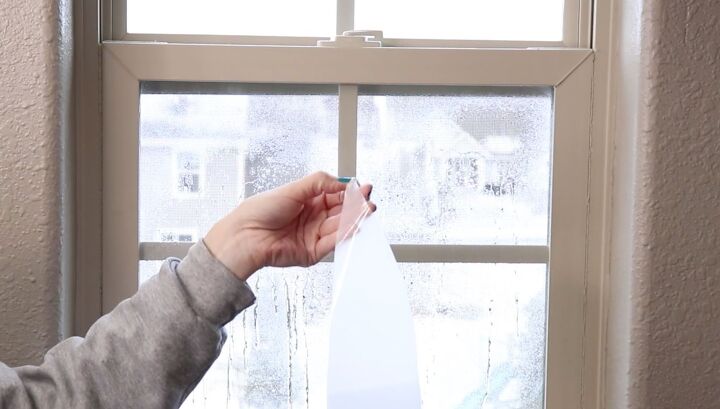
4. Apply the Film to the Window
Then I grabbed the first cut piece. I started at the bottom and peeled off the clear carrier sheet from the back and then gently placed it onto the window.
I found it helpful to have something I could smooth it out with. I used a little craft scraper but you could also use a credit card.
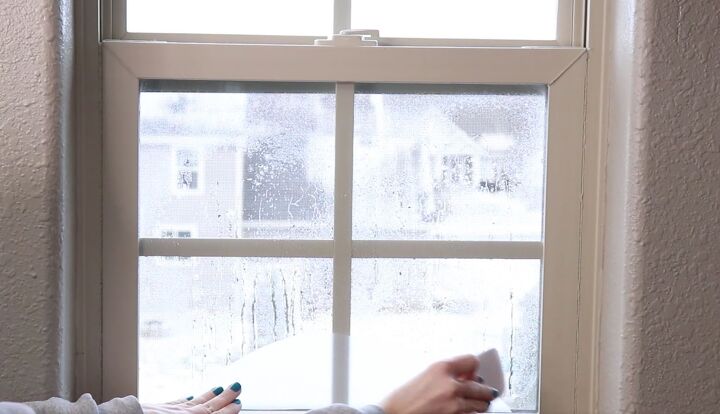
Once I had the first piece in place, I went on adding one piece at a time. I wanted to allow a little light to shine in so I left about a quarter of an inch of space between each piece.
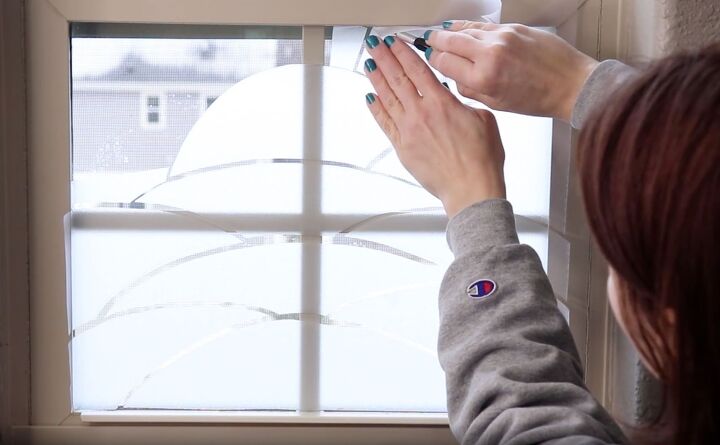
I also cut this piece of window film a little bit bigger than my window so at the end I just used my craft knife to cut off the edges. Be very gentle that you're not pushing too hard and damaging your frame, or the caulk, or any part of your window.
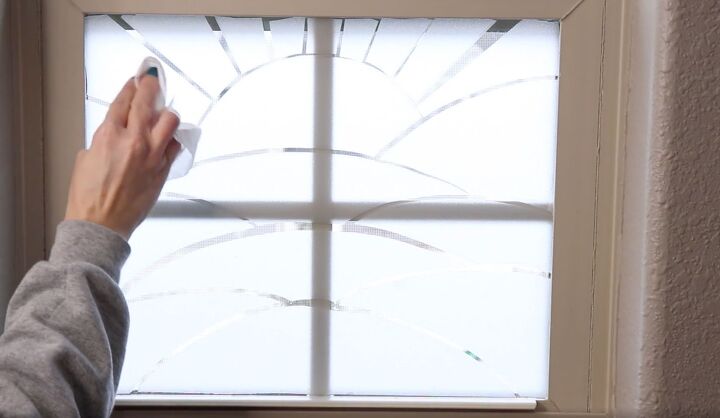
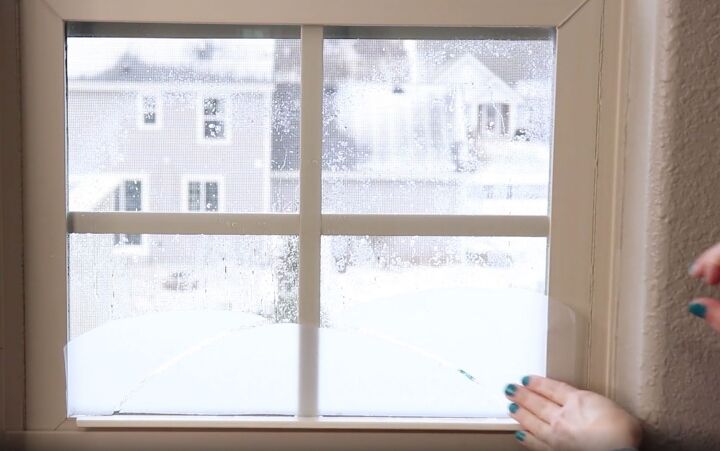
The final step for my decorative privacy film was to wipe away any excess water. I did this after I smoothed out any bubbles left in the film. The easiest way to get rid of the water was to just grab a paper towel and blot it all.
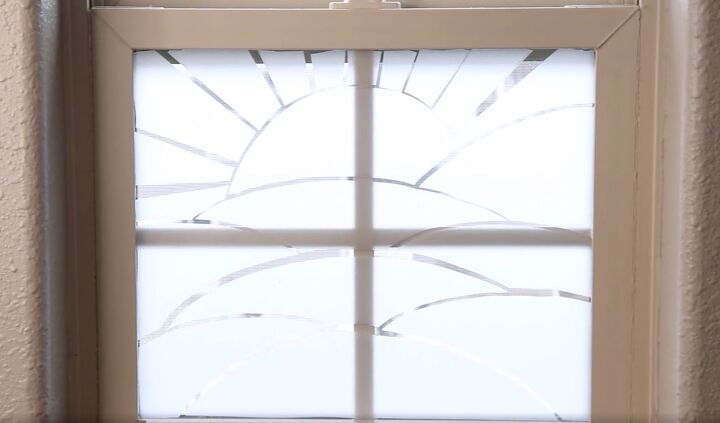
I now have some privacy in this bathroom and I love it. What I love is that some light does filter in, but at night, when the light is on in this bathroom, people aren't going to be able to see in.
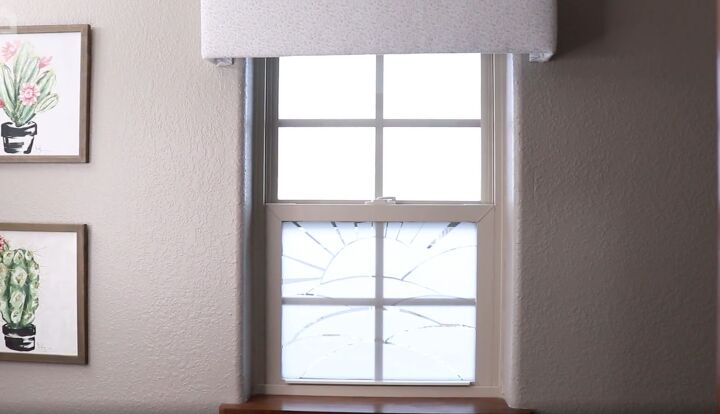
This is also a temporary solution. So I can pull these pieces off whenever I need to. I hope this gives you an inspiring new idea to make your own decorative privacy window film.
More DIY Home Security Ideas
Resources for this project:
See all materials


Comments
Join the conversation
-
Great 😊 I need this in my room
-
How awesome


Frequently asked questions
Have a question about this project?
Where can you buy the window privacy film
That is absolutely perfect!!!!!!!
Very cool. Love the custom design.