


How I Beefed up My Window and Door Trim on a Budget

I’m currently working on updating our main floor and really wanted to change up the builder grade door and window trim in our kitchen.
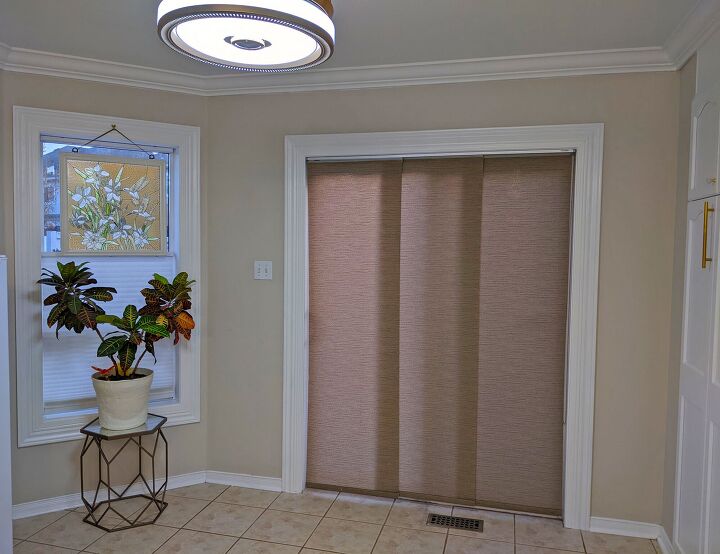
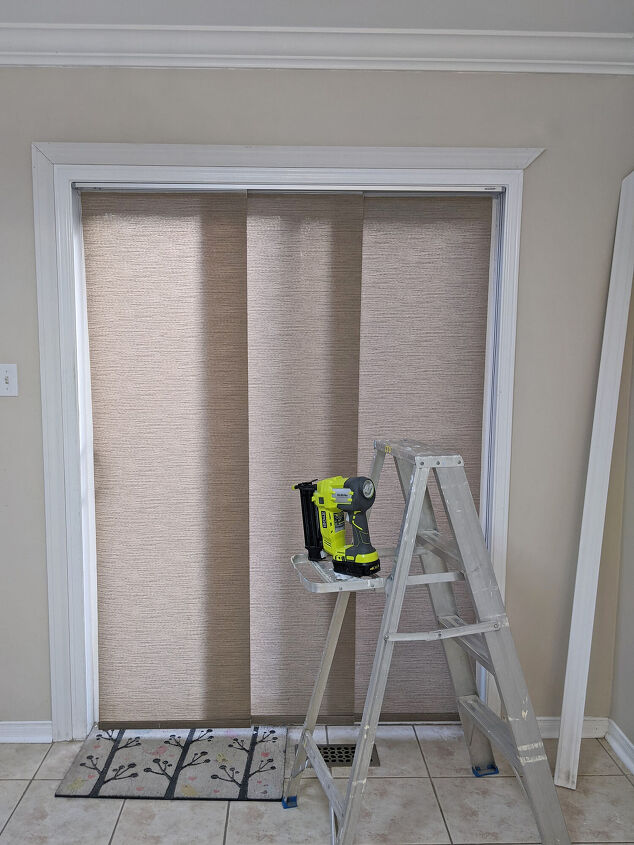
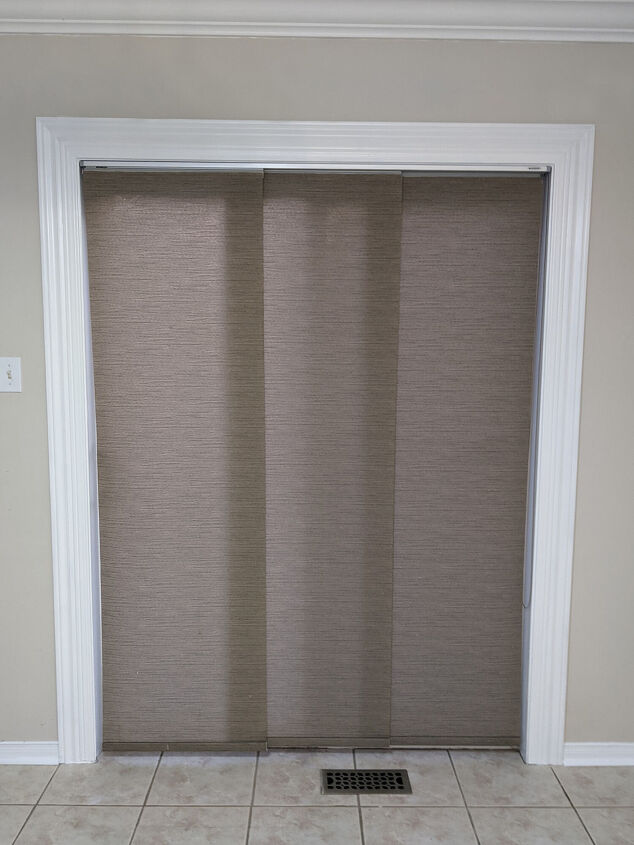
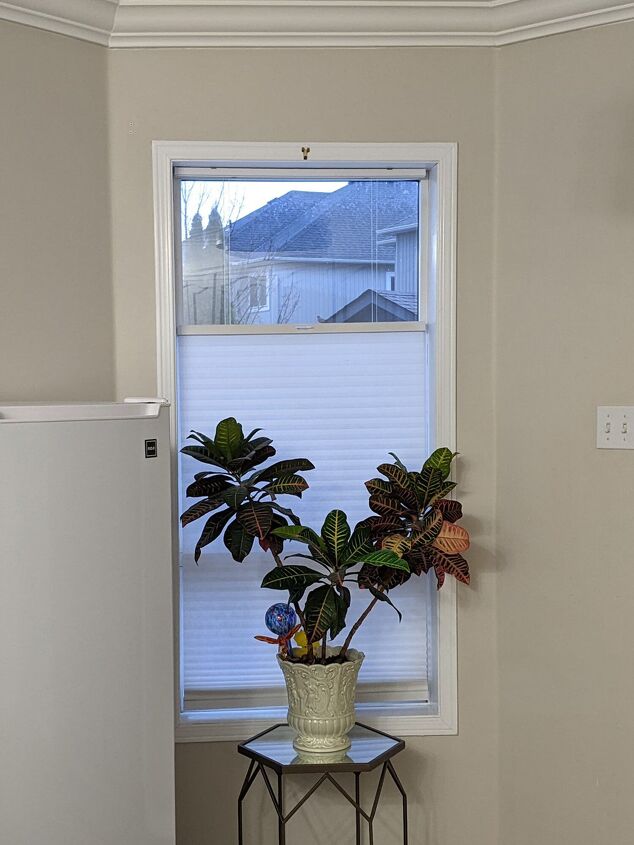
This is how it looked before, so thin and boring. It always looked off to me.

I did some research to find out how much it would cost to remove and replace the moulding with something wider and it turned out to be a lot pricier than I had imagined! So instead of replacing it, I decided to add to the existing trim.
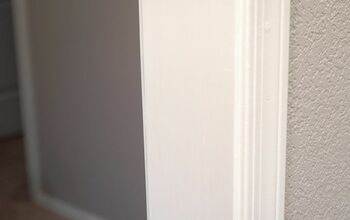
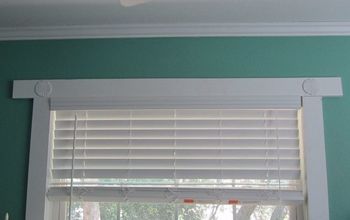
The trim was about 2.5” wide and I wanted it to be roughly double, so I went to Home Depot and picked up the cheapest trim I could find that was 2.75”. I picked up six pieces – three for the door and three for the window.

STEP 1: CUT MOULDING TO SIZE
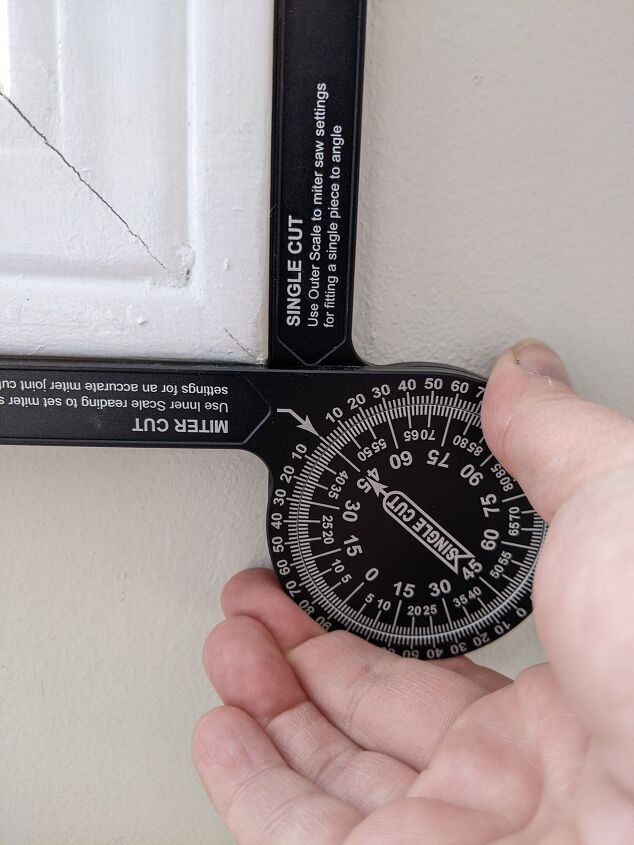
Before making my cuts I used a protractor to make sure all my corners were a perfect 45 degrees.
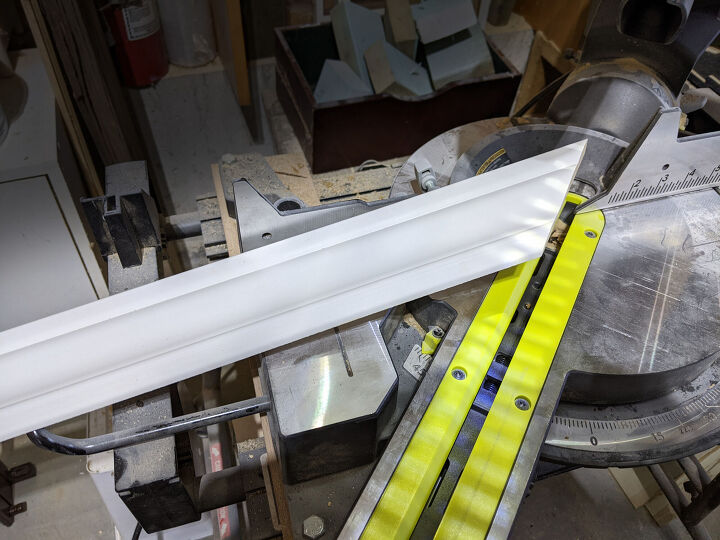
I cut the trim, so it would fit outside the existing trim. I mitered each corner at 45 degrees. I used my miter saw, but these cuts could easily be made using a miter box and saw. The trim is MDF and very easy to cut.
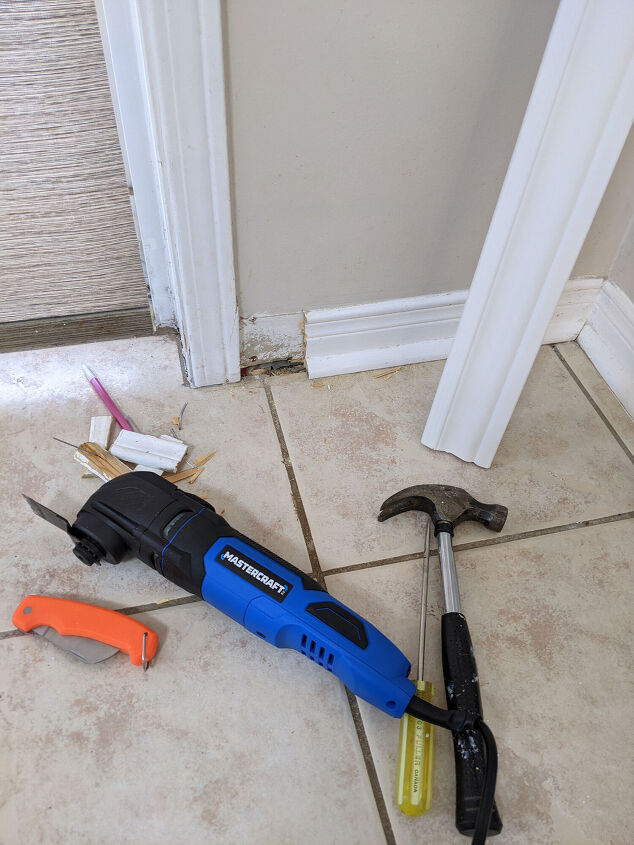
For the door, I notched out the baseboards on both sides, so the door trim would start at floor level. I used a multi-tool to cut the baseboards without having to remove them.
This was my first time using a multi-tool and I was amazed how quick and easy it was to notch the boards. It literally took 5 minutes to do both sides!
STEP 2: INSTALL MOULDING
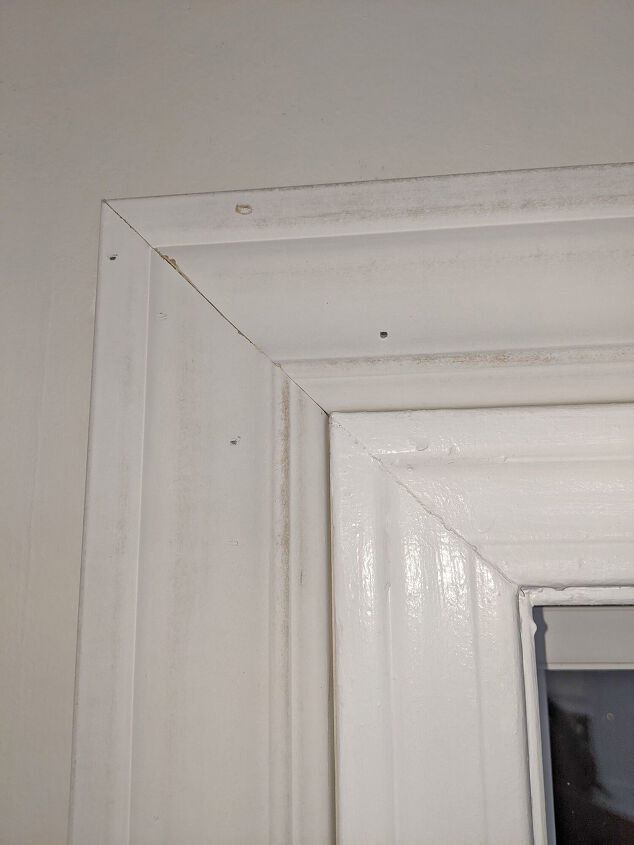
I butted the thinner sides of the trim up against the existing trim, so the thicker side was on the outside perimeter, and attached them using a cordless brad nailer.
There were a few nails that didn’t sink below the surface so I used a nail setter punch and hammer to tap them in further (so they could be filled with caulking later).

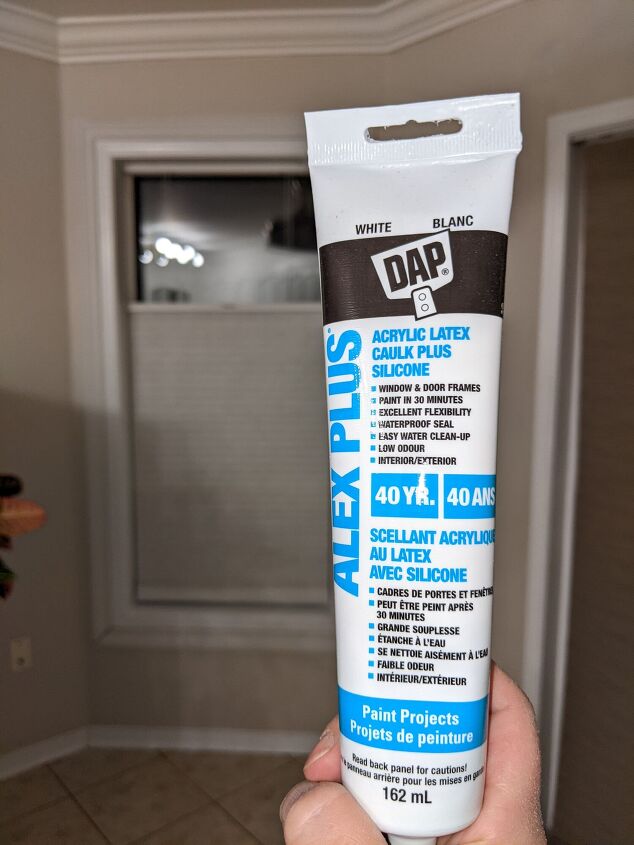
STEP 3: WASH & CAULK
Once everything was in place, I washed and caulked the trim with paintable caulk. A great tip I picked up somewhere along the way; once you’re done adding a bead of caulk, and running your finger along to smooth it out, go over it lightly with a damp sponge. It gives the perfect finish with no ridges or bumps!
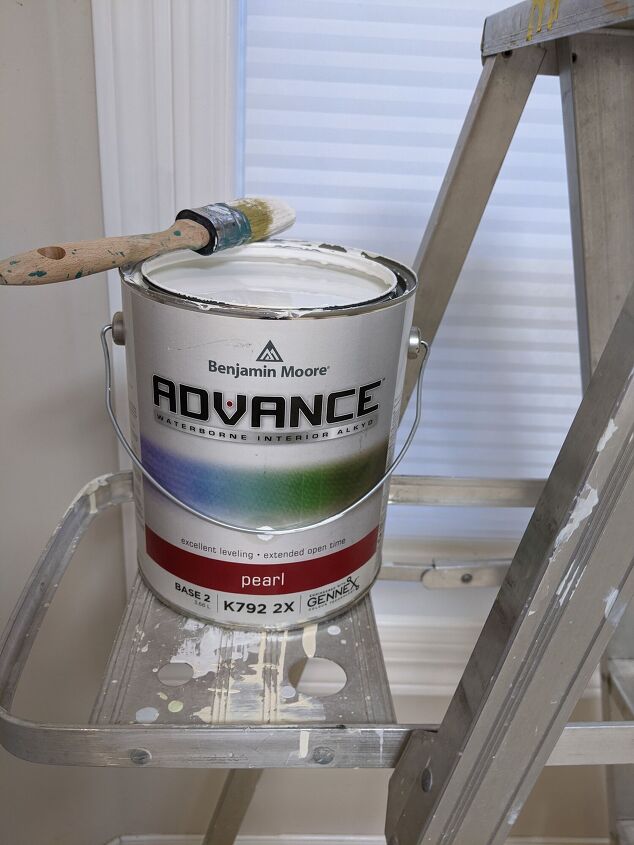
STEP 4: PAINT
I painted everything with the same paint / sheen I used on our kitchen cabinets and crown moulding x two coats.
And done!

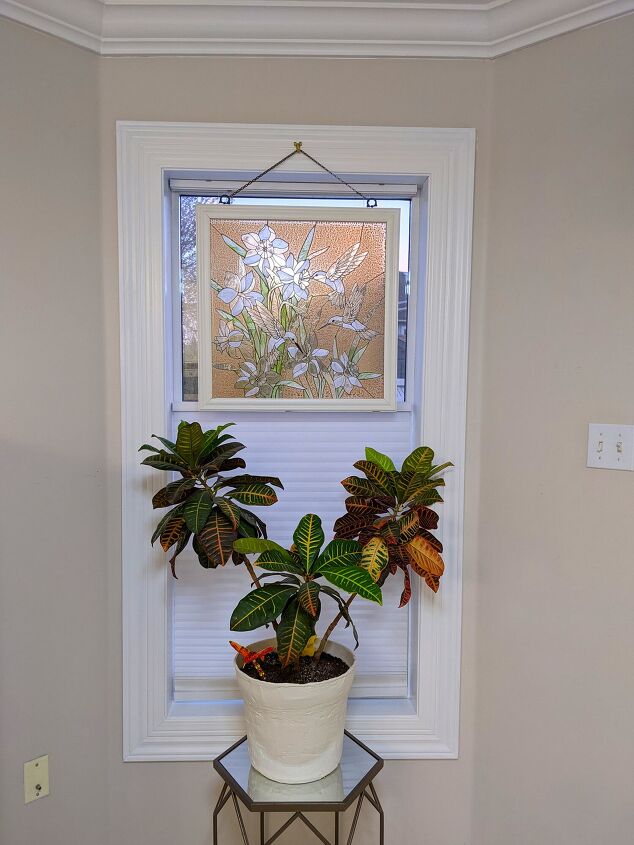
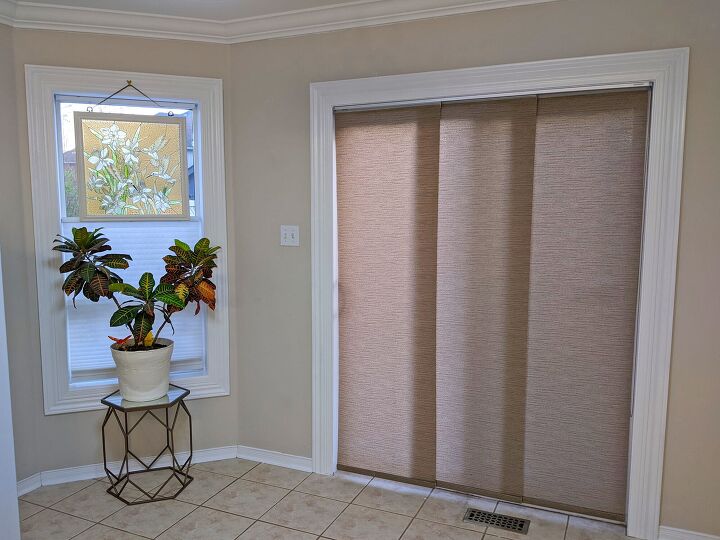
Going into this project I wasn’t too sure how it would turn out, but I kind of love it! I think it has a lot more character. And for $15 each, it was certainly a cost-effective alternative to replacing what was there. Based on my calculations, replacing them with something this width would have been roughly $100 each!
What do you think? I’m considering doing the other windows on our main floor and I’d love to hear your thoughts. 😊

Comments
Join the conversation
-
Such a good idea. Your trims look wonderful!


Frequently asked questions
Have a question about this project?