


How to Install Roman Shades

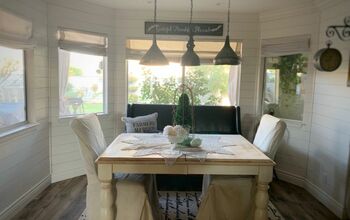
A byproduct of our kitchen renovation was a little bit of a facelift to our adjoining living room. We painted the walls white and I decided to switch out the window treatments to match the roman shade we put in the kitchen window. I was pleasantly surprised how easy it was to measure, purchase and install roman shades.
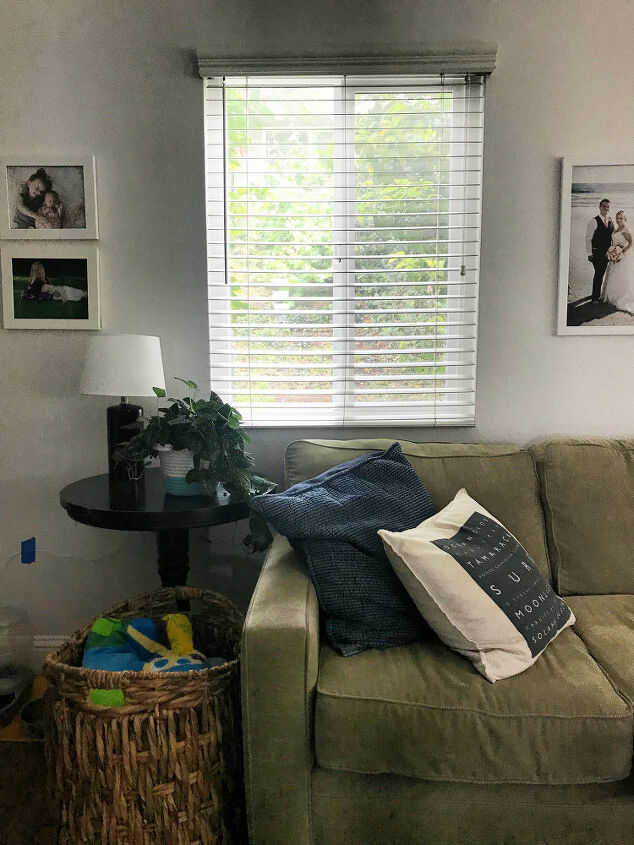
Here is the before picture, we have these standard white blinds on every window of the house. Slowly, I’ll start replacing them all with cordless window treatments. This was a perfect spot to start.
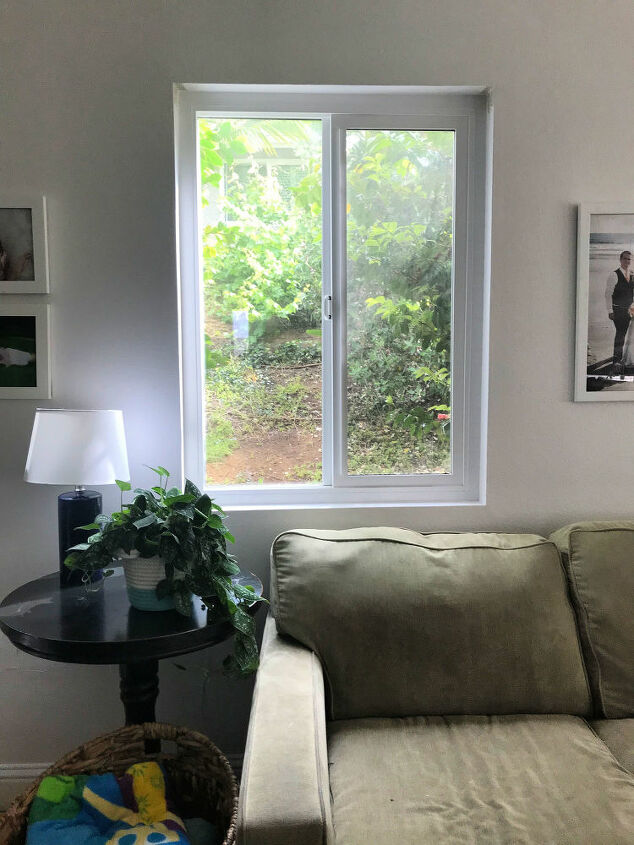
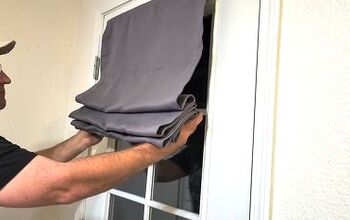
Remove your old window covering and made sure to give the window a good wipe down.
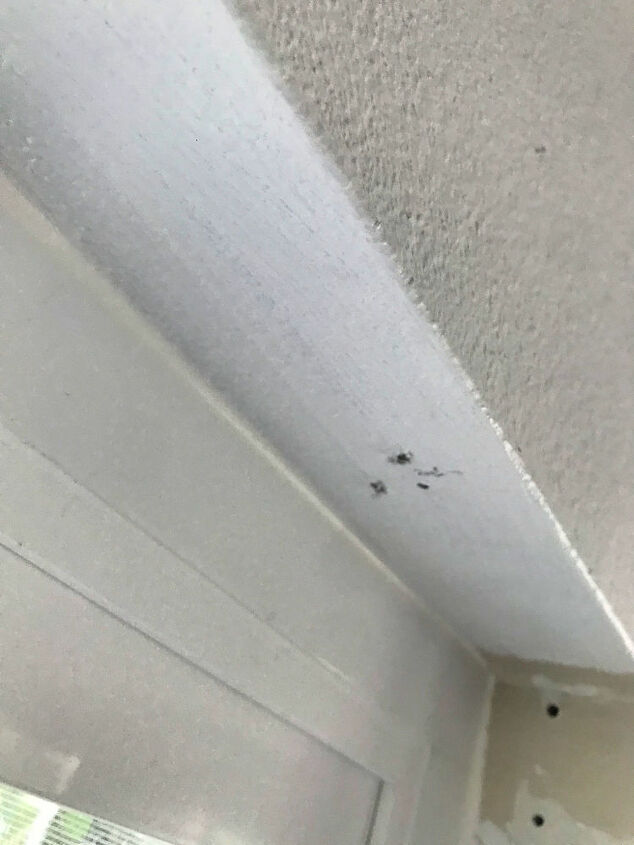
Measure and mark where you are going to drill the holes to install the brackets.
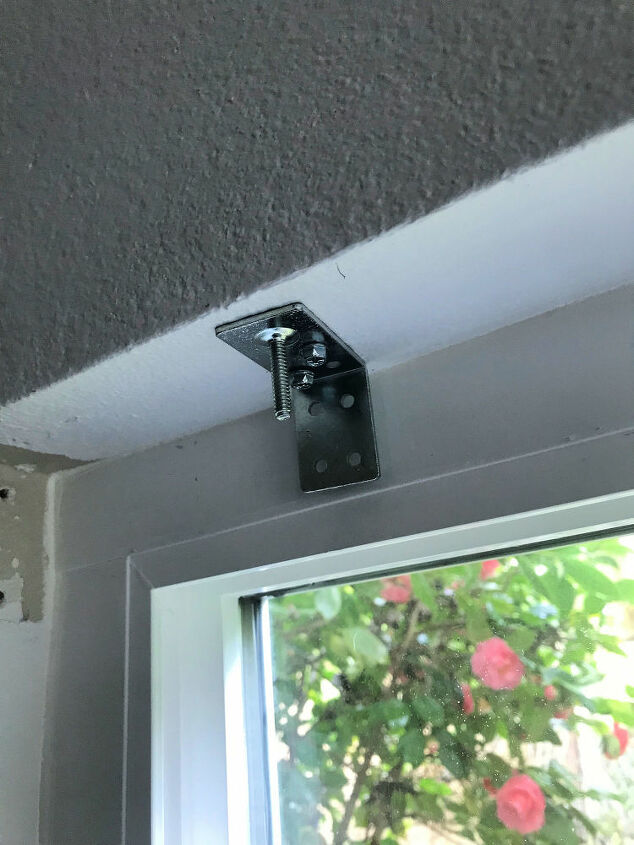
Drill your holes and install the top brackets. Yes this looks a little crooked but the design of the roman shades are very forgiving.
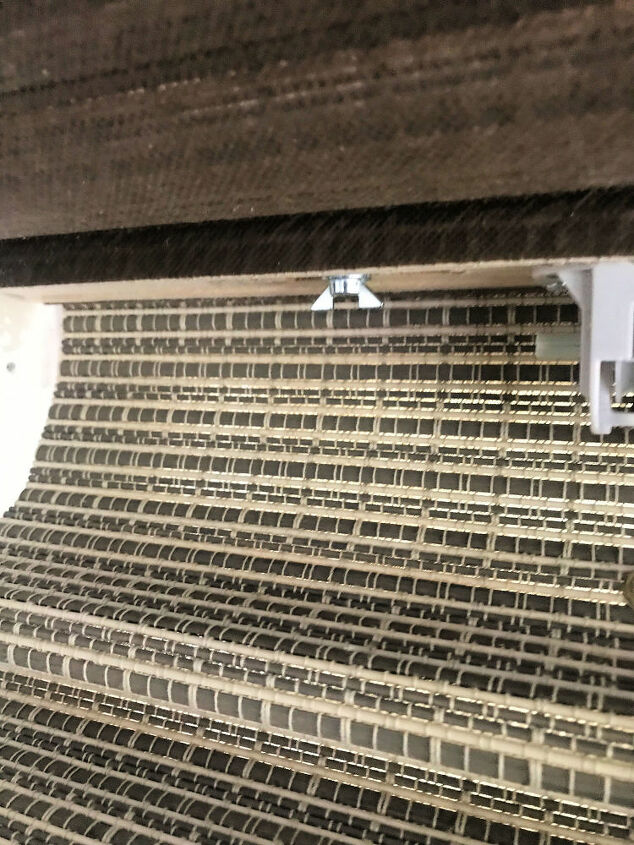
Lift the roman shade into place to make sure the screws align.
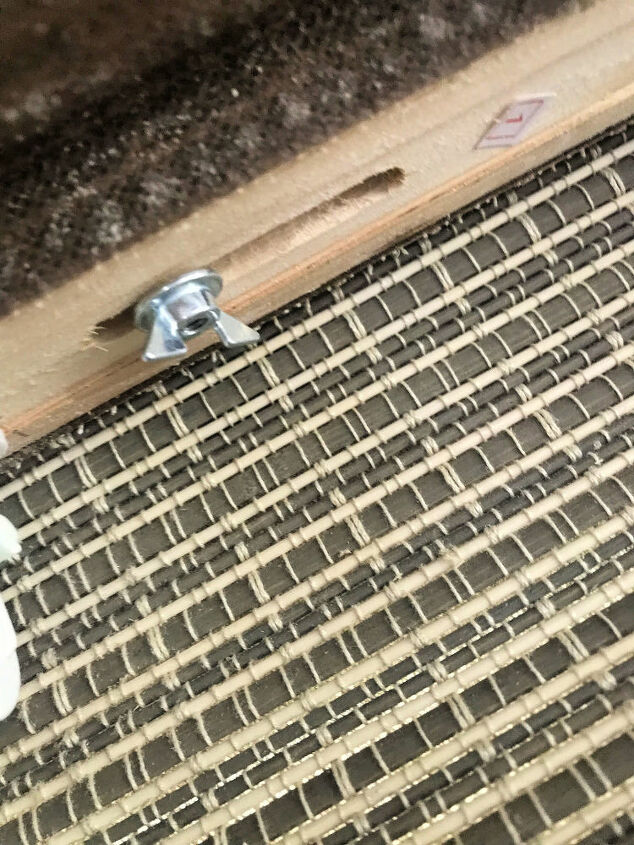
Tighten the butterfly nut on the post and you’re done!
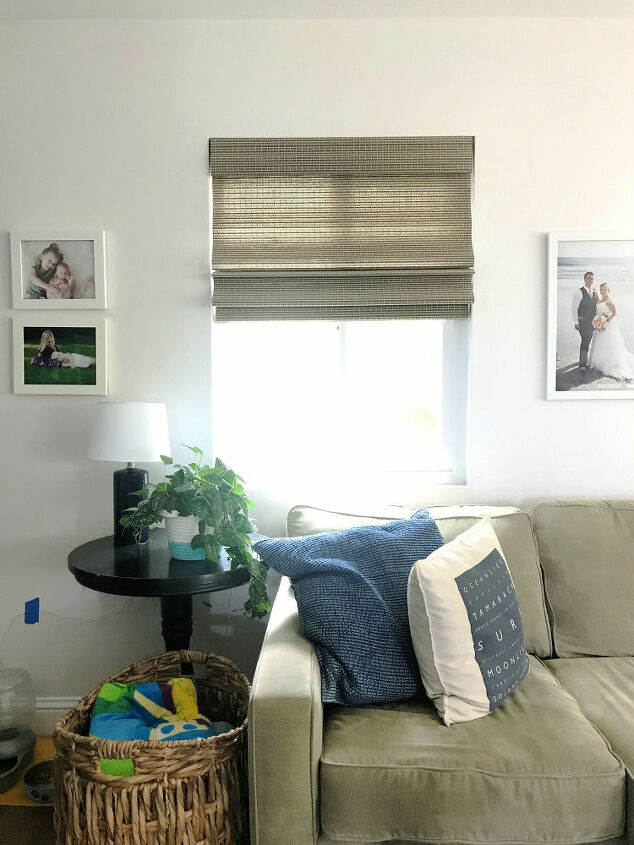
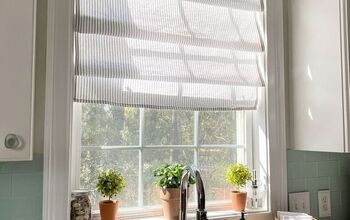
This installation was so easy and made such a difference in the space. I love bringing in the natural fibers in the window against the white walls of the living room. These shades are easy to adjust as well so when we want to watch a movie and darken the room a bit, they pull right down.


Frequently asked questions
Have a question about this project?