


Let the Sun In!

I have a basement apartment that has very few windows so you know that Sunlight is a very precious commodity. One of the those precious windows is in the bathroom - where you really want privacy so the window blind tended to stay closed tight and the sunlight hidden.
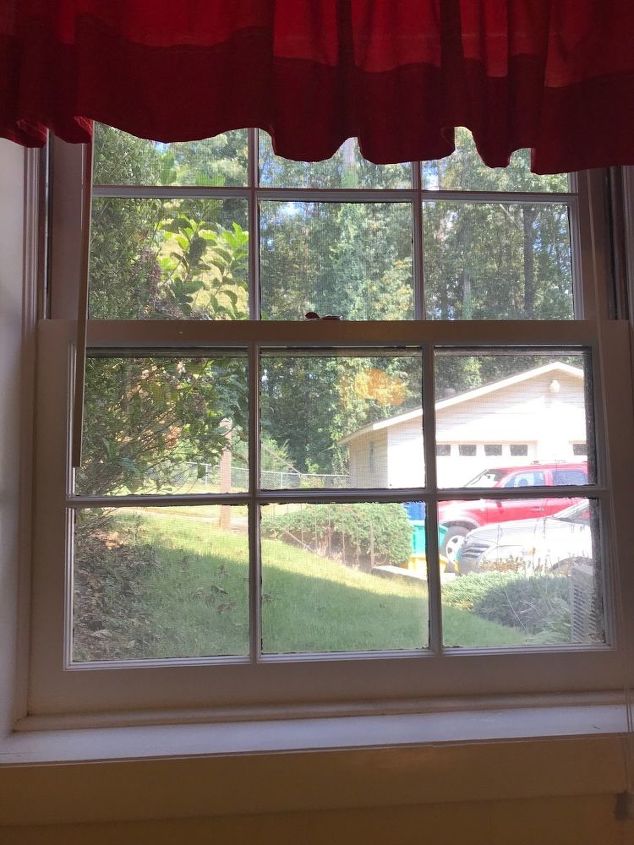
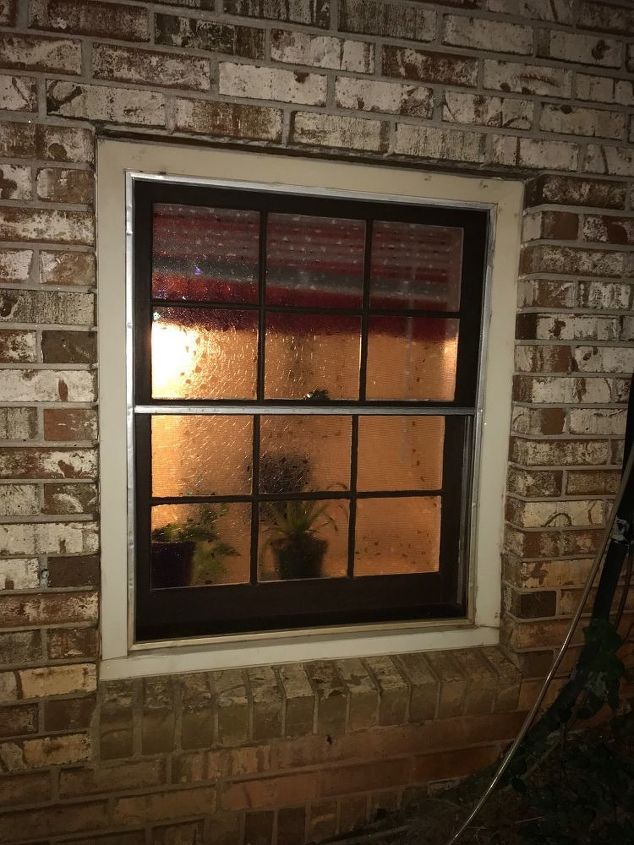
This is the window starting out. Just a plain old single pane window with no storm :( - need to speak to the landlord about that. The window was actually super dirty on the outside from lawn mowing, air compressor unit, dust etc and cleaning it was 1 hour of this 2 hour project. Especially with taking the screen off, scrubbing multiple layers of dirt off and then reinstalling it.
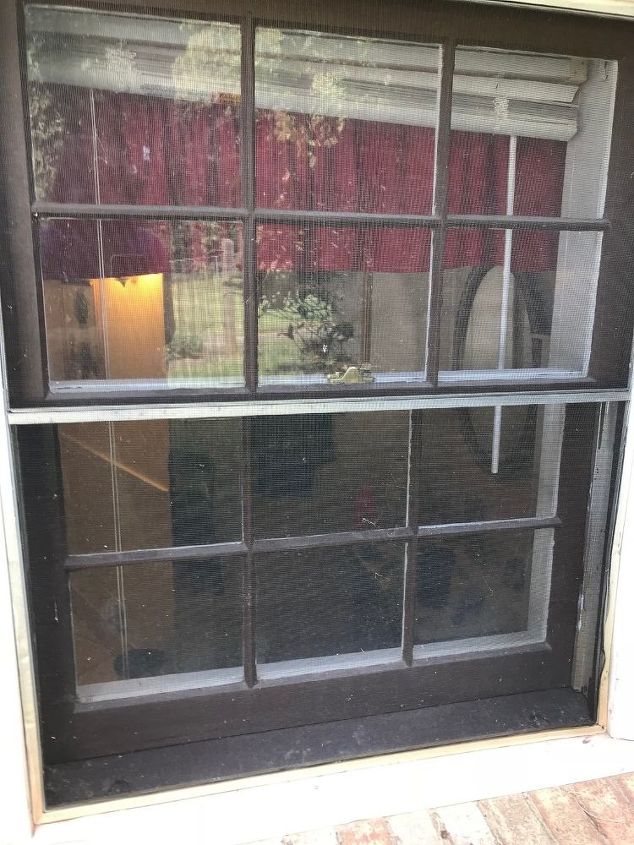
Outside of window - Before pic.
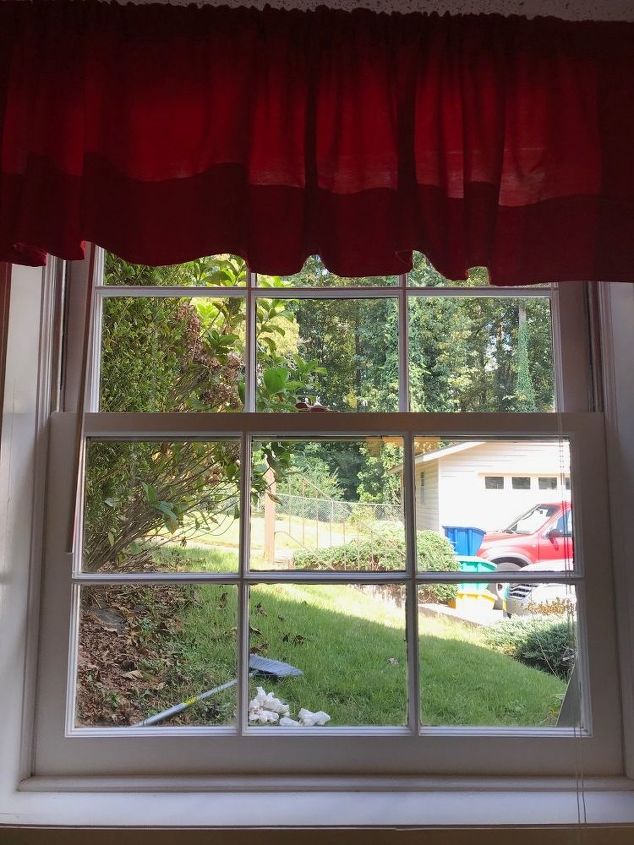
Clean inside and out and ready to get started with this little 'Let the Sunshine In' mission.
I purchased some anti-static window cling from Amazon. There are a lot of varieties out there. I went with a super inexpensive one. 1 roll 17.5 in wide by 77 in long was under $6. No adhesive and the cling installs with soapy water. It is removable and reusable. It is harmless and perfect to add some interest when renting. I laid the cling roll ontop of lower window pane to get an idea of how it might look.
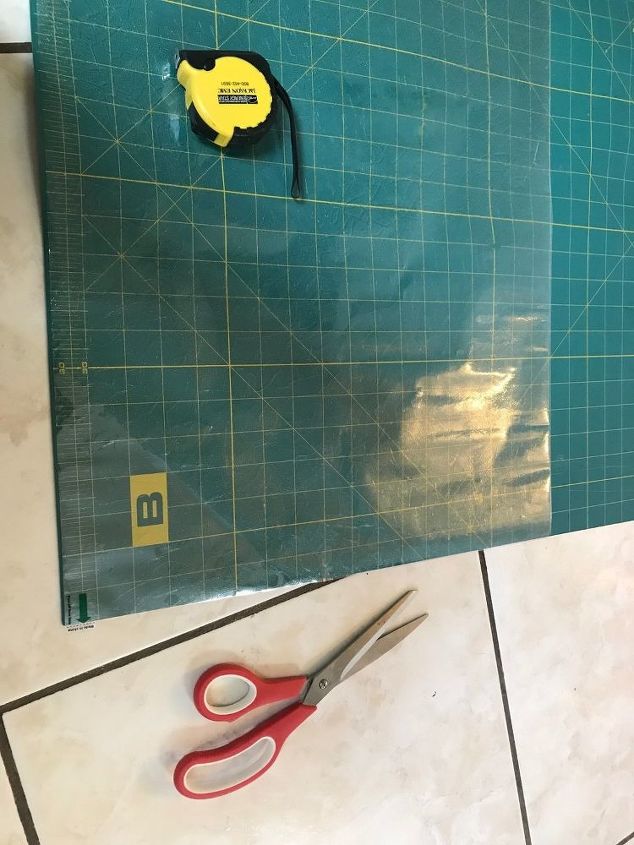
Each pane was approximately 8 3/4 inch wide by 7 1/2 inch high. I laid the film out on my grid cutting board and cut one a little larger than dimensions figuring I would use an exacto knife to trim to the window. I wanted to test 1 pane before cutting the remaining 11 pieces
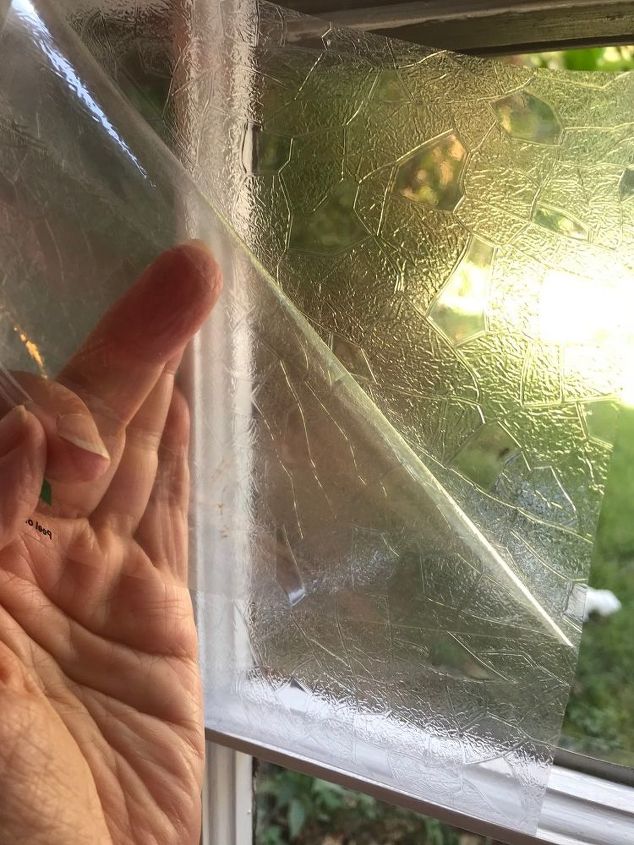
The window cling has a thin plastic film that you must pull off before hanging the cling onto the sprayed soapy water surface of window. I used a piece of duct tape on the corner to make easy separation of the cling and film.
First cling installed. Super easy - directions say work the bubbles out from the center to sides and top and corners. I found that if I sprayed too much water, it took longer to get the bubbles out.
The cling will slide around some so that you can move into the perfect position that you need. I trimmed the cling down to the pane with the Exacto blade but found that tedious as the plastic wanted to stretch or I just had a dull blade 
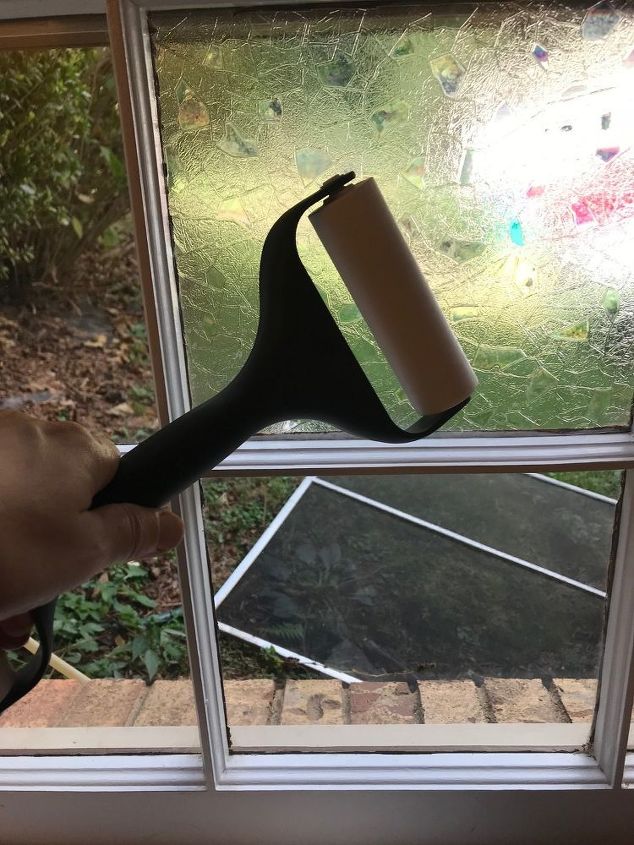
I actually had this cool Pampered Chef dough roller from a purchase many moons ago that came in quite handy for pressing out the bubbles. It is not a necessary item but was fun to use. Your fingers or a playing card, credit card, business card will do just as well too.
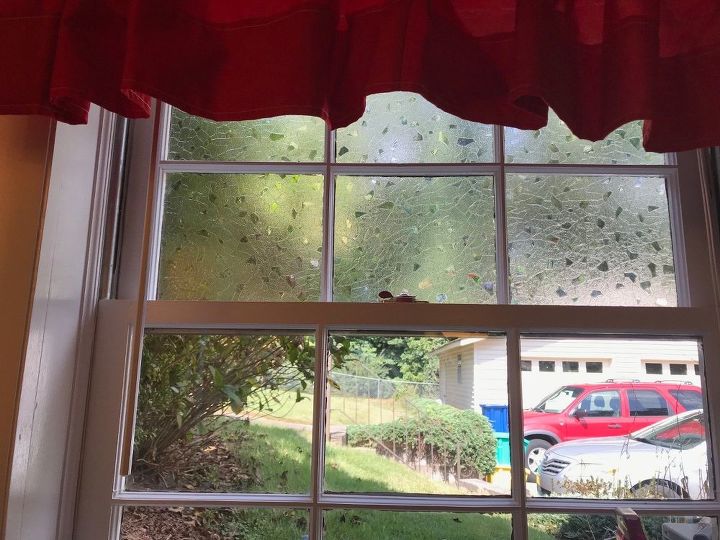
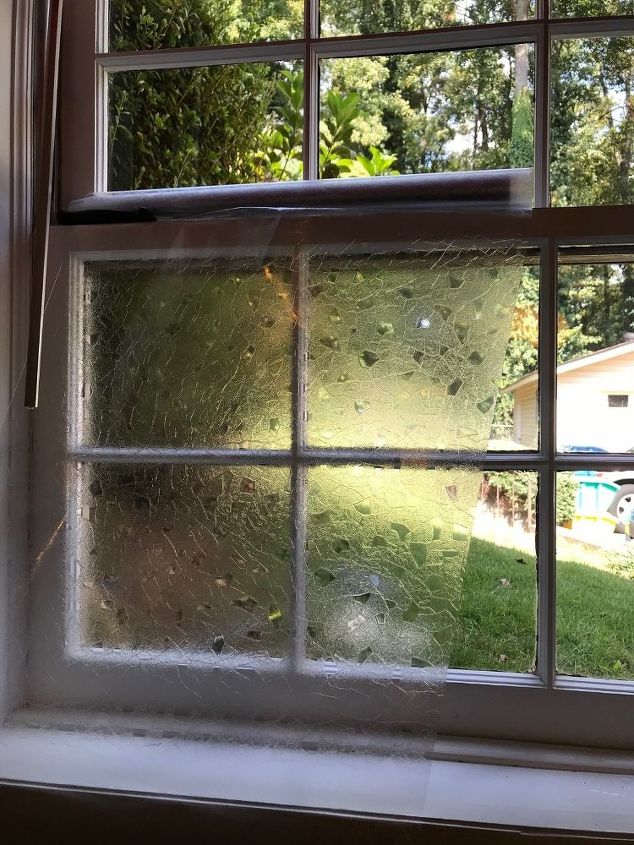
Half way mark and I am liking the muted look. I hope that when the sun catches the cling that maybe there will be a prism effect but that window really does not get full force sun beaming on it.
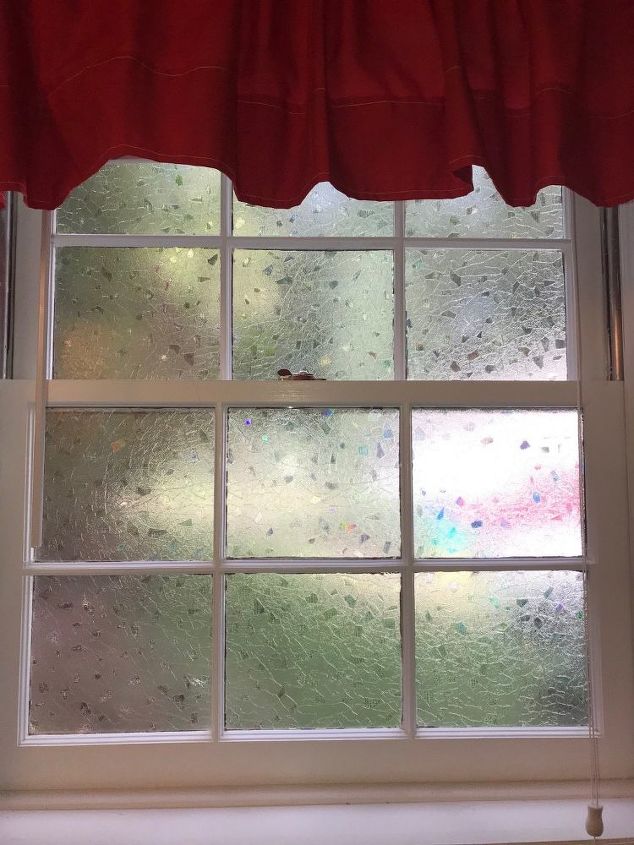
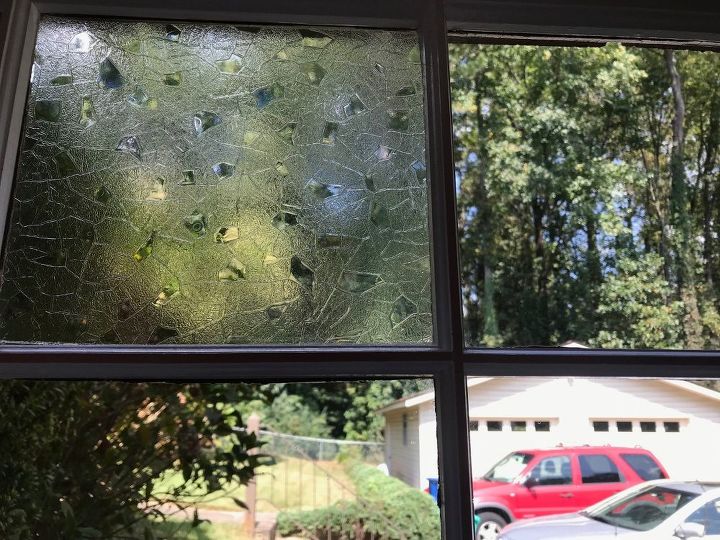
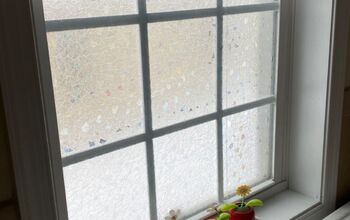
Here is the window project complete and I believe that the cling definitely adds privacy for daytime use. Nighttime is the next pic and I would not want the blinds open then anyways. :)
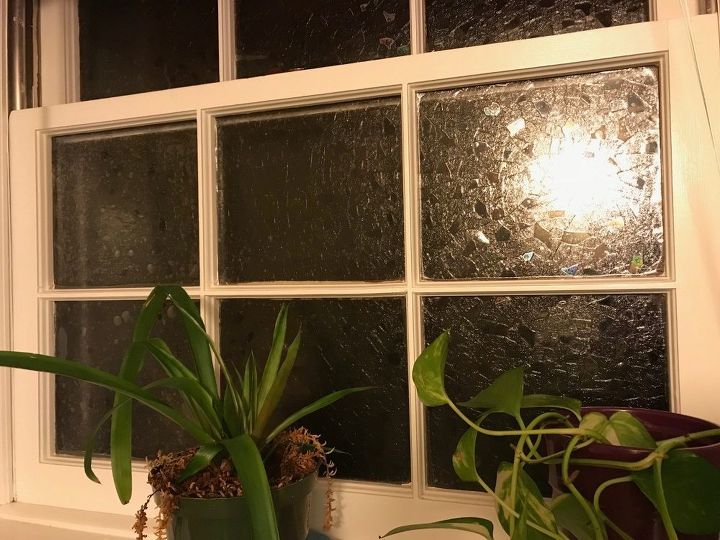
I took this pic at night with a flash and the room is still muted. The closer an item is to the window the more you see it. Those two plants are sitting on the window ledge.
All in all I am quite happy with this. The next project with window cling is to masterfully change the appearance of some mirrored sliding closet doors in the dining area of the basement apartment. This is super easy and is removable, washable, and harmless to rentals. If you want a quick change of scenery - have at it
Comments
Join the conversation
-
Perfect fix- looks great!
-
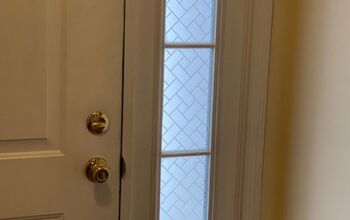
I did the same thing in my master bath. The tub is right in front of the only window and I didn’t want to use curtains It was the perfect solution! I used a different pattern for the sidelights framing the front door too. A super easy project.


Frequently asked questions
Have a question about this project?