Easy DIY Roman Shades

Before you throw away those old faux wood mini blinds, refresh & upcycle them and turn them into Roman shades. These were so easy and didn’t require any sewing.
First, let me tell you that my faux wood blinds are about 17 years old, they’ve been good to us but it was time to replace them. However, before I decided to run out to the nearest store to buy new ones, I decided that I would refresh them and try my hand at making Roman shades. I figured the worst that could happen was they wouldn’t turn out great and I would have to buy new ones. I knew I did not want to sew them or put a whole lot of time into making them, I wanted something quick and easy. I used hot glue to secure the fabric to the blinds. After seeing various types of YouTube videos on how to make them, I decided to incorporate a few techniques from various videos and made myself these. As you follow along I hope that the instructions are easy to follow and will inspire you to make your own, if you’ve ever considered making some of your own that is.
Tools and Materials
- blinds
- scissors
- measuring tape
- hot glue
- fabric
Before I started cutting away, I laid my blinds flat and cleaned them with soap and warm water. Hint, learn from my mistake, I washed every single blind/slat. What I should’ve done was removed the ones I didn’t need and only cleaned the ones I was going to use but I didn’t think of that until after I was done 🤦🏻♀️ I couldn’t saved myself a lot of time, because I only needed 6!!!
After I cleaned the blinds, I cut off the strings that look like ladders, they’re the smaller single string/ropes. Whatever you do, do not cut the thick ones that are intertwined in the blinds, those are the ones that pull your blinds up and bring them down.
After I cut away the strings, I removed them by pulling them away from the blinds, they should pull away rather easily.
Once I removed the strings that I cut off, I was left with those thicker strings I mentioned above not to cut. I think you can see them from this view.
The blinds/slats that I didn’t need, I just broke off, they snapped off very easily too. I decided I only needed 6 slats because of the length of my windows.
At the top of the blinds was a bracket (header), the one which is used to mount on the window. Inside of that bracket, at each end, are small box-like pieces. I removed them because I wasn’t going to need them.
After playing around with the size of the folds that I wanted, I decided that 5 inches between each blind would create a perfect Roman fold. Make sure to lay the fabric flat, I laid mine on the floor because it was easier for me to work with. By the way, I also ironed the fabric prior to beginning this project. The fabric was laid underneath the blinds. I used drop cloth but if you plan on using a patterned fabric, make sure the front side is facing down. I used a tape measure to space out the slats evenly apart and to ensure they were parallel with each other. From the top of the bracket to the bottom of the blinds, I measured out 5 inches.
This is another view of what the blinds look like with 5 inch gaps between each slat. I also left about 1.5 to 2 inches of fabric (seam) along the ends of the slats. As you can see from this photo, the fabric is laying beneath the slats.
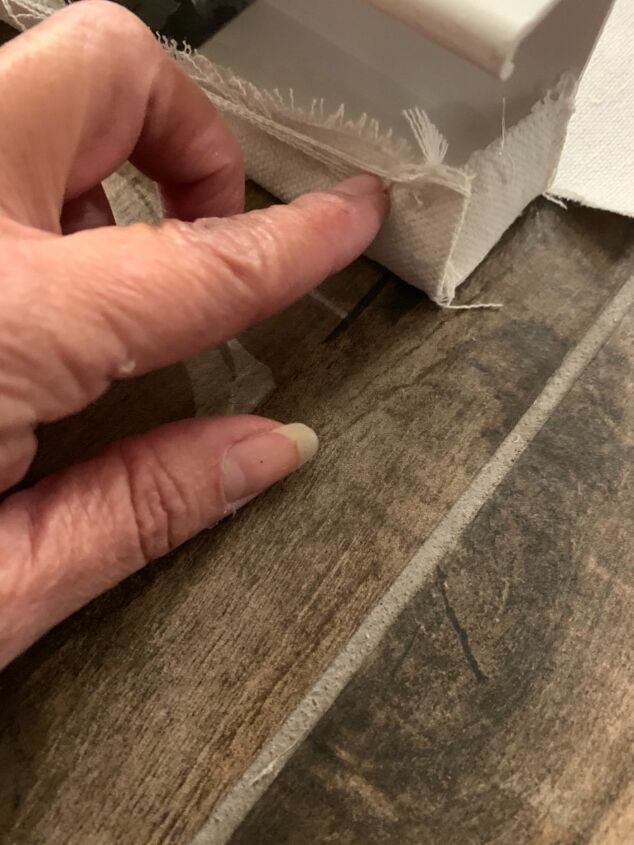
At the top of the blind, and on the side of the header bracket, cut a tab for the fabric. Fold the fabric over and into the bracket and hot glue in place. The hot glue works great on fabric and makes it much easier and faster to secure in place.
Here’s a better view of the step I described above. I folded and glued in place the fabric into the inside of the bracket.
Next I hot glued and secured the fabric to the slats. One at a time, I applied several beads of hot glue on the edges of each slat. Make sure to secure the fabric by pressing the fabric in place on top of the hot glue. Continue this step for each slat.
This is a view of the completed fabric wrapped slats. I created a make shift hem so that it had a cleaner finish by folding the raw ends underneath and gluing the fabric to the slats.
For the bottom of the blind, I applied a line of hot glue and rolled over the excess fabric onto the bracket.
This is a view of the bottom of the bracket, as you can see, I hot glued and wrapped the fabric around the bracket.
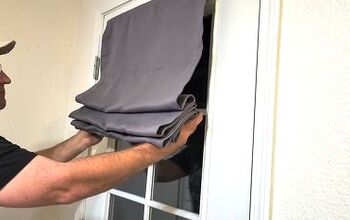
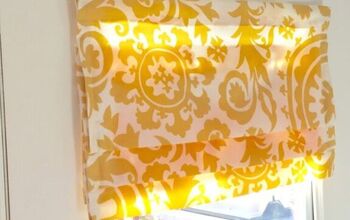
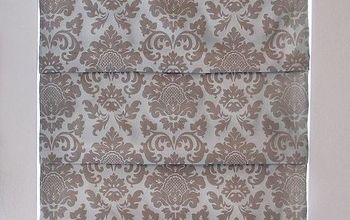
Here is a view of all the Roman shades I made, I think they turned out pretty good and the best part of this project was that they were so easy and required no sewing! If you would like to see more of what I do, please visit me on Instagram at https://www.instagram.com/mycreativekneads/
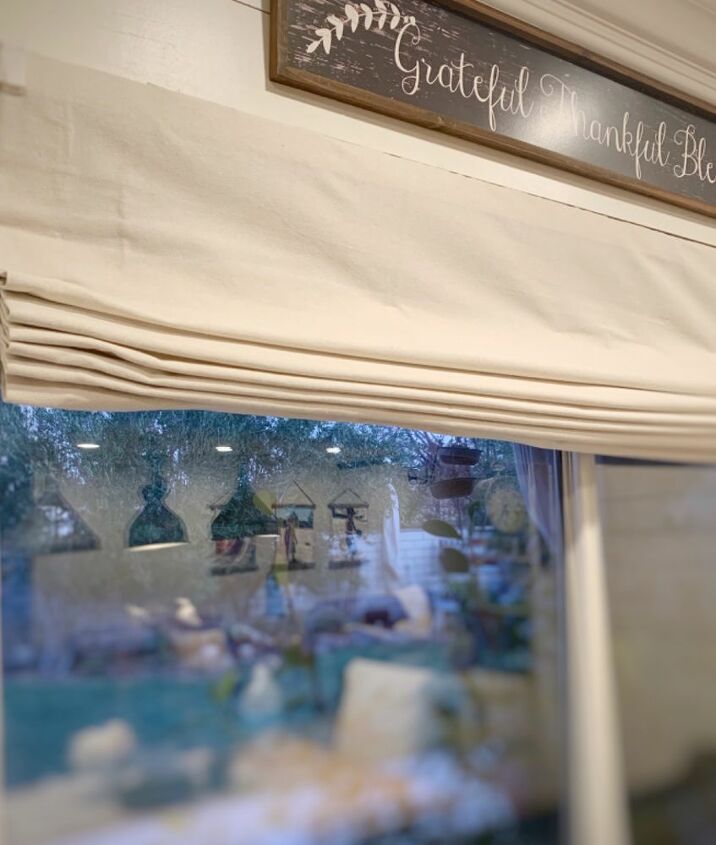
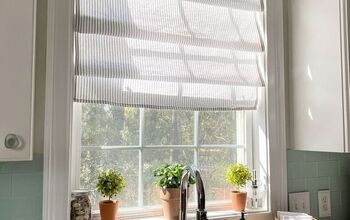
So, I’ve had a lot of people ask about how the shades look when they’re rolled down so I’ve updated my photos. I guess the rationale for originally not taking a photo with them rolled down was because I always have them rolled up, my backyard is private and I love the natural light that comes in. I used drop cloth fabric but if you mind the slats showing than you can use a heavier or darker fabric. I don’t mind them showing. The folds of Roman shades come in a variety of folds, flat which are more traditional, relaxed which bow at the bottom, are softer and more feminine looking and butterflied which dips in the middle. I chose the more traditional look.
This is a close up view of them rolled down in one window and half way rolled up in the second. I’m going to attempt to make another set for my bedroom using dowels instead of the slats, just to see the difference in their appearance. I hope you all have a blessed day!
Enjoyed the project?
Resources for this project:
See all materialsComments
Join the conversation
-
 Mary Maudlin
on Nov 14, 2023
I’ve been wanting to try making Roman shades . I can not wait to try your idea . Thanks so much
-
 Irma | mycreativekneads
on Nov 18, 2023
I hope you enjoy the process 🤍
-
-
-
 Beverly Wadford
on Nov 14, 2023
I love the idea! im going to make my blackout blinds like this!!
-
 Irma | mycreativekneads
on Nov 14, 2023
Yayyy i hope you like it. Have fun 🤍
-
-













Frequently asked questions
Have a question about this project?
Can this work on cordless blinds?
If so please please let me know or lol let the world know ... I wish I had my old corded blinds the $$ I could of saved.👍️
What would happen if you just left all the slats on but just glued the fabric to every 3rd or 4th slat? We have a window that needs to be darkened due to glare on the TV, and I have some old drapes I could use. I just may try it and see what happens.
please tell me about your rug?