


Rustic Burlap Toy Box Bench

4 Materials
$25
2 Hours
Medium
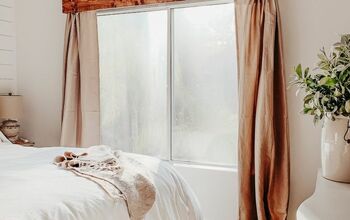
A while ago, I had been given these gorgeous used burlap coffee been bags. And right away I had to figure out how to incorporate them into my decor. I just knew I needed burlap in my house!
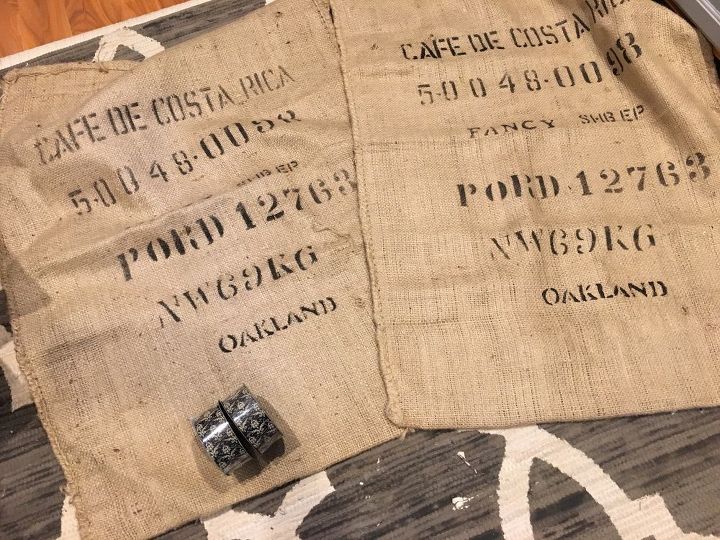
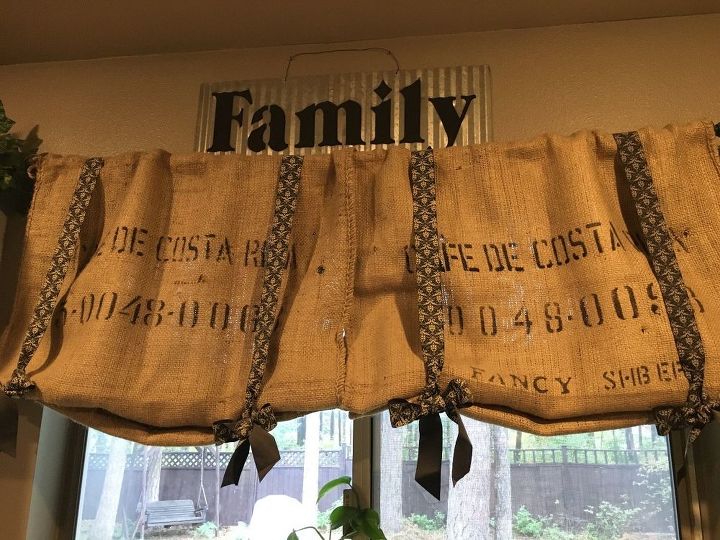
So with some ribbon, a curtain rod and a glue gun, I created some Kitchen valances. But there wasn't anything else in my house that was burlap type rustic.
I felt like I needed at least one more item with burlap on it for balance.

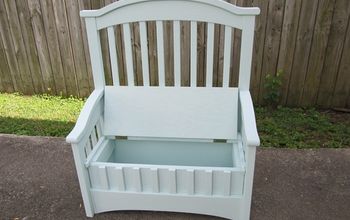
Enter Walter and Hugo. As you might imagine they are spoiled and have too many toys. After having stepped on one of their toys and nearly killing myself, I decided I would make them a toy box and incorporate the burlap into that!
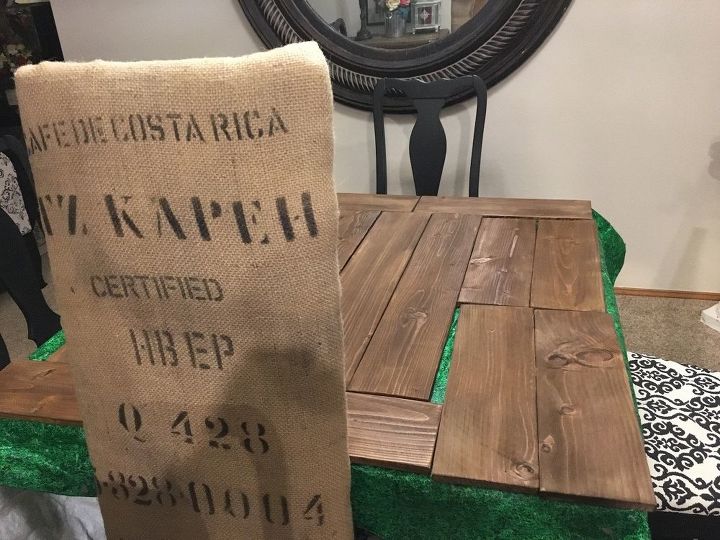
I started by taking my left over fence wood and sanding it down. Then creating an aged finish. You can find a tutorial for that finish here on HomeTalk.
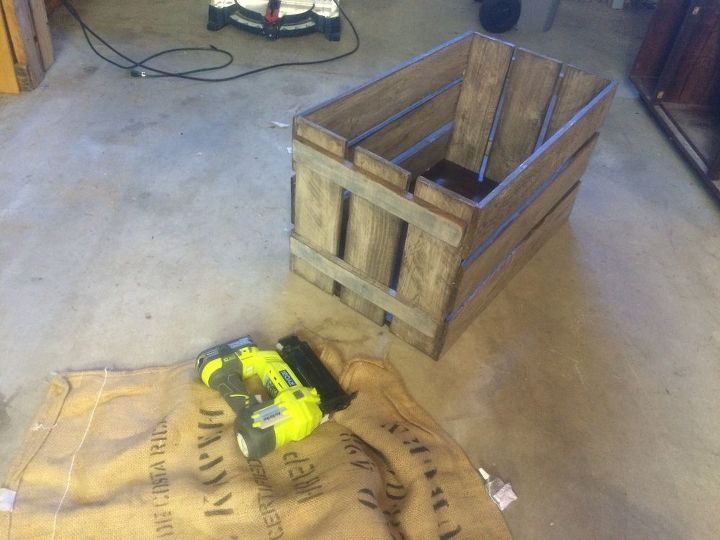
I had an old cabinet door I used for the bottom. With my nail gun I secured 3 boards across the bottom on each side, and the secured 2 smaller boards across those to keep them in place. Lengthwise I secured 3 boards on each side to my side boards and now I had a box!
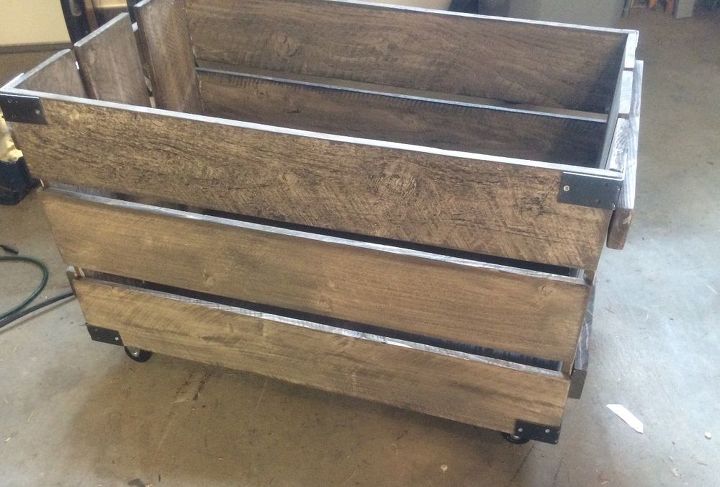
To make it fun I added brackets on the corners and wheels. Both of which you can find in the cabinet hardware section of Home Depot.

Once I had that done, I used a piece of heavy left over plywood to create a seat. Wrapping it in padding and batting I stapled the burlap over the top. I secured a couple hinges in place to allow for opening and closing it, and ta-da! A rustic toy box for my boys!
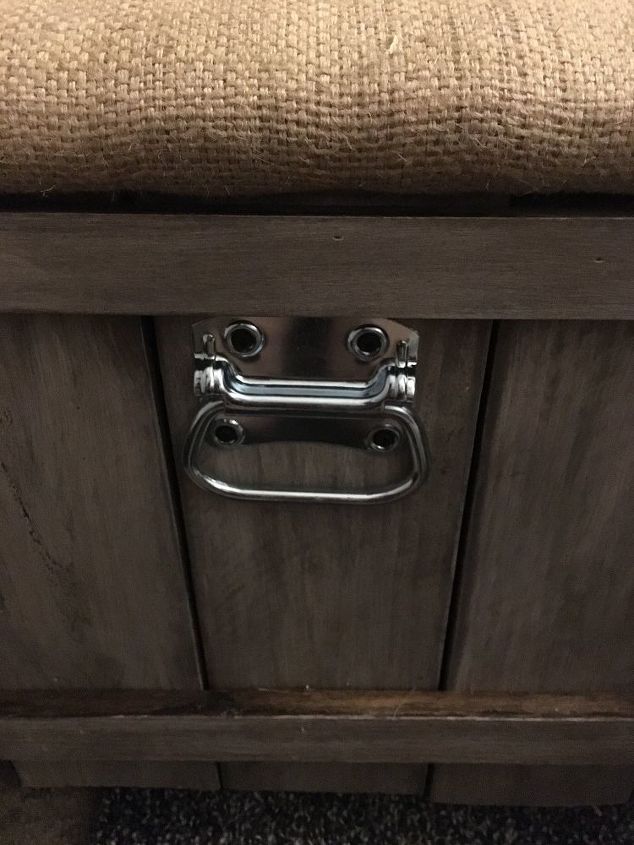
I added some industrial handles to finish it off and now it's functional as a rolling bench!
Comments
Join the conversation
3 of 24 comments
-
Looks great!!!
-
Awesome! I didn't think to add a lid to my dog toy box....I might do this, thx for sharing.


Frequently asked questions
Have a question about this project?