


Rustic Window Valance

by
Kelleysgirl
When the grandkids moved in with us two years ago, we had to quickly buy some used furniture so they would have a place to sleep. Two years and an adoption later, we knew it was time to make things a bit more homey and permanent. We started by buying new furniture and painting walls and ceilings. Then we installed flooring.
With all the major work done, I decided to focus on the details. This week we decided to make some easy rustic valances for their windows.
With all the major work done, I decided to focus on the details. This week we decided to make some easy rustic valances for their windows.
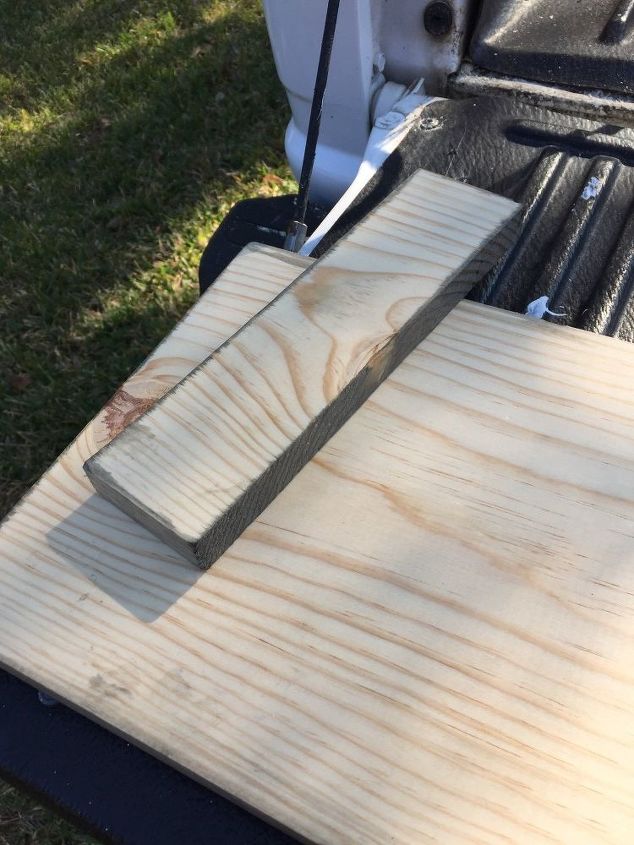
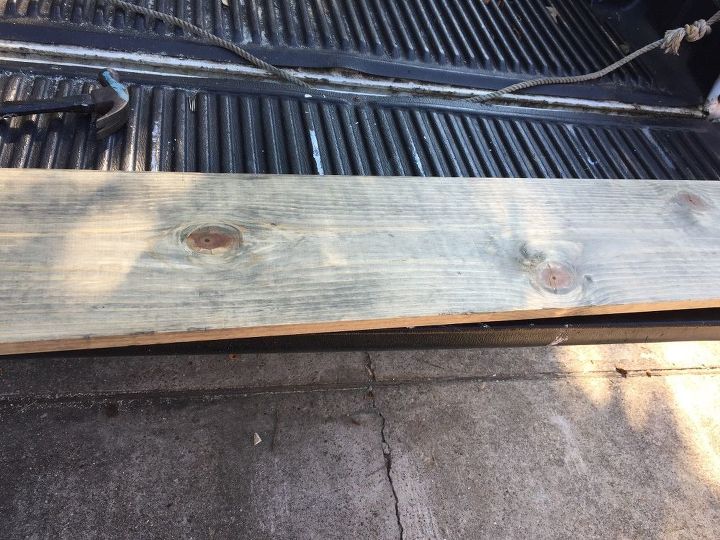
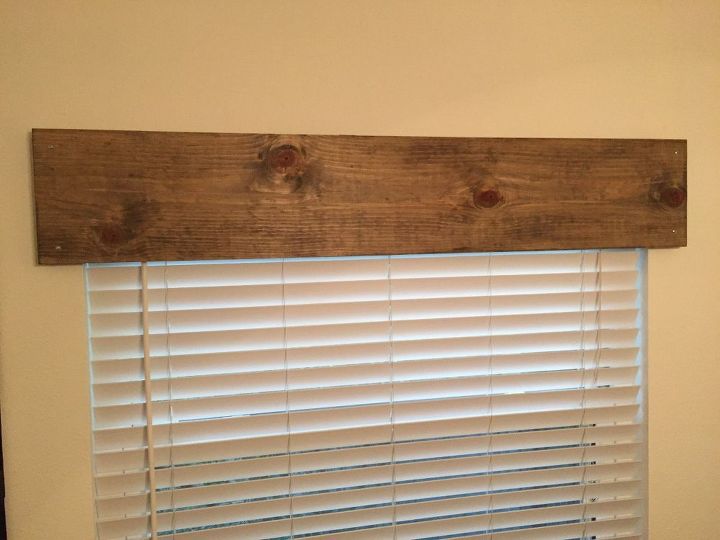
It doesn't get any easier than this. We began with some 1x10's and cut them 2 1/2 inches wider than the windows. We then cut a piece that was 2 1/2 inches wide to pull the valance away from the wall.
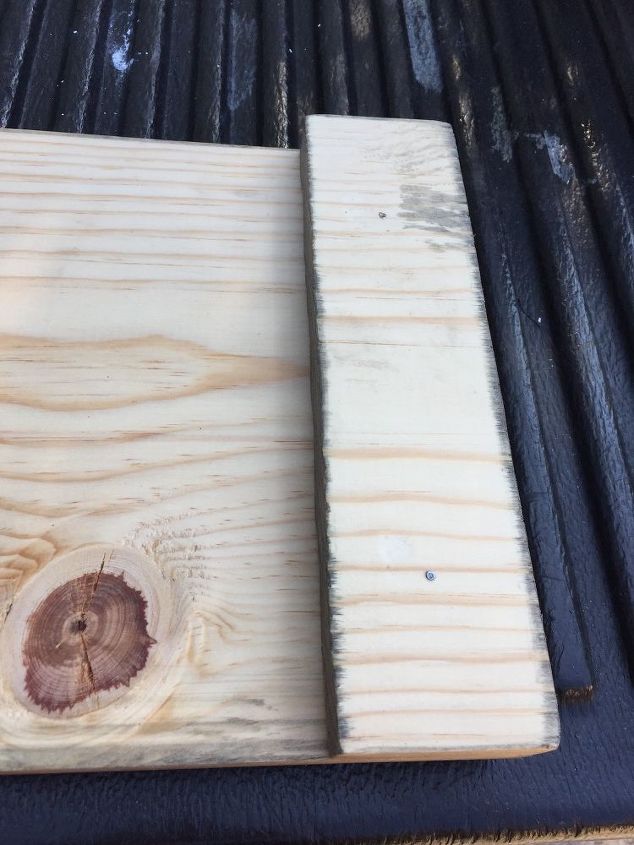
I then stained the wood with my custom stain- Minwax Driftwood with a small amount of Ebony stirred in. Front and edges of the large pieces and edges only of the small ones.
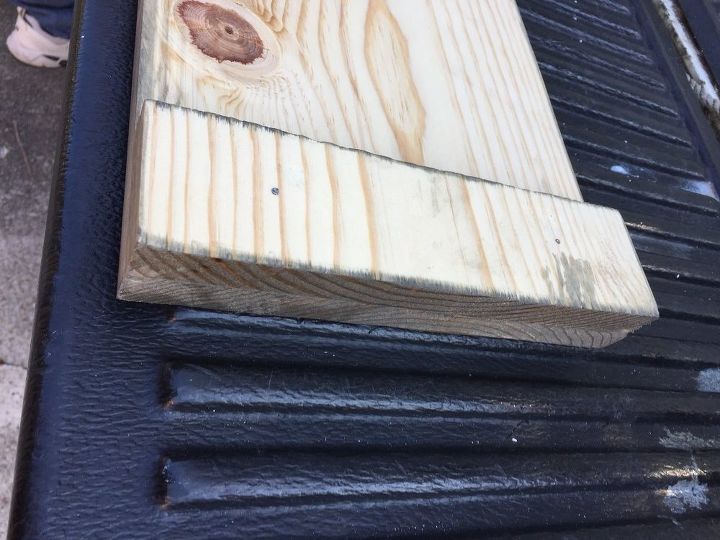
The hubby then used some small finishing nails to attach the small pieces from the back. Not a necessary step, but made attaching to the wall much easier.
We didn't sand the edges completely smooth, so they ended up a bit darker than the front, but I like it that way.
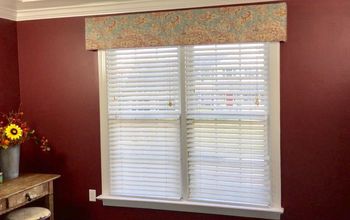
And here is the finished product in the little man's room. I will probably take down the blinds and put some burlap or canvas curtains up instead. I thought of roughing up the edges with a dremel, but decided to leave them straight. I also may put a quote on them with vinyl, that can be removed later.
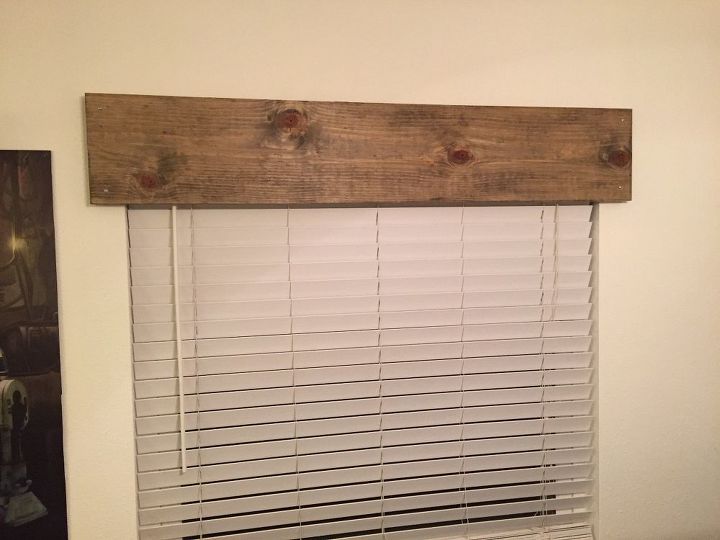
Here is a better idea of the color.
Want more details about this and other DIY projects? Check out my blog post!


Frequently asked questions
Have a question about this project?