


Simple Boxed Out DIY Window Trim!

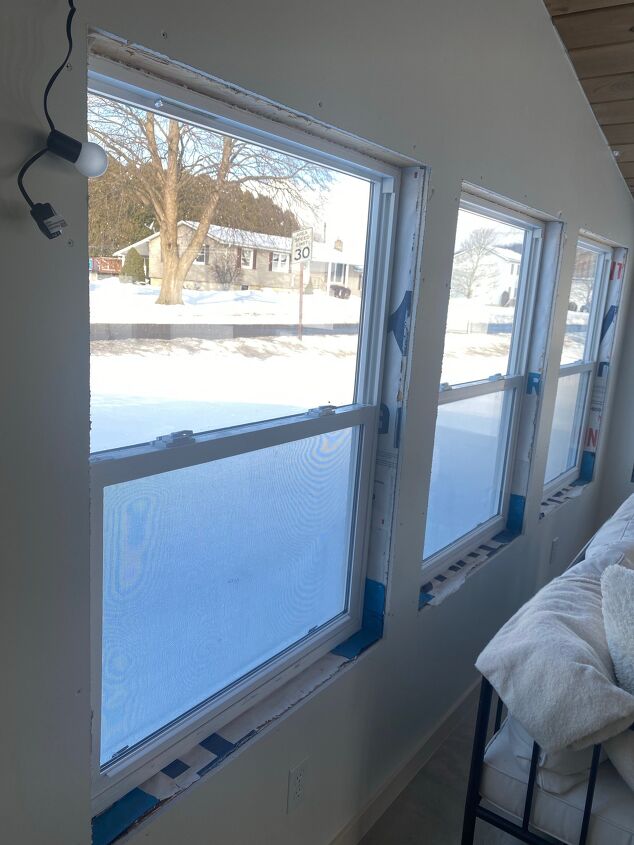
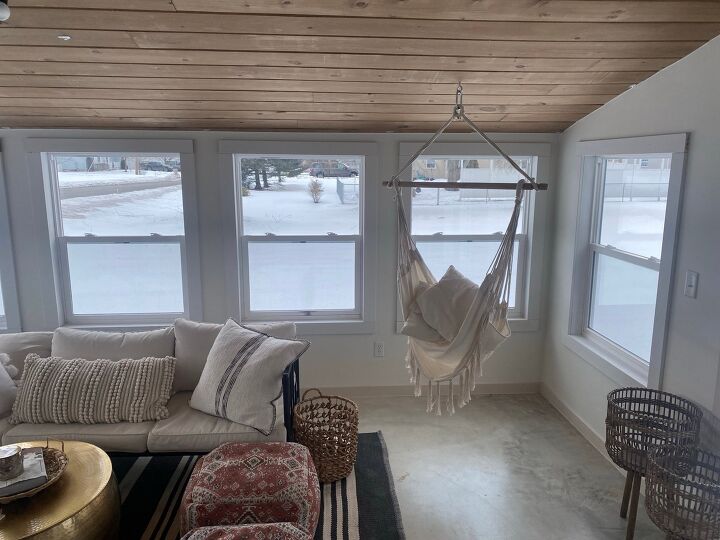
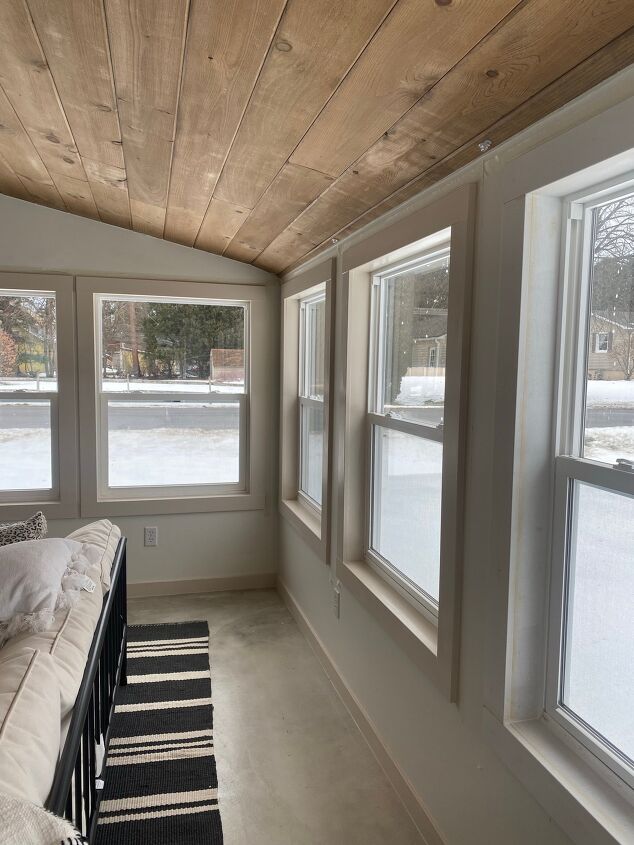
There are so many different window trim designs out there and sometimes it can be hard to choose which one! I know I had a hard time deciding! I have eight windows in the lower portion of my sunroom and wanted them to all match but also coordinate with the other window and trim work in the room. Here are a couple before shots of my windows!
Best nail gun!

All eight of them needed to be trimmed out. I had been procrastinating this project and quite honestly dreading it, but am so happy with how they turned out in the end. Since my ceiling drops pretty low on the back set of windows my options became limited for what type of trim I could put up. Originally I wanted a thick trim piece on top of the windows, but there wasn’t enough room because of how low the ceiling comes down. So, I settled with a very simple boxed out look. I felt this look would match my window in my upper sunroom, my door frame, and my baseboards and really tie everything together. Plus the best part, no mitered (or angled) cuts!
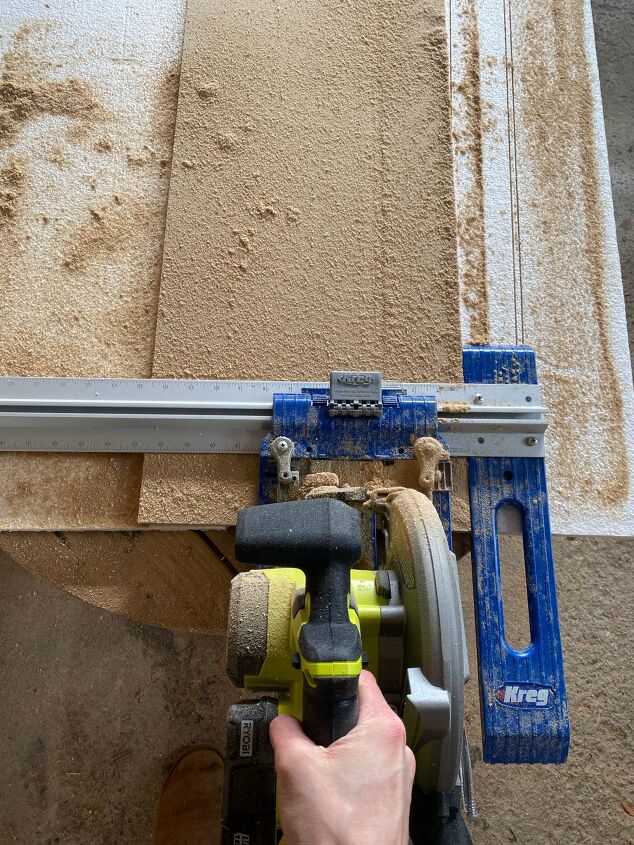
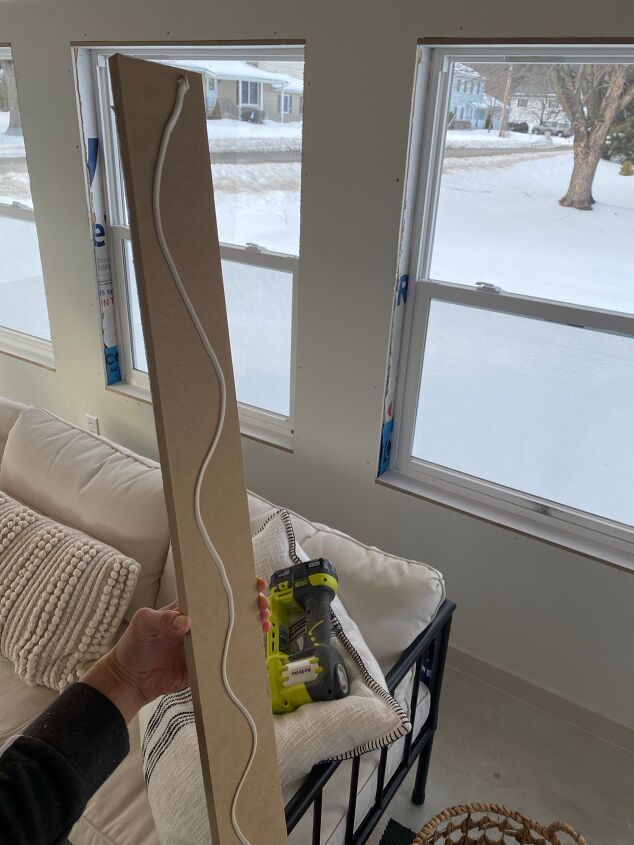
So once I settled on the design, I headed to the store and picked up my supplies! On my first trip I picked up 1/2in sheets of 2x4ft MDF board. I am using MDF to trim out the inner portion of my windows. I ripped down these sheets with my circular saw and Kreg rip cut attachment to 3in wide. This measurement is the width from my window face to my wall face. You can see below me using my saw and cutting the MDF. I decided to cut this portion of the window trim on my own to save me some money.
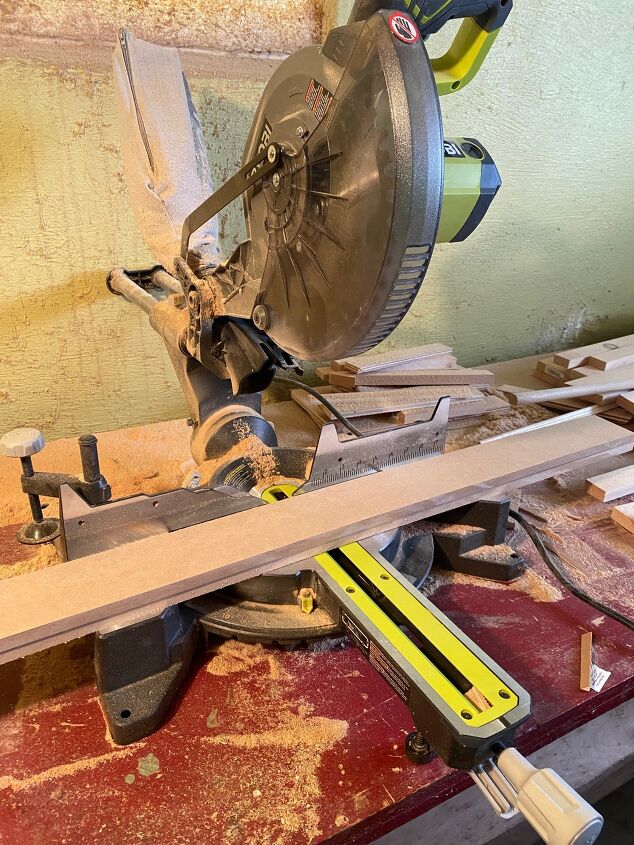
After using my circular saw to rip down the sheets of MDF to the right width I then used my miter saw to trim them to the correct length as pictured below. Again, no mitered cuts. I am just cutting these at 90 degree angles.
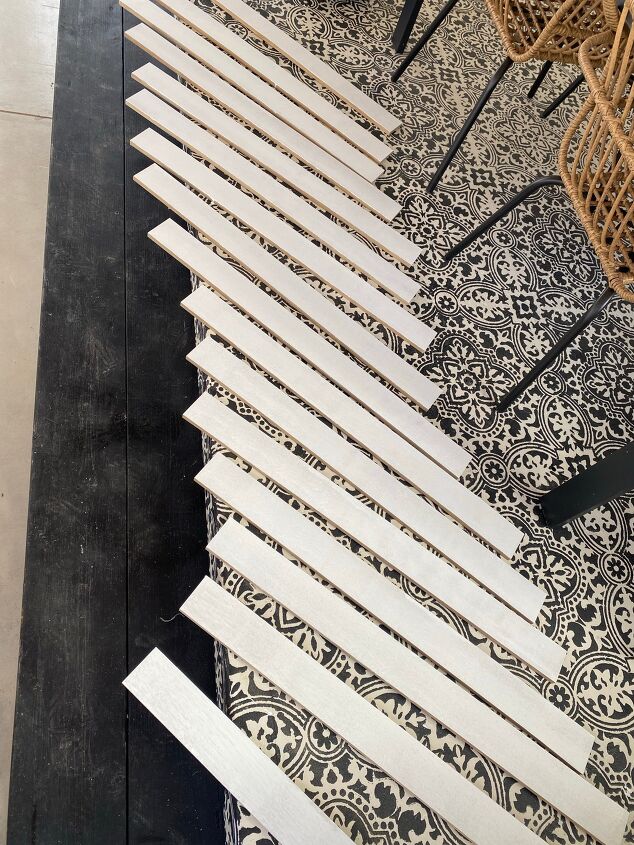
After cutting 32 pieces (8 windows, 4 pieces each per window) of MDF to the correct width and length I primed them using B.I.N Zinsser primer (which is the best primer ever!) and let them dry before installing.
After those dried I was ready to start trimming out the interior part of the windows. I started with the horizontal pieces. I applied liquid nails then used my brad nail gun and 2in brad nails to secure the MDF boards into place. After both the top and bottom horizontal pieces were installed, I then installed the vertical pieces by also applying liquid nails and securing with 2in brad nails like pictured below.
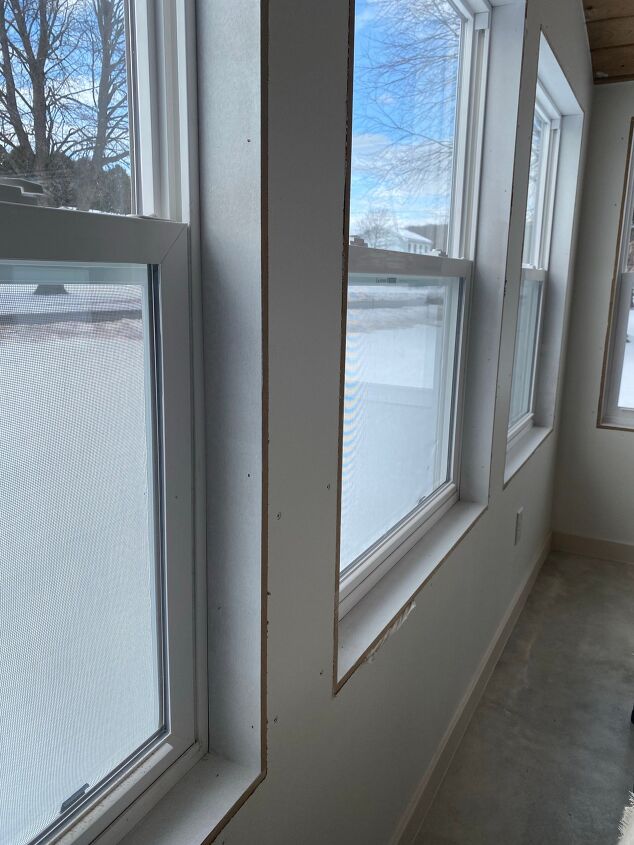
I was able to finish up trimming out the interior parts of the window on day 1. The next picture shows how the windows looked after the interior parts were all trimmed out. I just followed the same steps for each window.
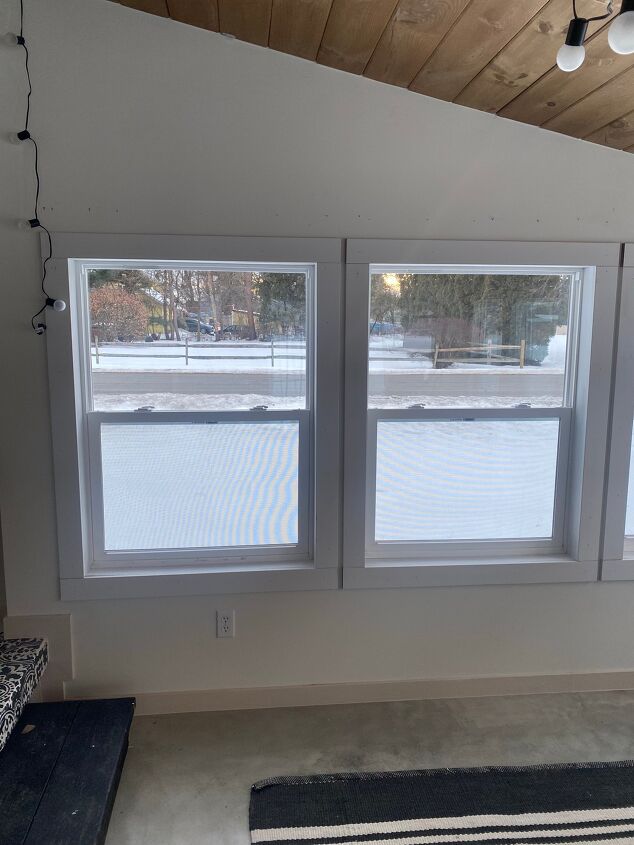
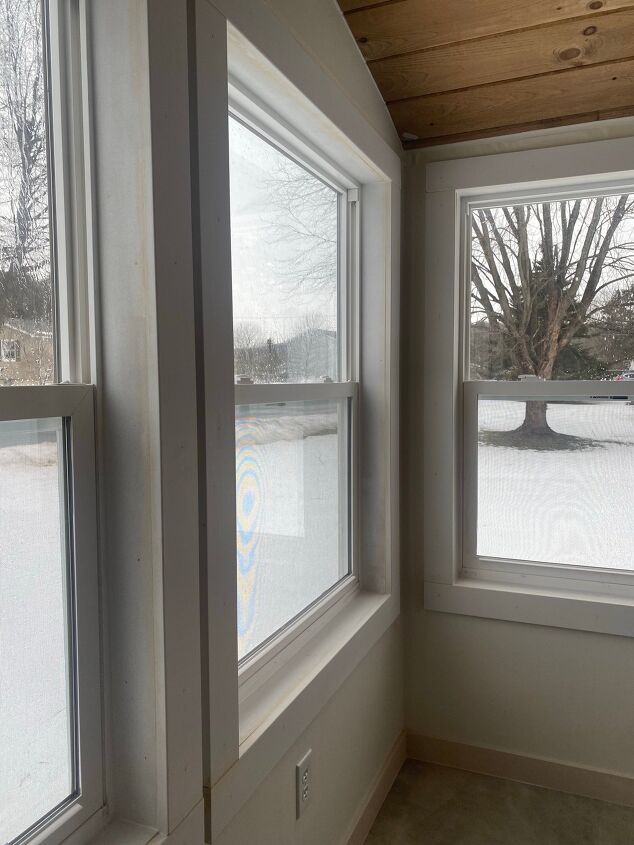
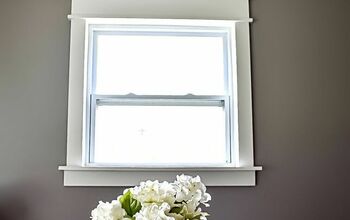
Next I was ready to make them pretty! I headed back to the store and bought my trim for around the window! This time I decided to buy 1x4x12ft primed MDF boards to make my life a little easier. To start trimming out the window I first measured the vertical sides of the window then cut my primed MDF board to that size. Just for reference, my windows are 3x4ft. But, even though each window is technically the same, make sure to measure each side individually. They aren’t all identical measurements, and even 1/16in can mess up your trim! I decided to not use liquid nails this time when installing the trim around the windows. Just in case I want to change the trim in the future, it will be easier to remove and won’t ruin my sheetrock. I lined the vertical pieces up to the window and secured each piece with 2 in brad nails. After the vertical pieces were installed, I measured from each end of the outsides of the vertical trim pieces to measure the horizontal length needed for the upper and lower pieces of trim on the window. I also used 2in Brad nails to secure the horizontal pieces in place right on the top and bottom of my window. To help better visualize see picture below!
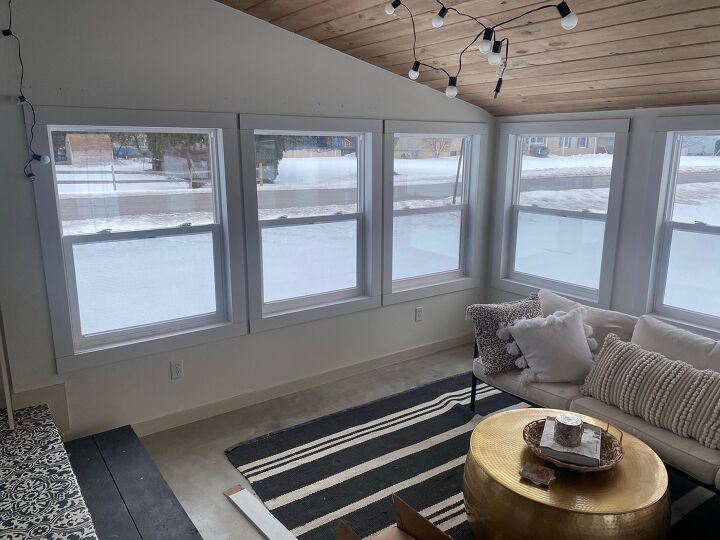
I repeated this same process 8 times, until all windows were nice and pretty and boxed out. Again, I love this way of trimming out windows because of the modern look but also because it doesn’t require any mitered cuts making it super easy!!
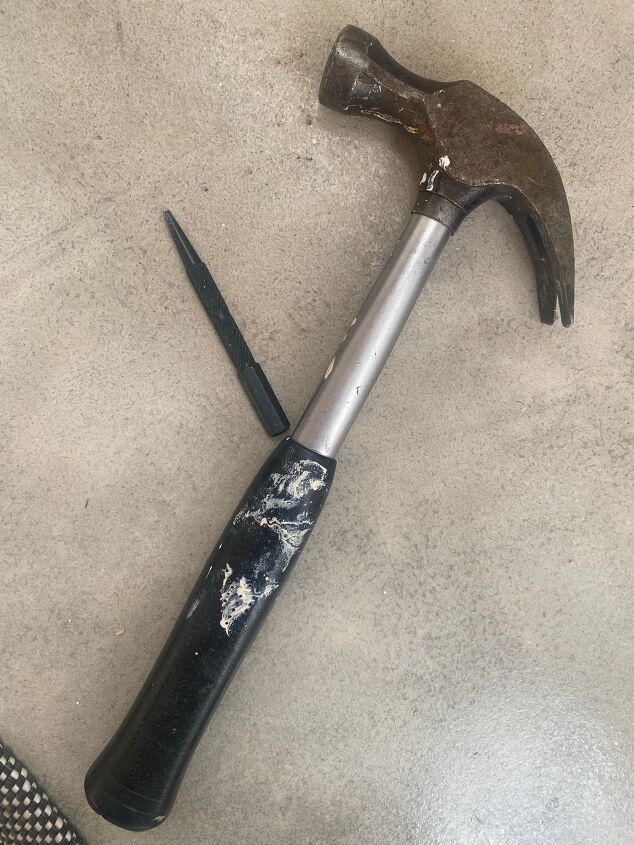
After I was done with installing the trim, it was time to clean everything up for paint. I had to run and grab this nail set punch (pictured below) to hammer in a lot of my nails. My nail gun must of been cold and not working so great when using it because a lot of the nails weren’t all the way sunken in. This nail set punch allowed me to hammer those nails in to be able to wood fill the holes for a cleaner look in the end.
I then filled all of of my nail holes and gaps with wood filler and caulked all of my seams around the trim and window.
After that dried I sanded down all of the wood filler and vacuumed everything up!
Now the fun part… paint!!! I painted the trim the same color as the other trim in this room. I used Valspar Calico Cream in eggshell!
And DONE!

This is such a simple window trim seriously anyone could do! Hopefully this post was helpful! Please let me know if you have any questions! For more DIYs like this you can follow me on my Instagram @abbbclark_homeee.
Resources for this project:
See all materials


Comments
Join the conversation
-
Great job on the windows. I especially like that the paint color is slightly different from the wall color. Beautiful job.
-
Very nice job!


Frequently asked questions
Have a question about this project?
My house is Pueblo/Santa Fe style, with rounded out walls around the windows. My husband says this style is not meant to have trim around the windows, but I want another opinion. What do you think? Your windows came out great!