


Sneaky Roman Blind Makeover
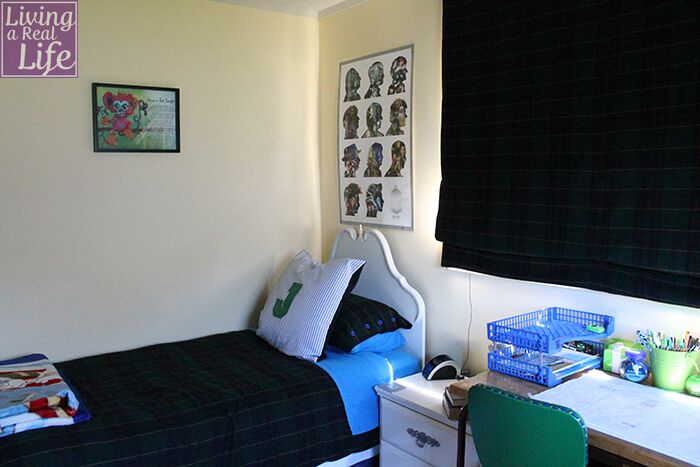
You may have seen my post on updating my teenage son's bedroom. If you did, you will know that I had some ugly roman blinds to deal with.
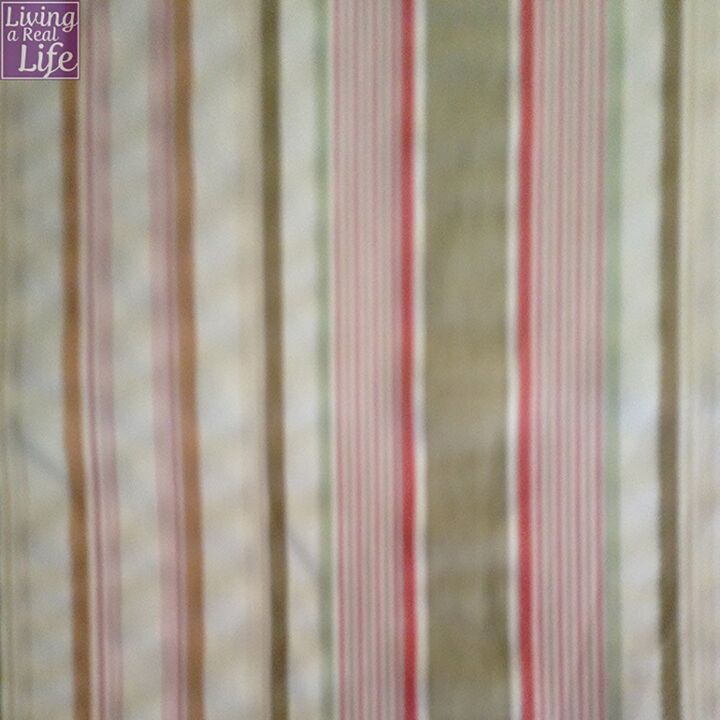
They were beige and stripy and not very attractive at all, especially with the colour scheme I had in mind so I had to figure out a way to update them without taking them down and remaking them (we live in a rental so I couldn't remake them).
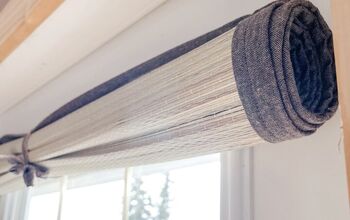
I came up with a sneaky plan to cover the roman blinds with new fabric in a temporary manner so that when we leave this house we can take them with us.
- I measured the blind (width and height).
- I added 10cm to the top and bottom - my blind measured 110cm high so I cut the fabric at 130cm.
- I added 4cm to the width (2cm per side) - my blind measured 110cm wide so I cut the fabric at 114cm.
- I hemmed the blind all the way around with a 2cm hem. Now my hemmed ,blind measured 126cm high by 110 wide.
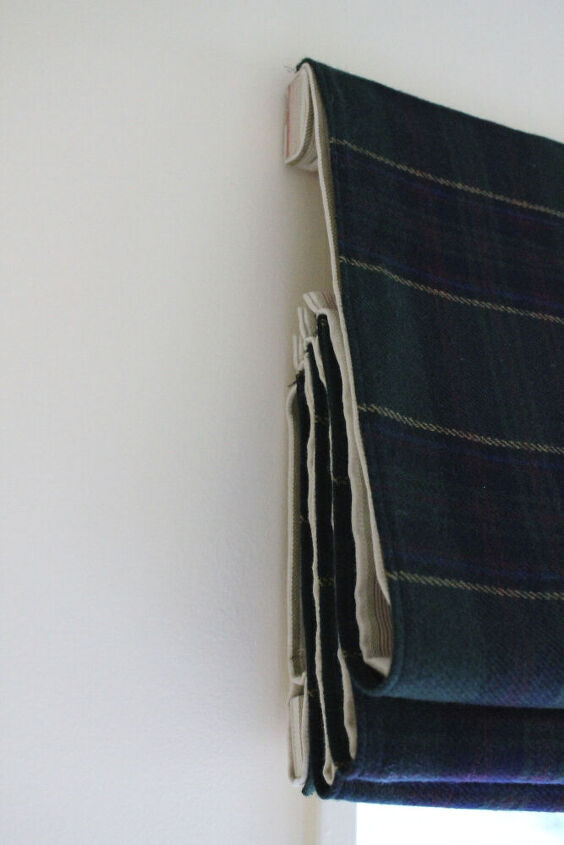
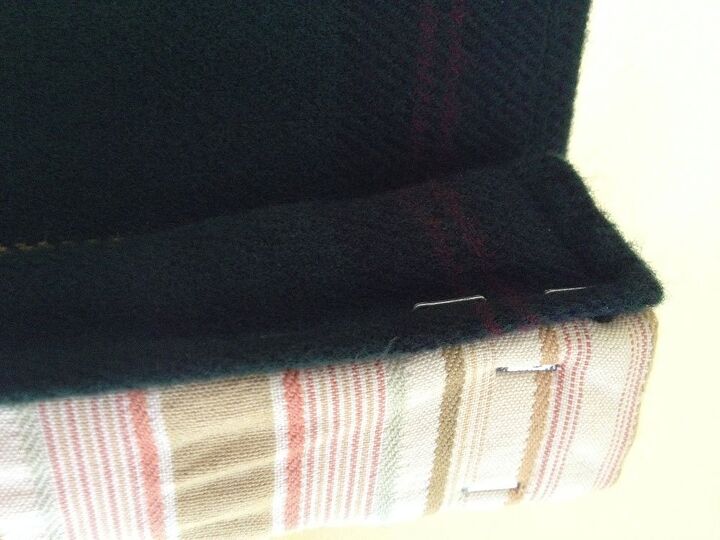
- Next I stapled the fabric onto the top of the blind (make sure you don't put the staples in too hard if, like me, this is going to be temporary).
- Smooth the fabric down the blind, wrap the fabric around the lower batten and staple it, ensuring that you use all the spare fabric.
I DIDN'T WRAP MINE ALL THE WAY AROUND AND I WISH I HAD!
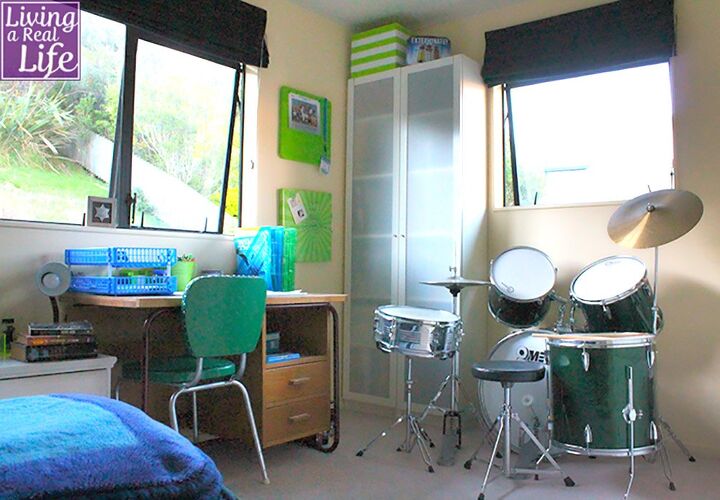
Here's a look at what his bedroom looked like after the update. If you would like to see the entire update, stop by my blog Living a Real Life for the full tutorial as well as sign up for my latest creations, posts, recipes, exclusives, and more...


Frequently asked questions
Have a question about this project?