


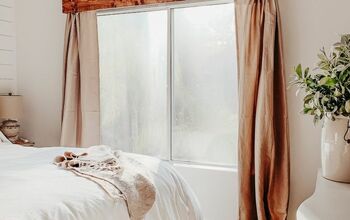
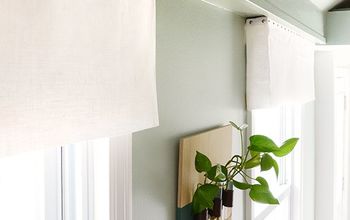
This Little Valance

by
Sel1229397
1 Material
DIY placemats into cute summery window valance.
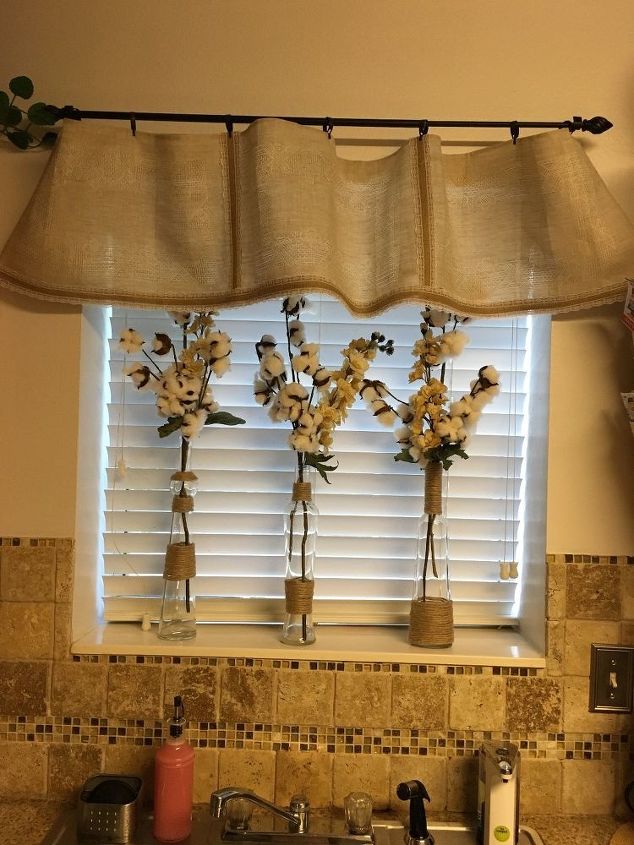
Purchased three linen placemats at $.49 each and two napkins at $.69 each. Originally I hadn't thought of the valance but they didn't really fit on the table because the table is oval shaped.
I was sitting at the table kind of disgusted because they didn't fit and decided to lay them the long way like a runner. It looked good but then like a light bulb came on and i said hey a window valence would be pretty
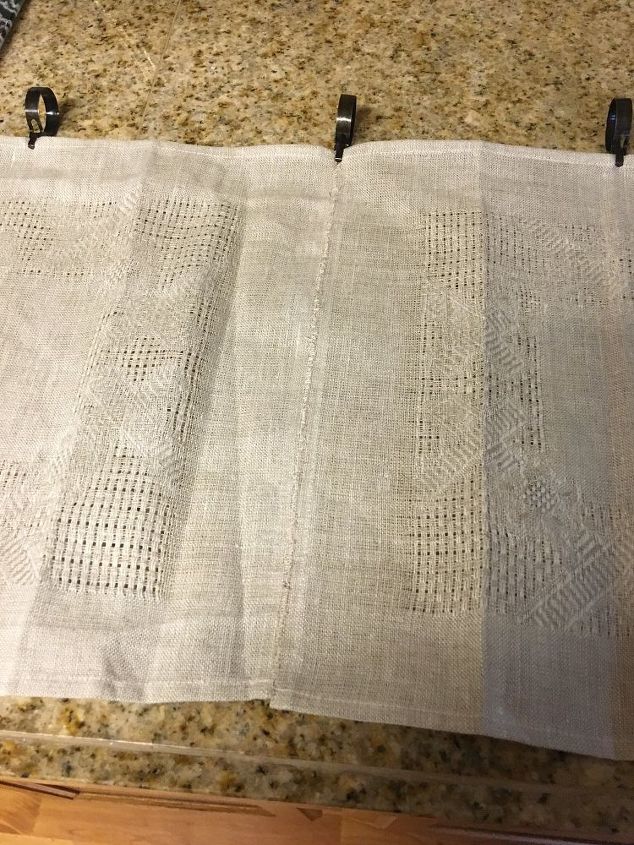
Hung the valance and it looked good but I didn't like that the seams were visible. I thought of using white ribbon to cover the seams and tie a bow at the end but I didn't find the width of white ribbon I wanted do I found this pretty burlap and lace ribbon that was perfect!
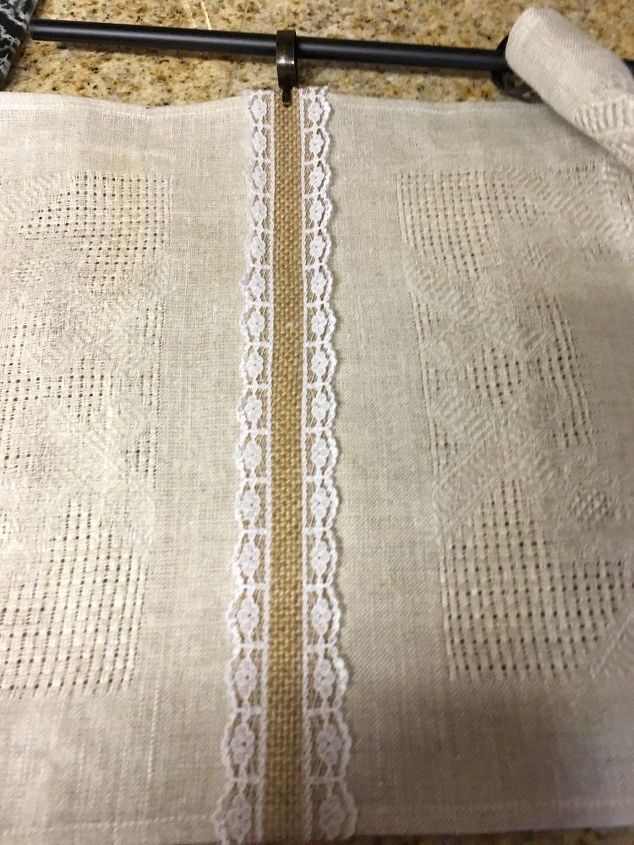
1. I cute the lengths I needed and about an inch longer to fold over as to not have a ruff edge. I used stitch witchery to cover the seam and placed the ribbon on top and lightly ran the iron over the ribbon to bond and melt the stitch witchery. Bonded perfectly. It bonds well if you used steam while you're ironing the seam. It was so nice I decided to use the remaining ribbon along the hem of the valance.

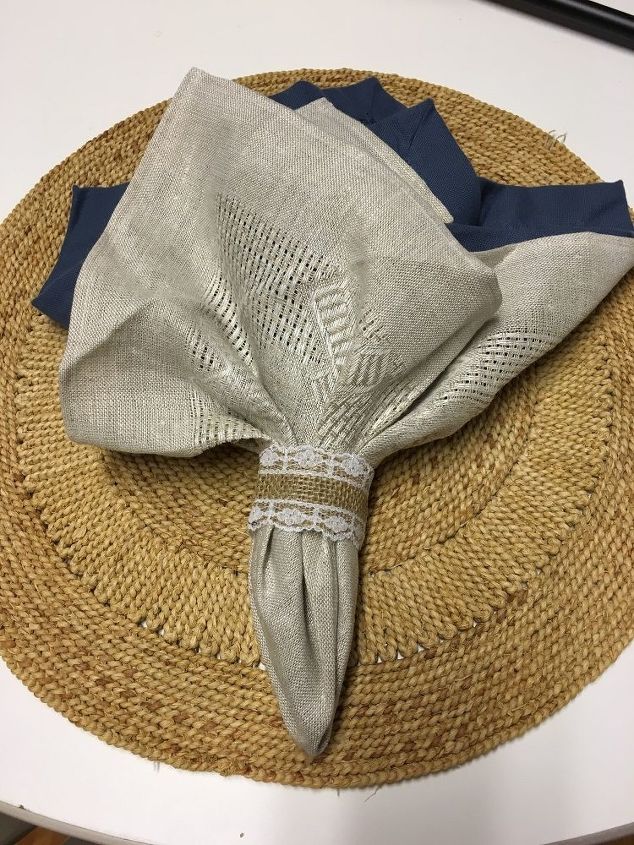
I had a little ribbon left so I made two napkin rings to match.
Project complete!!💃🏾💃🏾
Comments
Join the conversation
2 of 60 comments
-
I've been doing this for years! My kids used to laugh at me, saying that I was so cheap! Now they think it's cool! I have dish towel curtains in our cottage and sunporch! Living in a seaside community, it has a little bit of a "beauty" flair to it! Great idea to pass on! Now I'm working on living drapes made from canvas drop cloths. You just need to wash them a couple of times and they are are great!
-
nicely done! I love your backsplash too!


Frequently asked questions
Have a question about this project?