


How to Make a Flannel Shirt Pillow Cover in 5 Easy Steps
Today I'm going to show you how I made a cute pillow cover out of a thrift store flannel shirt. Want to learn how to make a flannel shirt pillow cover in just 5 easy steps? This project is so simple you'll love it.
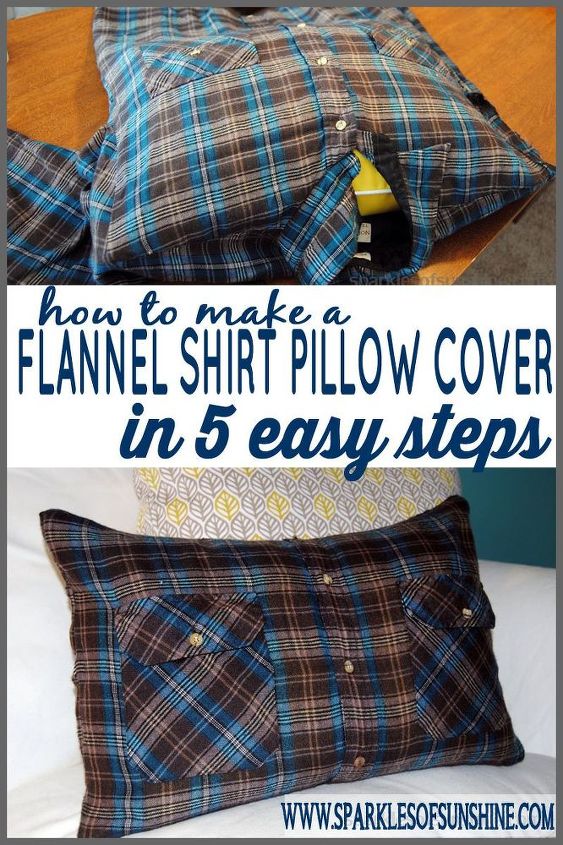
I must say that I've gotten a lot better at measuring and cutting fabric and following simple patterns since I've started sewing, but I decided not to complicate this project. Using an old flannel shirt is actually going to save us a couple of steps in making this pillow cover. Let me show you how!
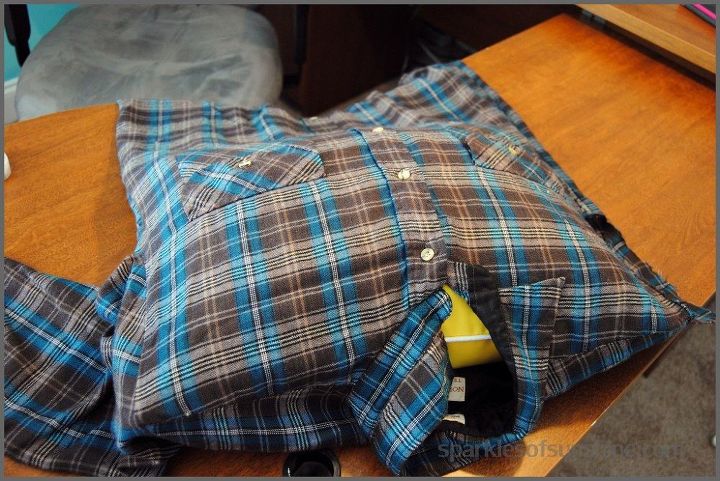
First, cut off the sleeves of the shirt along the seams.Next, position your pillow inside of the shirt to determine the the placement of the pockets. You want the pockets centered on the front of your pillow. Use your scissors to trim the excess fabric around the pillow, leaving an extra inch of fabric around all sides to allow for the seams. I cut mine along the lines on the fabric to keep edges straight!
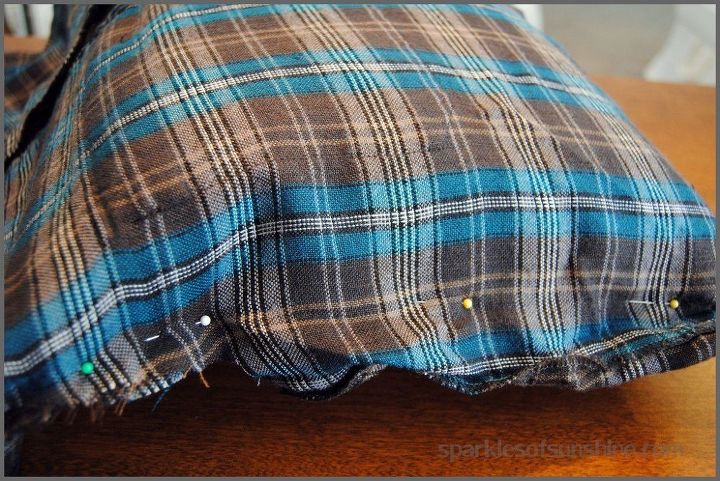
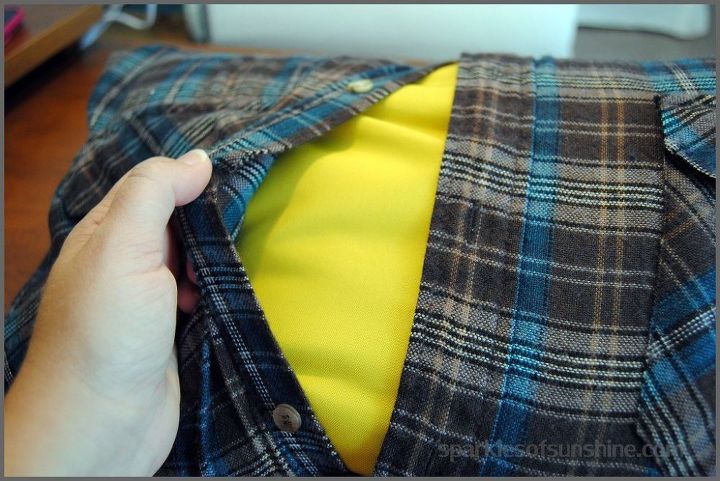
Now, turn your fabric so the right sides are facing in and place your pillow between the fabric layers. Use straight pins to mark the edges of the pillow where the seam needs to be. Unbutton the shirt to easily slide your pillow out.
Sew around the edges of all 4 sides of fabric, using the straight pins as a guide. Watch out for any buttons! Then turn your new pillow cover right side out, insert your pillow, and button it back up.
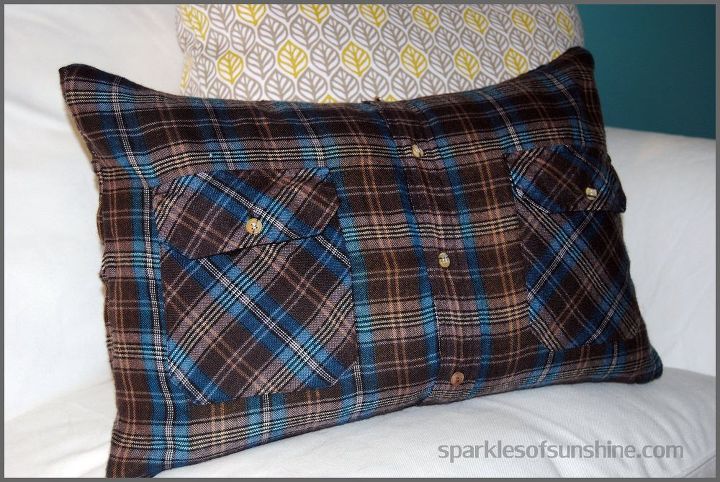
Wasn't that super easy? I was pretty amazed myself at how simple this project was...and I love the result! This is a perfect project for fall or winter. Not to mention it's a thrifty way to decorate your home.

Want more details about this and other DIY projects? Check out my blog post!
Comments
Join the conversation
2 comments
-
Cute idea!
-
Super cute!!


Frequently asked questions
Have a question about this project?