


How to fill in wood panelling!
This project is very easy. The most difficult part is waiting to let each step dry! But it's totally worth it getting rid of the grooves...We didn't want to take them down because of concerns over what was *behind* the paneling. The house is 100 + years old...so if the previous owners covered it up, there was usually a good reason. http://www.addhousewife.com/2013/02/how-to-fill-in-wood-paneling.html
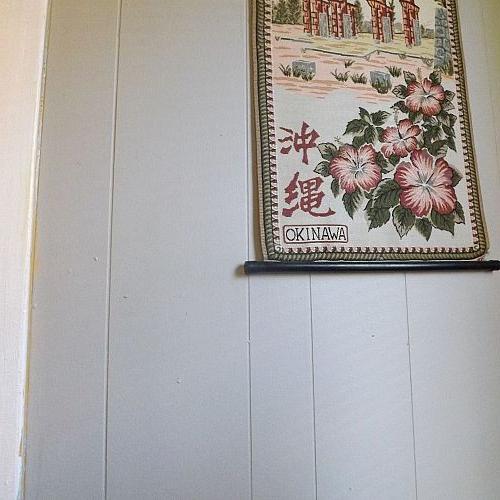
Ugly wood panelling grooves
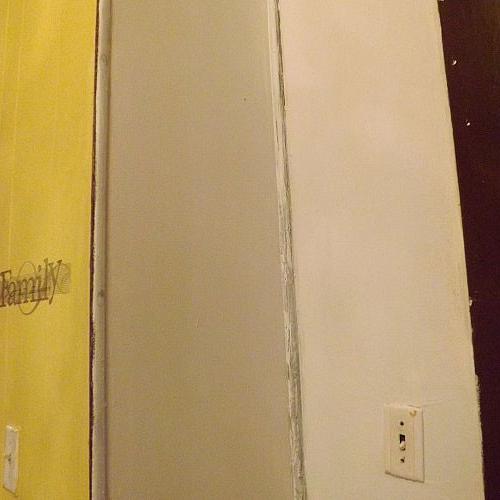
filled in with joint compound three times then primed.
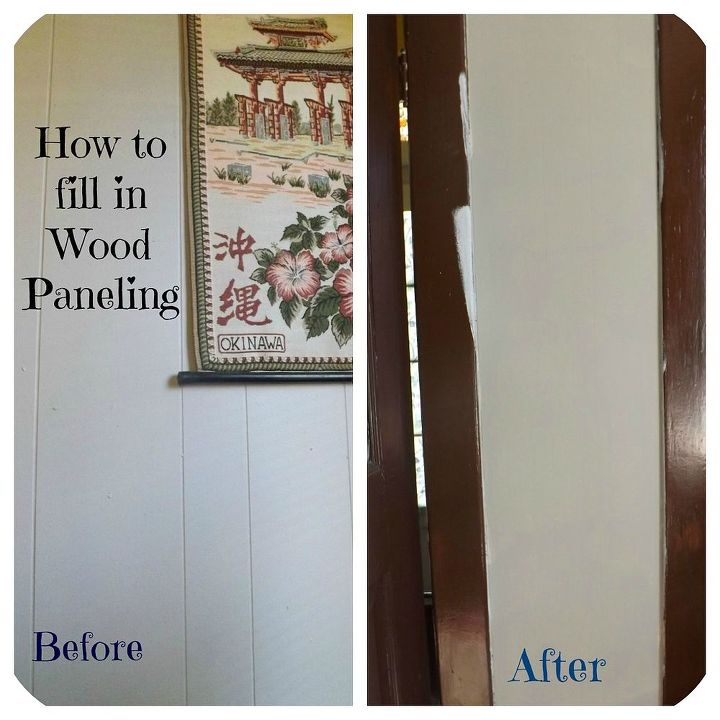
filled in, primed and painted!

Want more details about this and other DIY projects? Check out my blog post!
Comments
Join the conversation
2 of 9 comments
-
We mudded my mother's den walls so when painted, the walls looked like sheet rock. The panelling was cheap and thin and ugly, but she didn't want to tear out and put up sheet rock.
-
I also live in a trailor. If what you want to hang is very very very light then hand away otherwise. We use 1 X 2's, making strips to go from one wall stud to the next wall stud, secured into the studs. Then hang whatever you have to hang. Paint or stain 1 X 2's to blend in with wall color. You could make a design to go around the object you are trying to hang. In our laundry room we stripped the walls with 1 X 4's to hang various stuff and to add support to the cabinets over the washer and dryer. We sorta have them stuffed with tp, pt, crystals, light bulbs, fabric dye etc. Always play on the safe side.


Frequently asked questions
Have a question about this project?