


Living Room Gallery Wall

We are going on 2 years living in our apartment. Just when we have started looking for houses I'm starting to feel pretty happy with the decorating situation at home! The newest addition was the gallery wall.
Love the look of gallery walls but don't know how to get it? Team Up with me to get the gallery wall of your dreams! Just click here to go to my profile page and send me a message to get started!
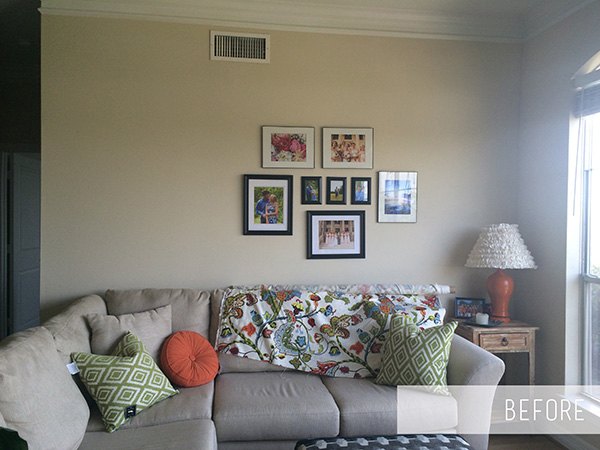
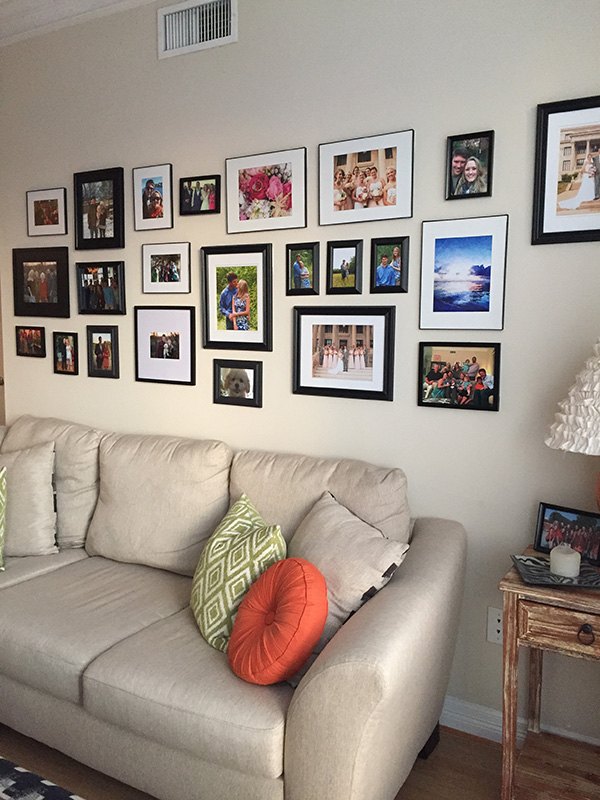
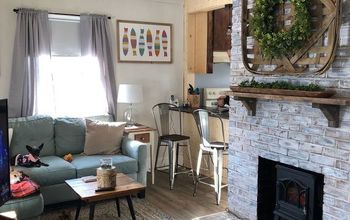
You can see in the "before" picture we have a big wall in the living room that needed some help. Before I rearranged the couch and put it against the wall (best decision ever since it really opens up the room) there was a bookshelf on the left side (now next to the TV on the opposite wall) and after we moved the couch, the little photo gallery I started needed to be expanded! Fast forward several weeks and I decided to finish it! (Note: the fabric in the "before" picture will some day be accent pillows. That fabric is the inspiration for our whole living room!)

First thing I had to do was gather the frames. I've seen so many cute gallery walls on Pinterest that had frames of all different sizes, colors, shapes, and even other decor besides frames but I decided to choose one color (black) and try different style frames. I wasn't sure if OCD would kick in and I'd completely hate this in the end!
All of the frames were under $10 at Walmart, Target, and The Dollar Tree. They are picture frames - no need to spend hundreds of dollars for them. Plus the cheaper ones are more lightweight and easier to hang. After deciding which pictures to print and getting them in their frames, the hard part is making the arrangement.
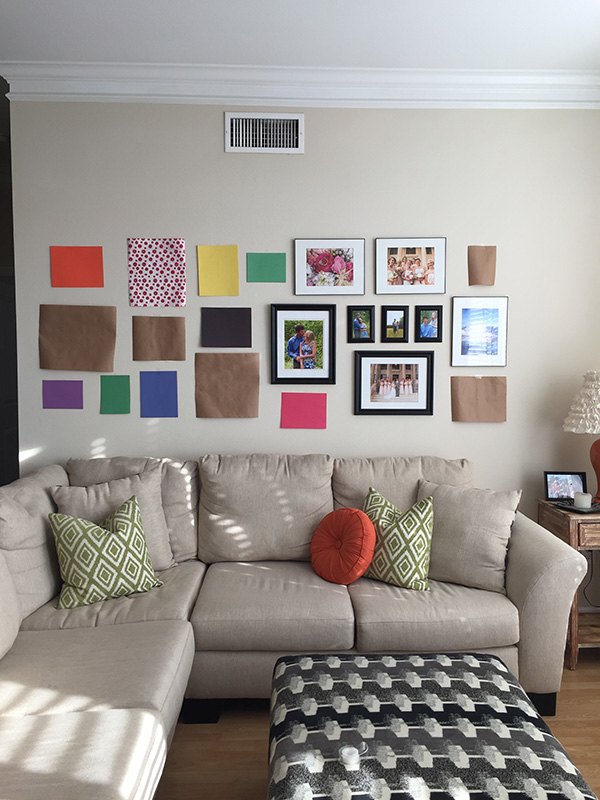
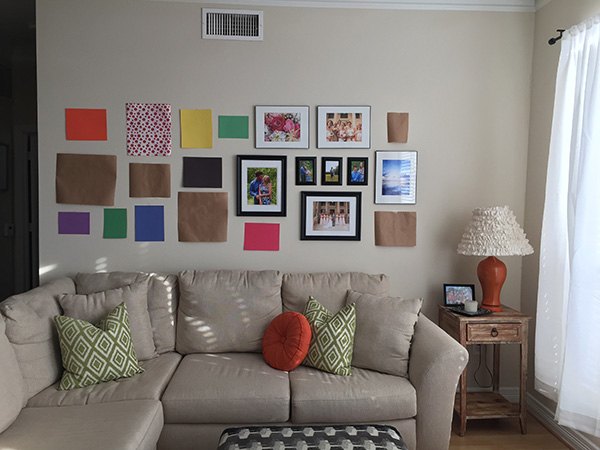
Because I already had frames hung, I needed to find a layout that worked around those pictures. I used wrapping paper and construction paper to trace each frame and taped them up to decide where to hang the pictures. My first go round I just arranged the frames on the floor then hung them, but this time I needed to do a lot of rearranging to find the best layout.
When it was time to hang, I had to come up with an alternative to 20 nail holes in the wall! I found Command Strips that worked great with these frames. You have to follow the instructions closely so they keep the pictures up. I found them at Target.
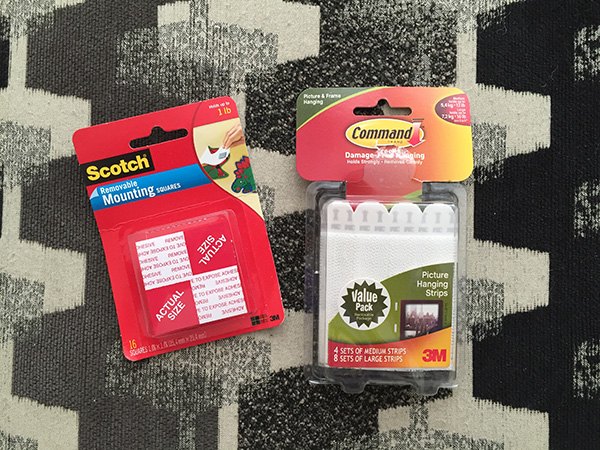
The mounting squares are really simple and work for smaller frames. the strips are a little bit more work but they can hold the larger frames.
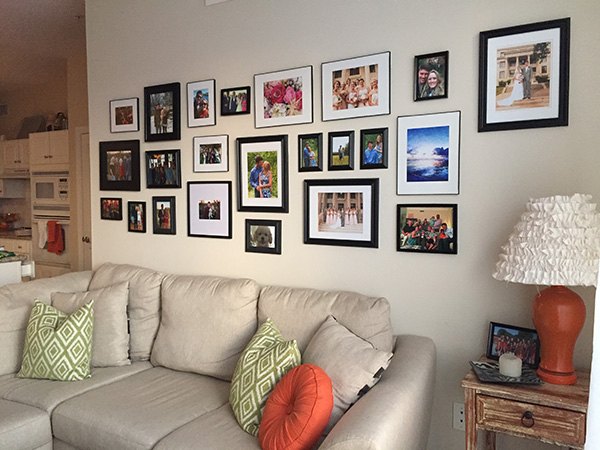
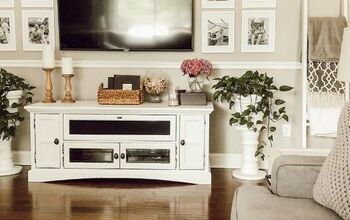
So there is the finished product! It looks SO different in there now! When I come in I'm still surprised when I see it. I love that I can see all these fun moments and the people I care about as soon as I walk in. The orange lamp I made myself ;-)
Love the look of gallery walls but don't know how to get it? Team Up with me to get the gallery wall of your dreams! Just click here to go to my profile page and send me a message to get started!
Comments
Join the conversation
-
I have this set up but with other things like beautiful crosses and quotes plus a gorgeous mirror!!!
-
Looks great. When I made mine, it was like seeing a new piece of furniture.


Frequently asked questions
Have a question about this project?