


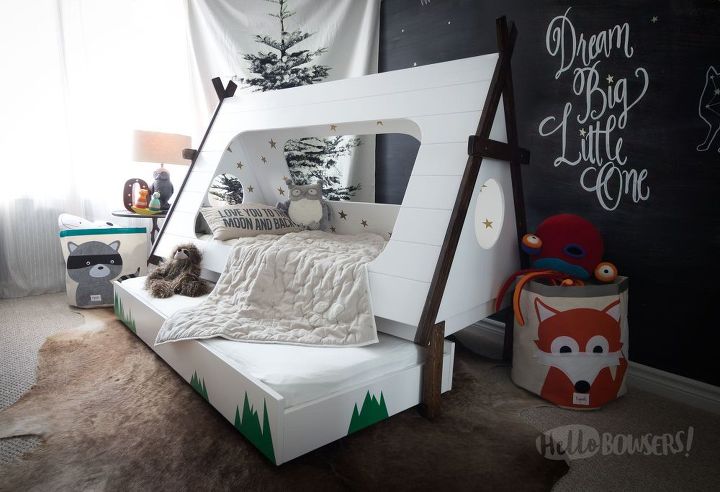
Asleep Under The Stars

by
Sarah Bowser
$600
3 Weeks
Advanced
While perusing Pinterest one day, I came across a beautiful toddler teepee bed with pull out trundle that I knew would be perfect for my son. My inner child screamed in delight over the thoughts of cozy forts on stormy nights while my wallet howled in horror over taxes and shipping fees. When I found out the price tag was well over $2000, there was only one thing to be done...build it myself
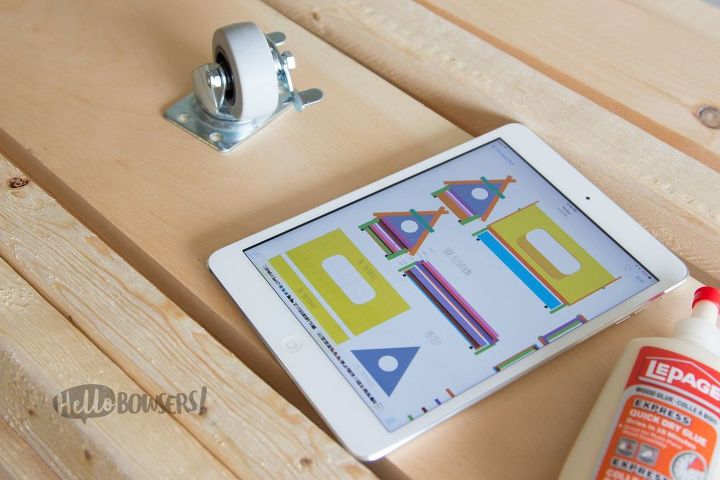
After days of studying the photos from different angles, making my own schematics, soaking up encouraging blanket statements of "No, I don't think you're crazy" and "I love that you want to do this" from my fiancee, and several trips to Lowe's later, I got started.
My very first step in building this bed was determining what size of mattress I was going to use. I didn't want to spend an arm and a leg on childrens' mattresses that were going to be useless in about 6 years. So I went to Ikea and bought 2 VYSSA SLA mattresses @ 27.5 x 63". I also bought 2 SULTAN LADE slatted bed bases with the same dimensions as well.
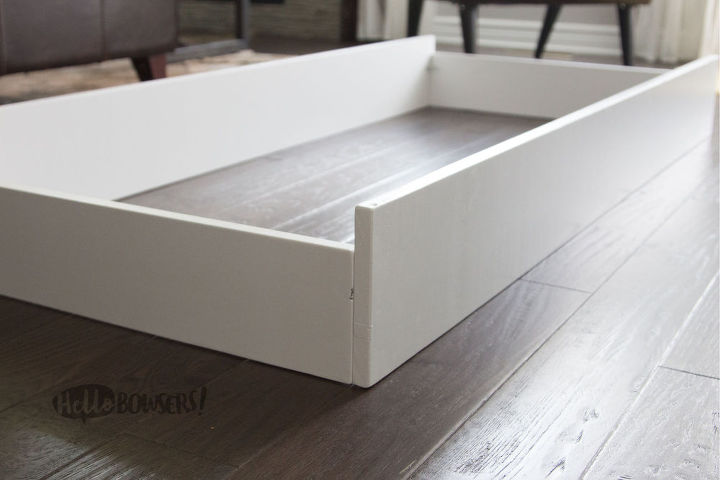
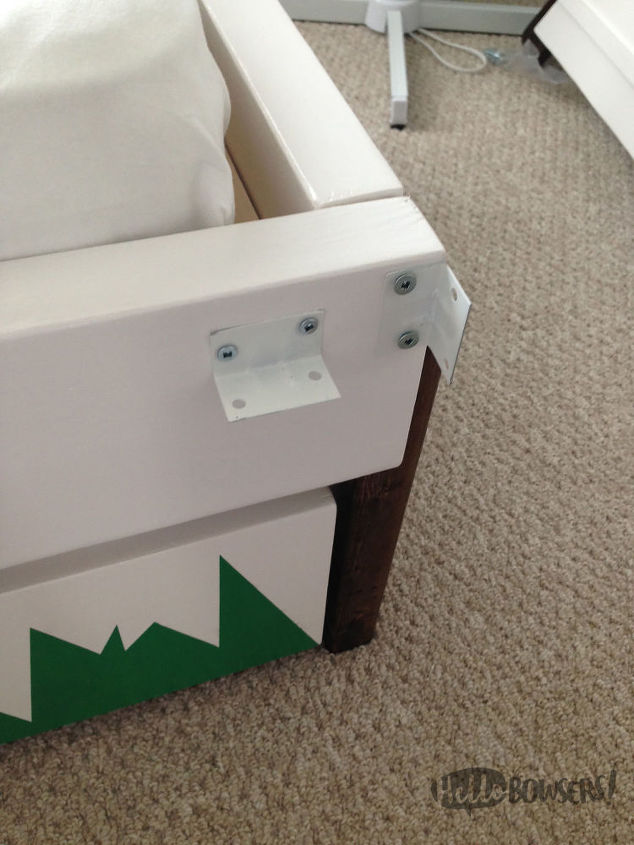
Next I built the frame of the trundle bed. I used 1x6" pine boards cut to 28" for the ends and 1x8" pine boards cut to 65" for the sides. It was important to me that I didn't have any edges in the front or screws showing anywhere so I mounted the end pieces inside the front and back pieces so the edges were on the sides of the bed. I mounted them together with L brackets.
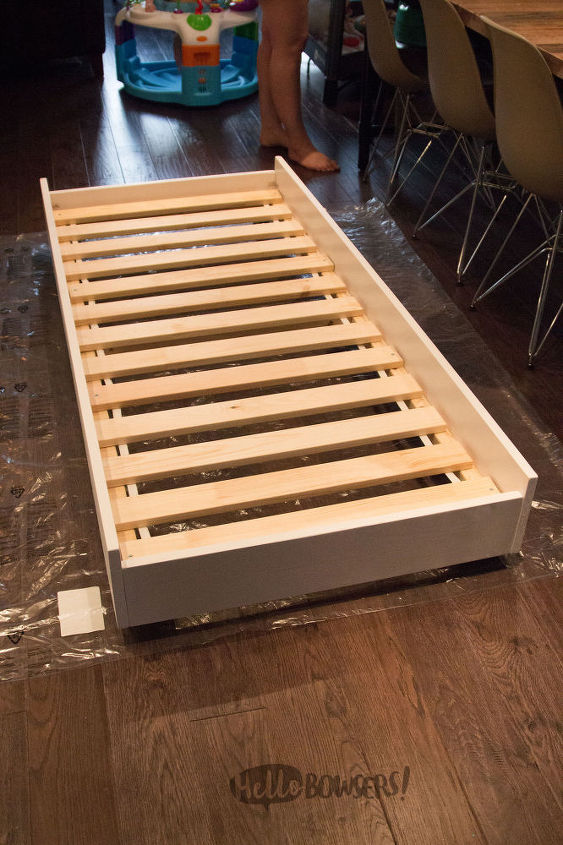
Next I slid my finished base inside the frame. With the mattress laying on the base, I sunk the base until the mattress top was level with the front and back panels of the frame. Leveled it off and screwed the frame to the base all the way around. I countersunk my screws so I could fill them in with wood filler, sand and paint over the whole frame for a smooth finish.
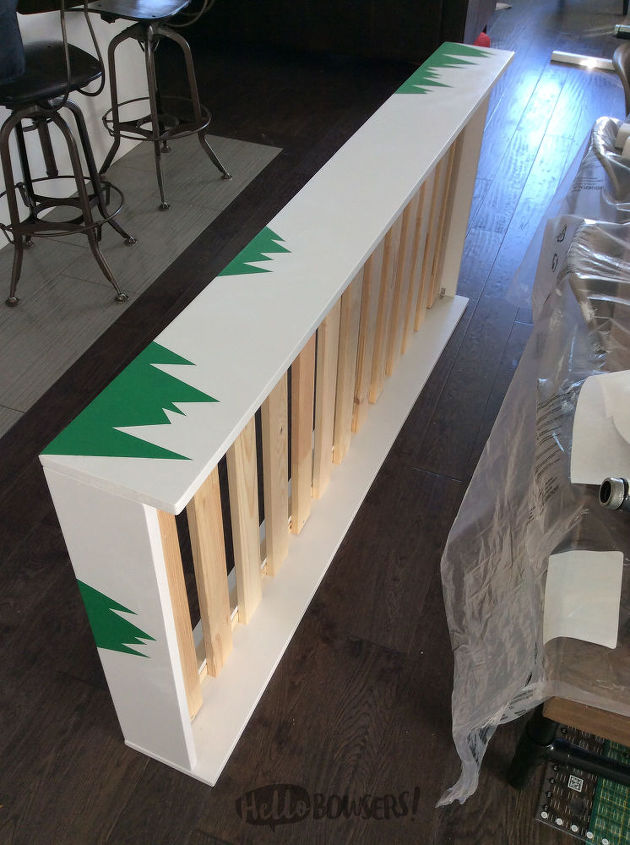
I used Killz primer and Behr enamel paint. I painted the frame white in 2 coats, taped off my grass with painter's tape and painted over the tape in my white paint to prevent any bleeding. Let it dry and then painted over again in the green tinted behr enamel paint. Once that was dry, I applied 2 coats of Minwax clear polycrylic over the whole thing. The Trundle bed was complete.
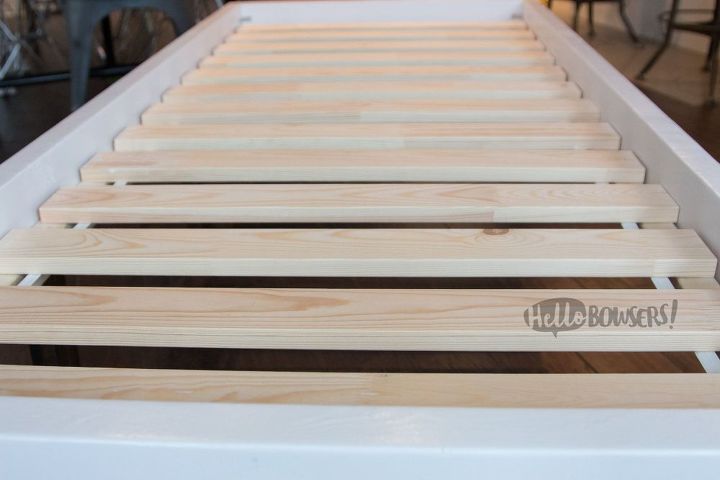
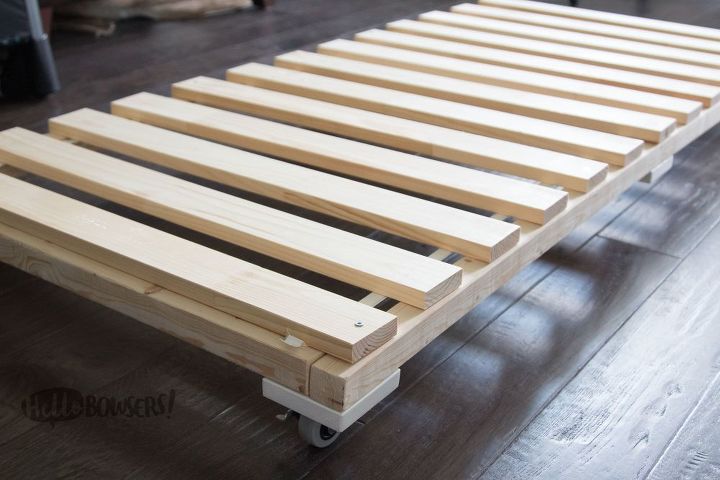
So the base for this bed required 2 lengths of furring cut to 65" and 3 lengths for crossbeams cut to 25". I fastened the base together with L brackets and then attached 2x4x4" block at every intersection once again. Next I fastened the slats to the base, same as the trundle.
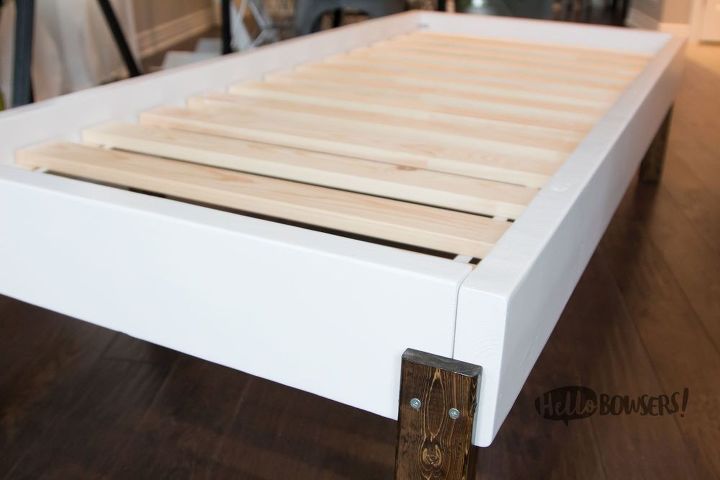
Now I built the frame for the main bed. I used 2 2x6 pine boards cut to 28" (ends) and 2 2x6" boards cut to 68". I fastened everything together with L brackets and sunk my base into my frame with the mattress in place. This time I wanted my mattress to be 2 inches higher than the bed frame. Once I got it to the desired depth in my frame, I leveled it off and screwed the frame to the base all the way around countersinking the screws, filling and priming/painting/polycrylic once more.
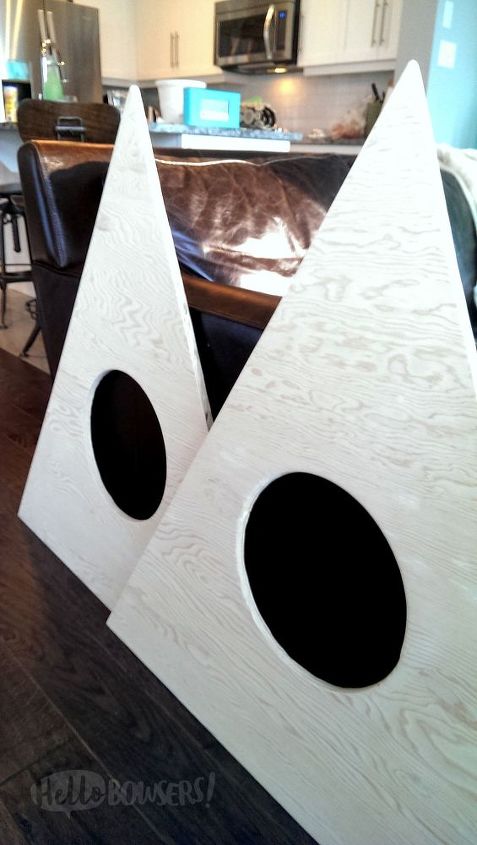
Next it was on to the roof. I cut 2x 35x35" squares of FINISHED pine plywood. At the top of the square, I measured in 17.5" to find the point of my triangle, drew 2 straight lines from that mark to each bottom corner of the square to make a symmetrical triangle. I cut along my 2 lines with a circular saw. Next I needed to cut an 11" circle out of the triangles. To do this I screwed the base of my jigsaw to a 7x6" leftover scrap of wood. I cut a hole for the blade of the jigsaw to operate in and measured 5.5" on my plank over from the jigsaw blade and made a mark.
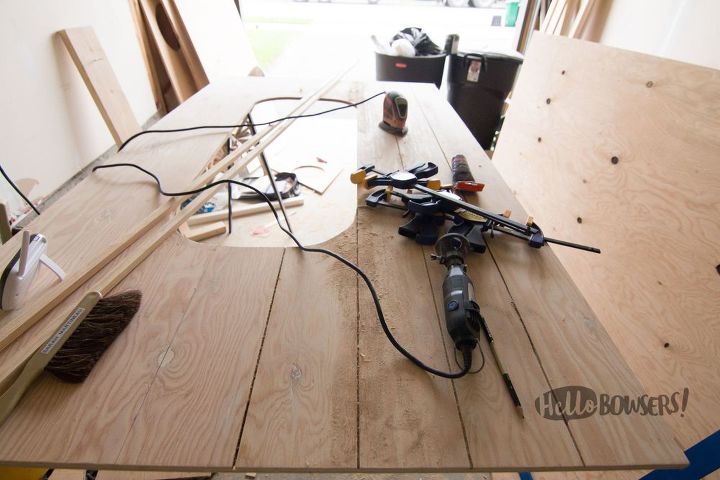
Next I cut my roof pieces. The front roof was cut to 70x41" and the second cut to 70x40". Next I drew a grid of 5x5" squares over both pieces. Next I found the edges of my holes and measured 5.5" in from each corner and used the same jigsaw setup to cut my rounded corners. Then I completed the hole by connecting my circles with my circular saw.

Lastly I made my teepee pieces. I used 4 lengths of 1x3" pine cut to 45" each and 2 lengths cut to 25". I sanded these down with 320 grit sandpaper and grinded all the corners down until they were round. I centered my 45" pieces over the edges of my triangle pieces and marked where they overlapped. With my circular saw set to a depth of .375" I cut along my diagonal lines and then made several cuts within my guidelines until I could just chisel the remaining wood out with a screwdriver and hammer. I did this on all 4 pieces. I then wood-glued and clamped my teepee's together. I then stained the 2 teepees and 2 cross pieces with Minwax espresso to match the stilts and then covered them with 2 coats of Minwax Polyurethane, sanding with steel wool in between coats.
Next I nailed the teepee pieces to my triangle pieces from the inside out and at the very edge so the finishing nails would later be covered by 1x1" strapping. Then I centered and rested the triangle pieces on the tops of the stilts at each end and applied 1x1" strapping to the inside of the triangle piece where the top of the bed frame ends. This is to hide any gaps and give it a clean edge. Next I screwed L brackets into the top front and back ends of my bed frame vertically to eventually attach my triangle pieces to the bed.
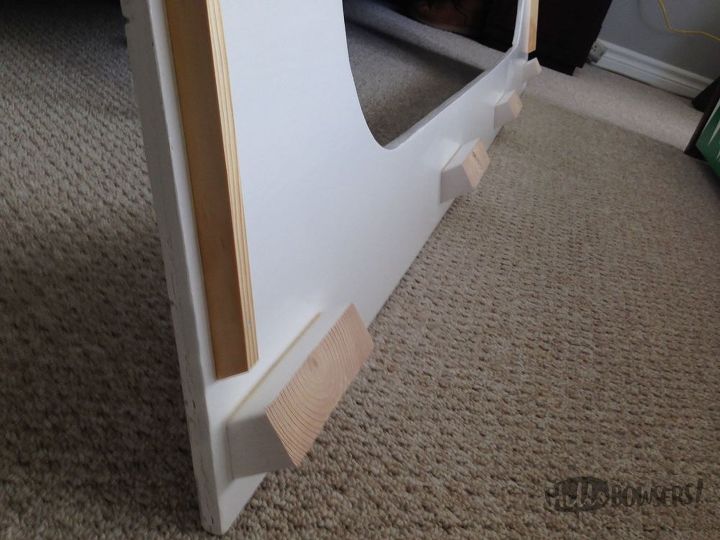
Next I held my roof pieces in place and marked the top of the bed frame along the length of the pieces. With some leftover 2x6", I cut 8 supports the width of the gap between frame and roof with a 26 angle on one side. I glued the angled edge against the inside of my roof piece flush with the line I drew that marked the top of the bed frame and countersunk the screws from the outside of the roof into my supports. Next I held my roof pieces in place and marked the bottoms of my supports on the bed frame itself. I also marked where the junction between triangle piece and roof meet to apply my 1x1" strapping to my roof pieces. Next I took the roof pieces away and using the marks I made on the bed frame, fastened horizontal L brackets to cradle the roof supports.
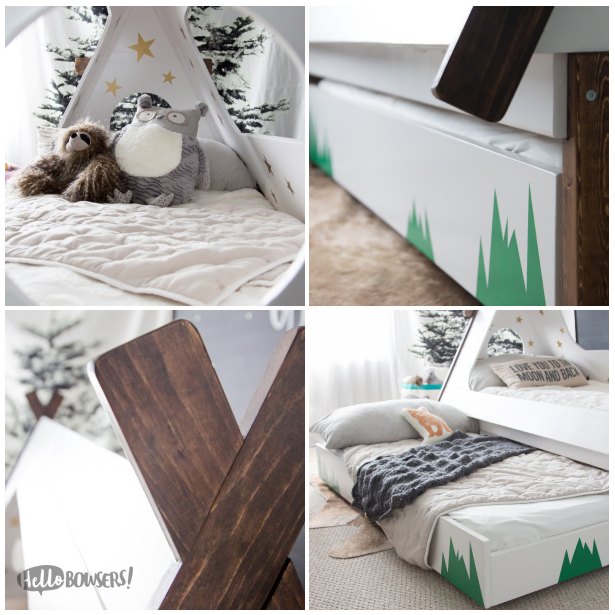
I filled all my screw holes in the fronts of my pieces and and painted my roof and triangle pieces in Behr enamel paint and 2 coats of polycrylic. Then I secured my triangle pieces to my bed frame using the vertical L brackets, secured my roof pieces to the bed using the horizontal L brackets and screwing up into the bottom of my supports. I then fastened my triangle pieces to my roof pieces by screwing through my teepees, into the ends of my roof pieces. And lastly, I screwed my teepee cross pieces over the those screws for a clean relatively screw-less look!
Want more details about this and other DIY projects? Check out my blog post!
Comments
Join the conversation
2 of 47 comments
-
Love this!!!! Brilliant idea for my grandchildren to visit me
-
oh my! Impressive!
my favorite things are the tree in the room, and the blackboard dark night!!! HOW FUN!!


Frequently asked questions
Have a question about this project?