


DIY Santa Wine Glasses
4 Materials
Every year I have a Christmas dinner, and I always seem to invite more people than I have dishes for. So to add Christmas spirit without breaking the bank, I resort to DIY'ing some parts of my Christmas table settings. This year it is the wine glasses.
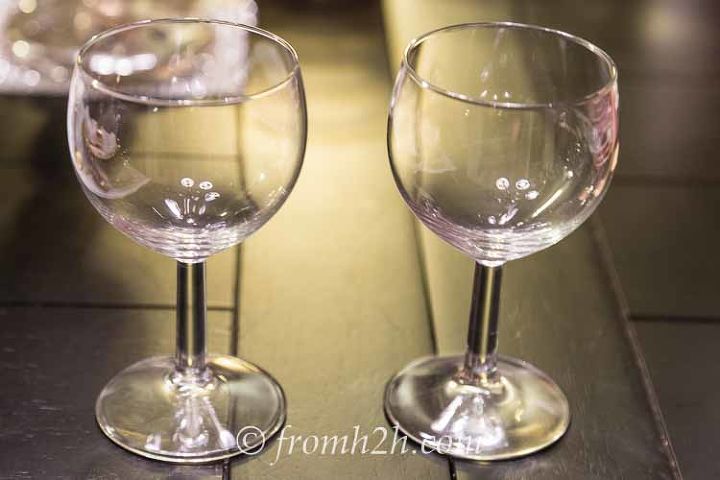
Whenever I need to DIY wine glass decorations, I head straight to IKEA. You can pick up some really inexpensive glasses that are perfect for decorating!
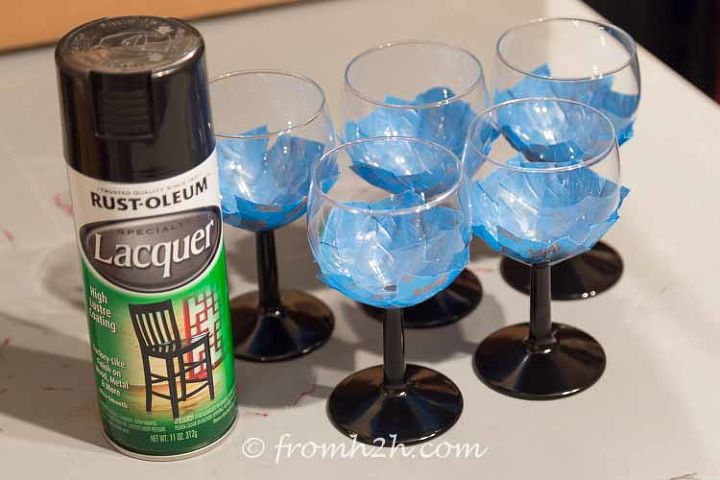
Tape around the bottom of the bowl and spray paint the stems with black lacquer paint. I think chalkboard spray paint would work, too, if you want to be able to write Christmas messages or people's names on them.
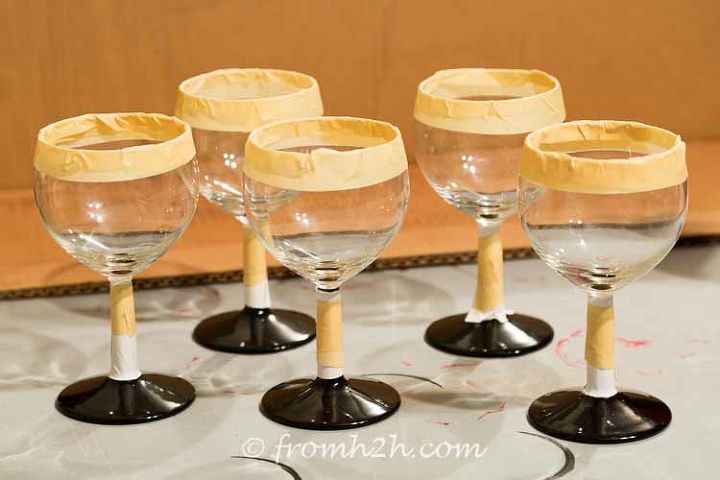
When the stems are dry, tape paper around the tops of them (I didn't want to put tape directly on the black paint since I was afraid it would take the paint off).
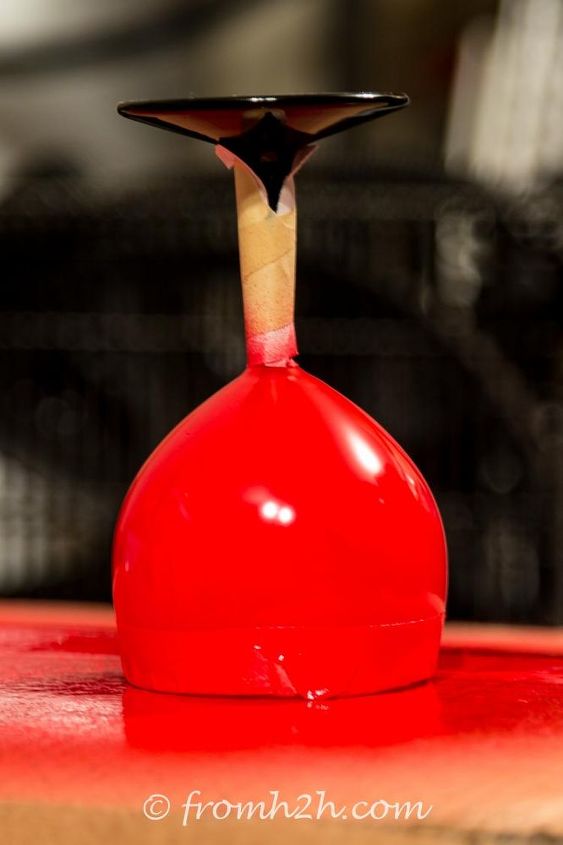
Spray paint the untaped part red. I did this with the glass upside down so that the red paint wouldn't splatter on to the base of the glass or get inside it.
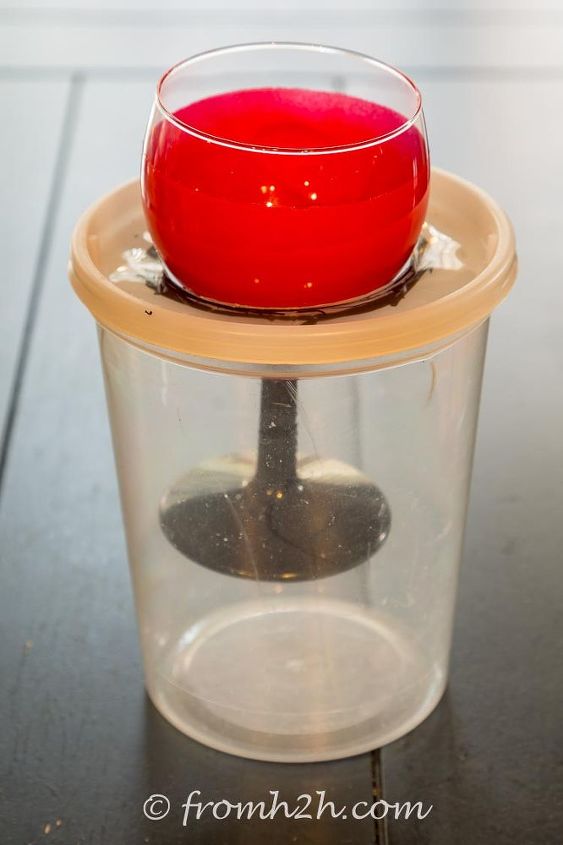
When the red paint is dry, cut a whole in the top of a plastic container and then trace around with a black sharpie paint pen...that's where the belt will be. The Sharpie paint pens are pretty permanent...so you will need to be a little careful not to add some accidental lines.
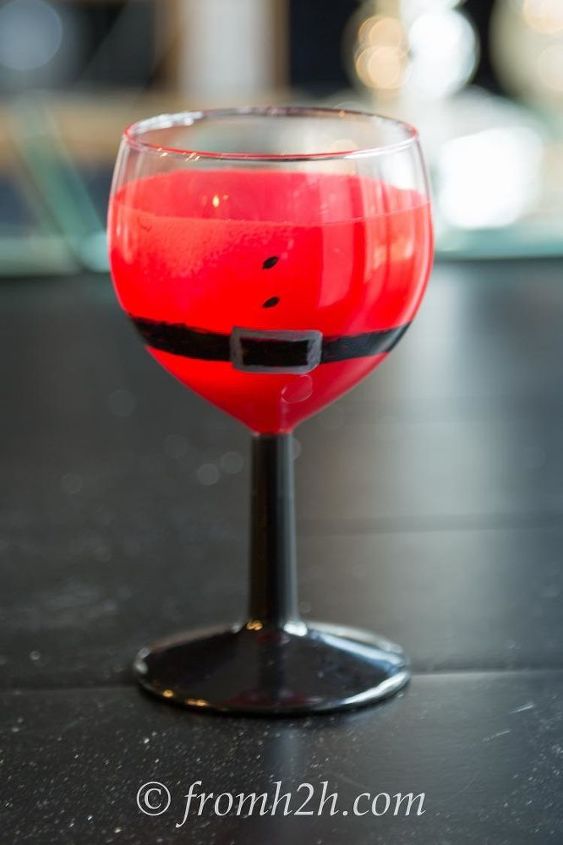
Make the belt wider with the black Sharpie. Then add a buckle with a Silver Sharpie paint pen, and a couple of "buttons" above the buckle with the black marker.
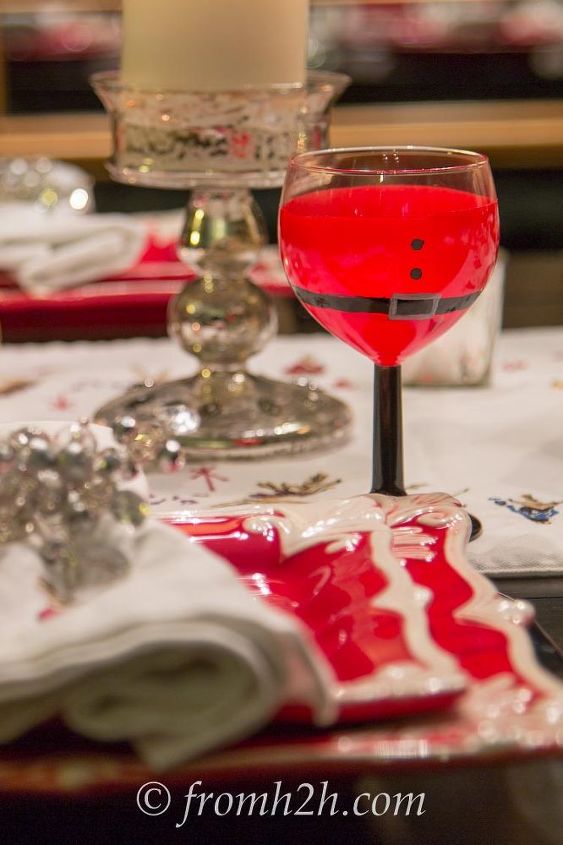
The Santa glasses fit right in with my red and white table settings.

Want more details about this and other DIY projects? Check out my blog post!
Comments
Join the conversation
2 of 42 comments
-
WOW, that's quite an engineering project. Good Idea !
-
Very cute and creative.


Frequently asked questions
Have a question about this project?
the paint stays on after use & washing?