


Update a Dresser in 10 Easy Steps
4 Materials
Easy
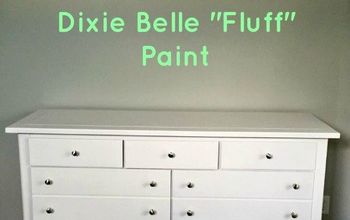
Creating a new look for an old piece of furniture is simpler than you may think. Watch this transformation that updates a 1970′s dresser and gives it new life!
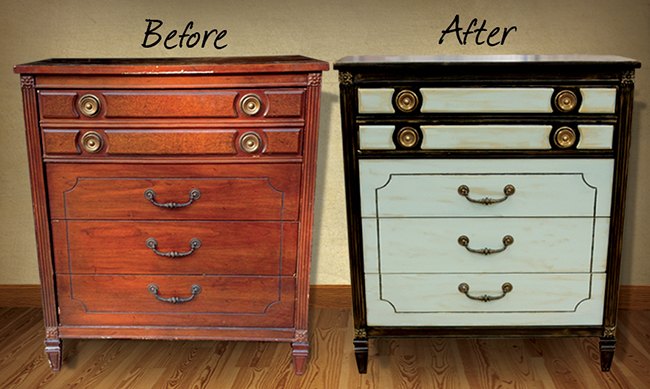
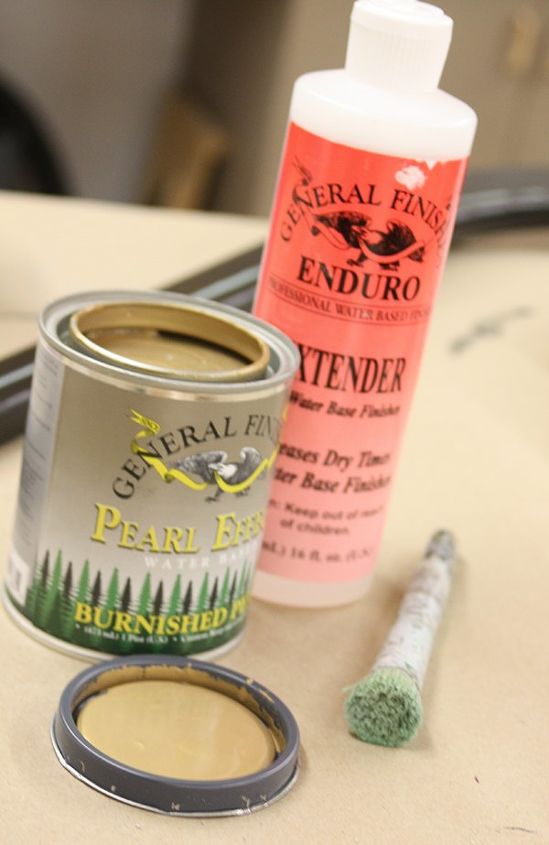
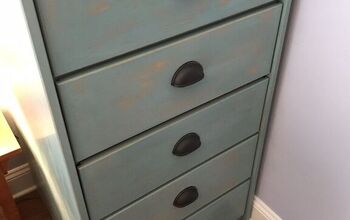
Using General Finishes Black Gel Stain, General Finishes Persian Blue Milk Paint (I’m in love with this color!) and a few other supplies available at your local Woodcraft store, you can create a similar look. Let us help you refurbish your “found treasures” or pieces taking up space in your basement or attic that could truly become functional and beautiful again.
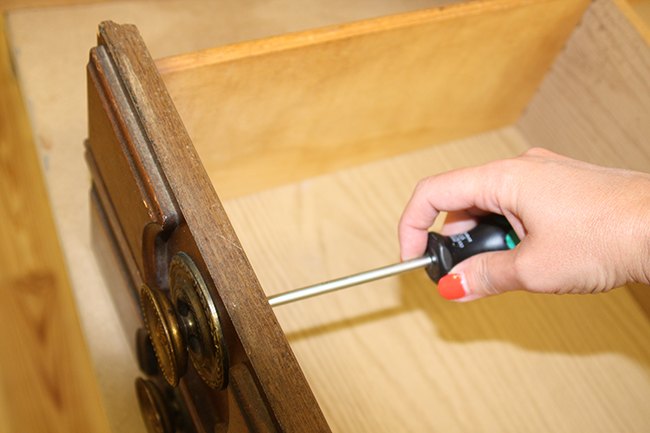
1. Remove hardware.
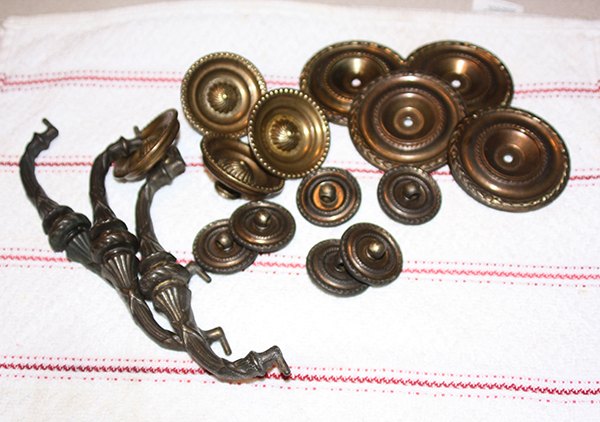
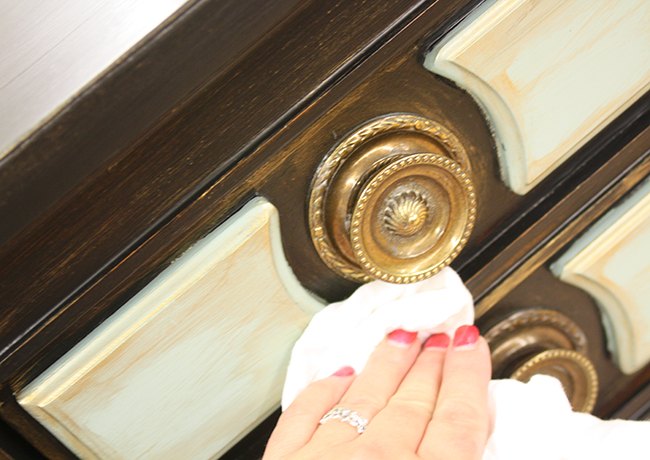
2. Clean hardware.
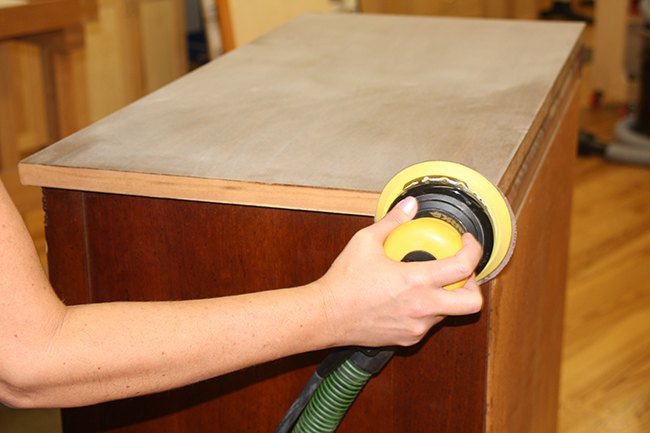
3. Sand the dresser to prepare for paint.

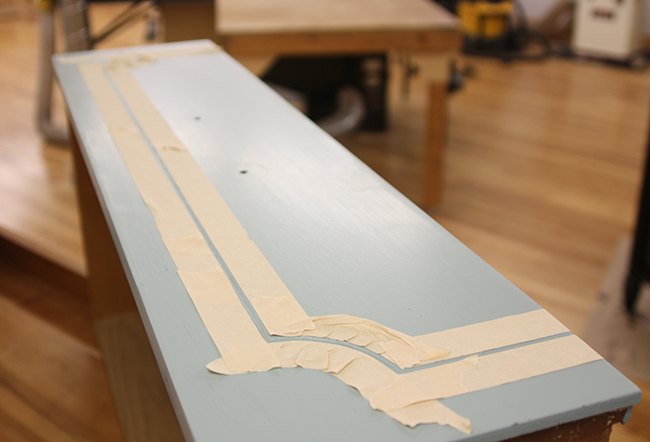
4. Mask off areas for paint.
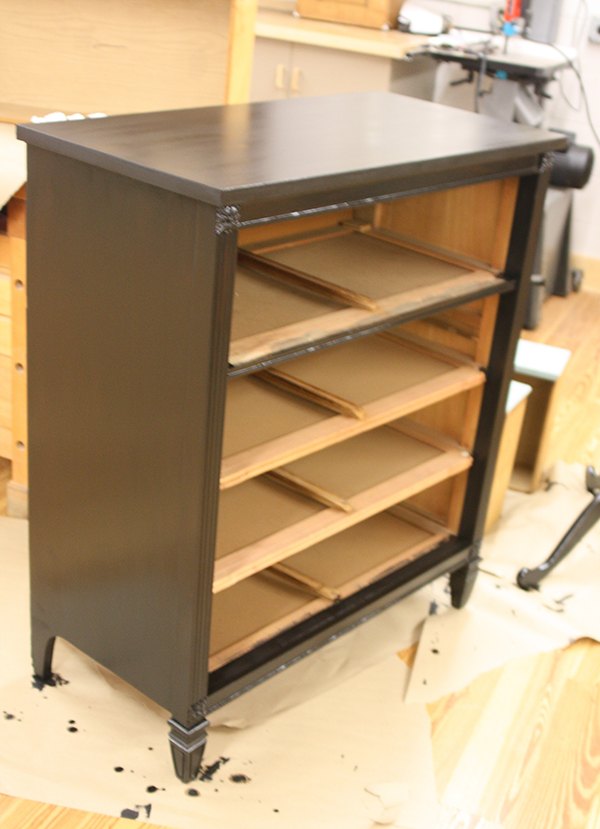
5. Apply black gel stain.
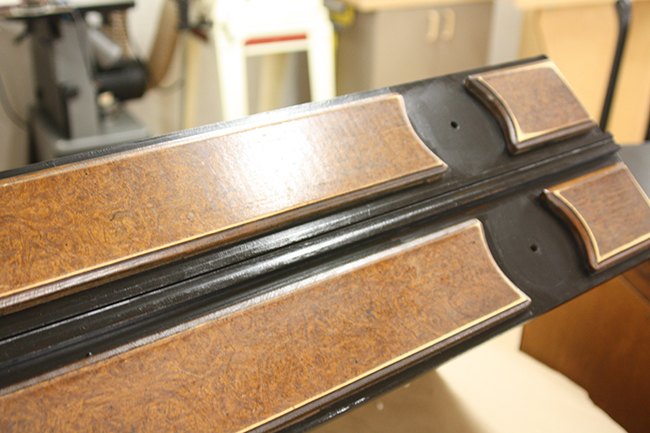
The black stain was applied here and tape removed. Next comes the Persian blue!
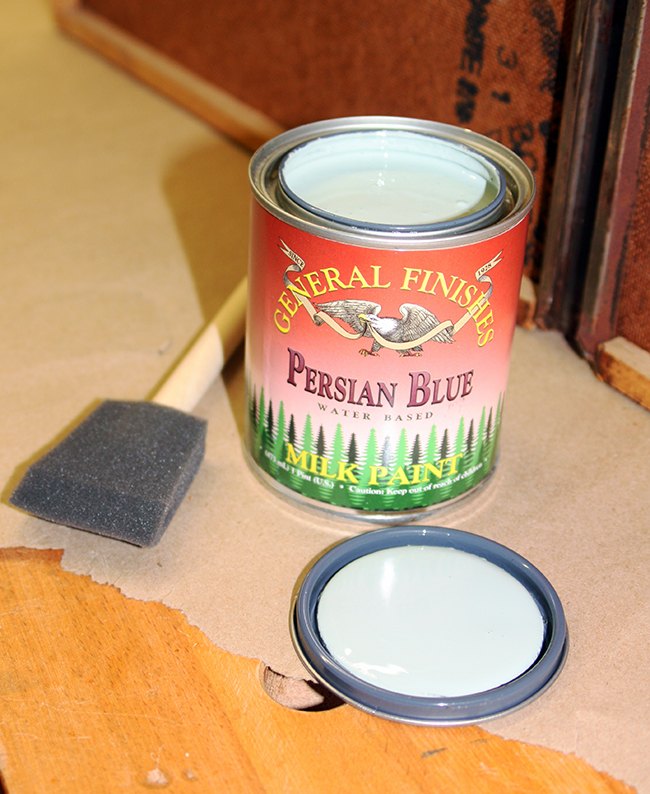
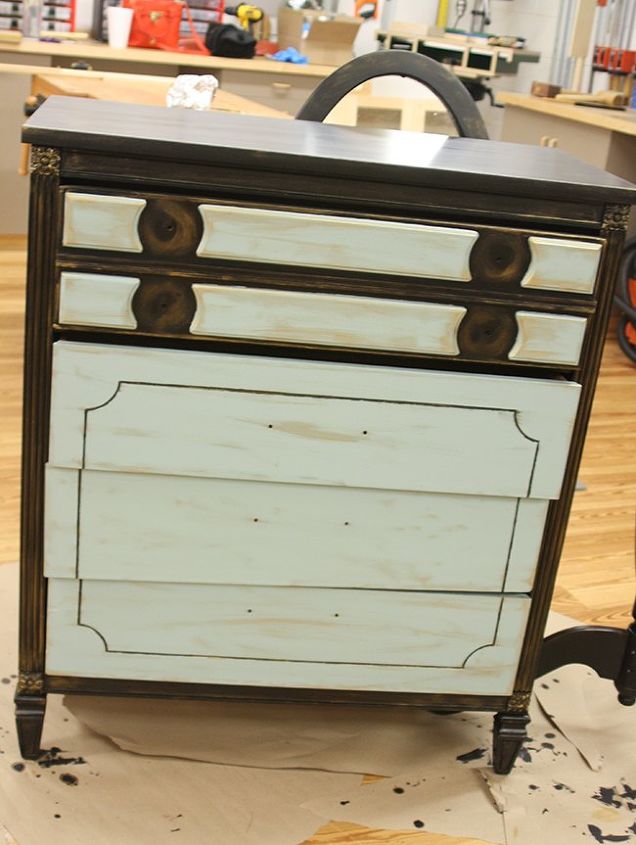
6. Apply blue milk paint.
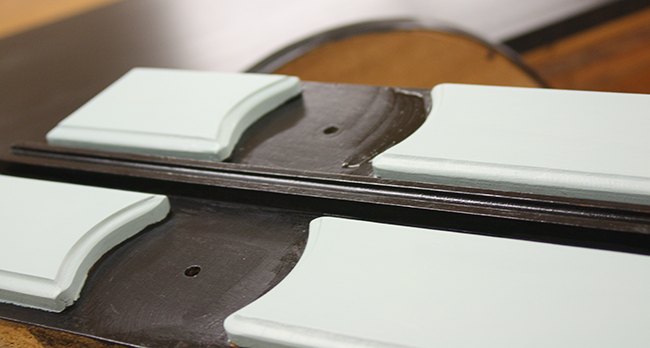
Blue milk paint added to the top drawer front - looking good so far!
7. Mask off and paint black trim on blue dresser fronts.
8. Apply Pearl Effects highlights.
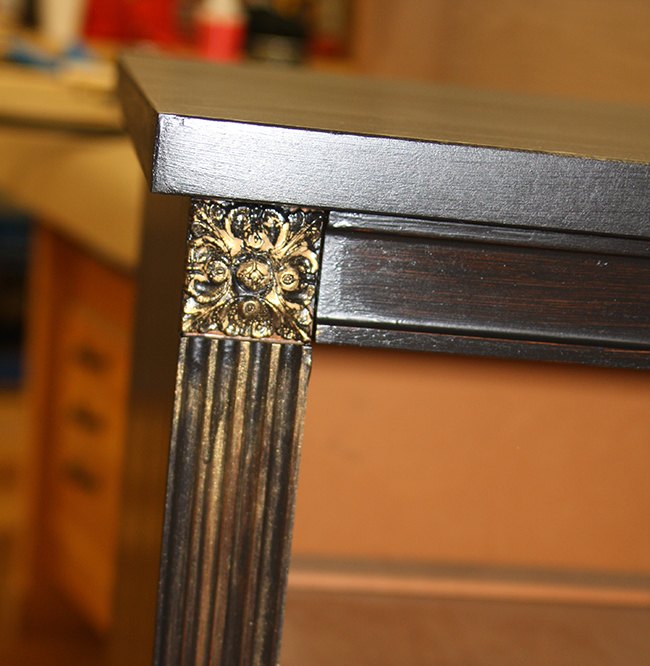
Where I felt like I got the highlights a little too thick, I simply went back with the black gel or Persian blue and faded it back out a little.
9. Apply Top Coat.
10. Replace hardware.
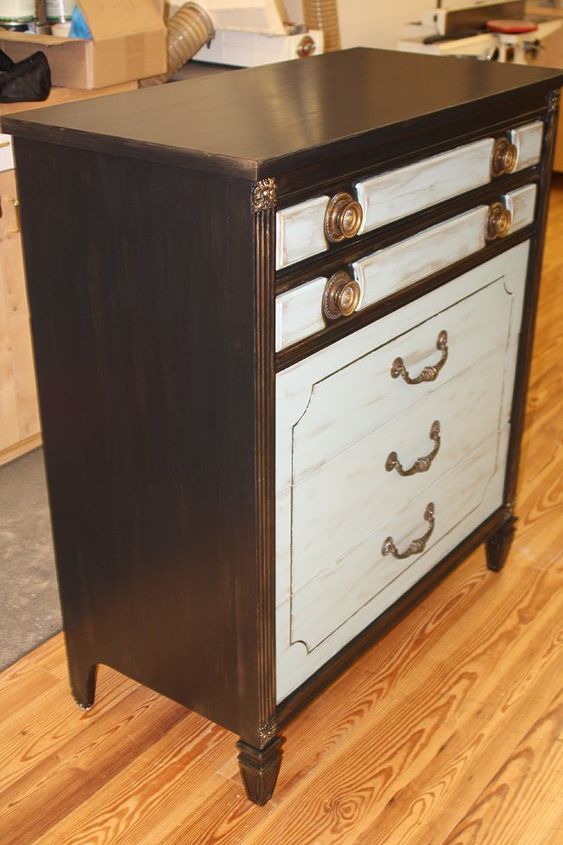
With just a little paint, finish and elbow grease, this old piece was taken from drab to fab in no time.

Want more details about this and other DIY projects? Check out my blog post!
Comments
Join the conversation
4 of 48 comments
-
This is gorgeous! Great job! Love the color
-
I tried my first attempt at chalk paint in lilac and I am still a fan of naturally stained wood. Love your piece (which matches the finish and style you have done here) but am going to sand off my layer of 6" trial of chalk paint and just re varnish in same existing finish . I have finished a couple of pieces by hand rubbing furniture wax into existing finish and it looks GREAT. I do love your piece and maybe when I come up with a combo or a non pretty finish on wood I might try this. Good Job!


Frequently asked questions
Have a question about this project?