


Laundry Room Makeover for UNDER $50! (and 2 Hours)
See how I turned my problematic laundry room into a beautifully organized room for UNDER $50 and 2 hours!
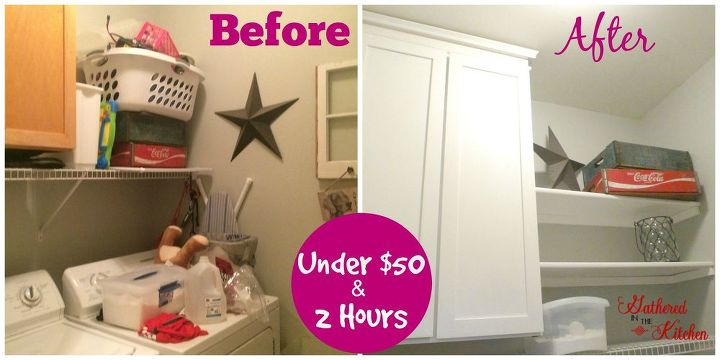
I don't know about you but my laundry room was seriously always the pits! It was full of overflow junk all of the time. Before guests would come over I would throw stuff in there because I could close the door and it was out of the way. Well...I finally had enough of the clutter! I was over my laundry room being a problematic area, it was time for a makeover!!
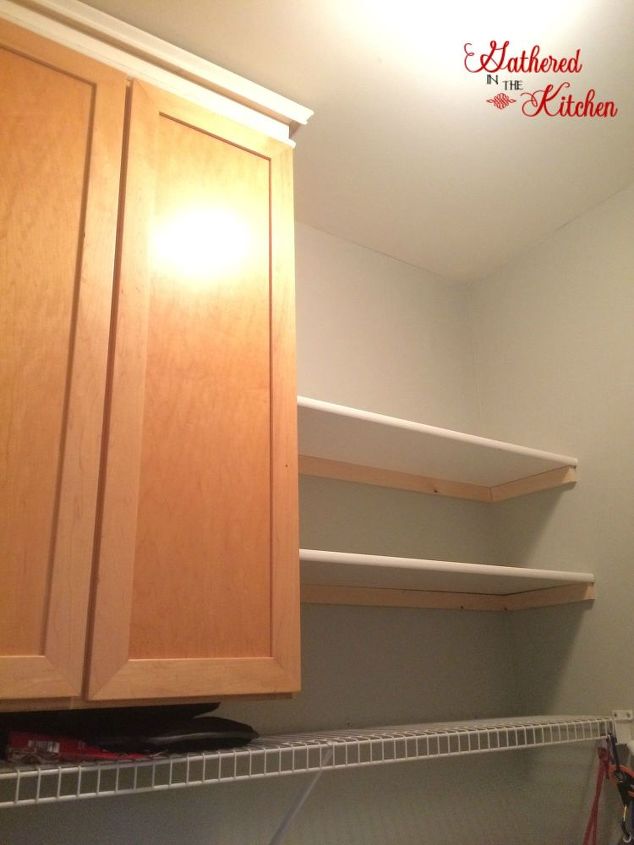
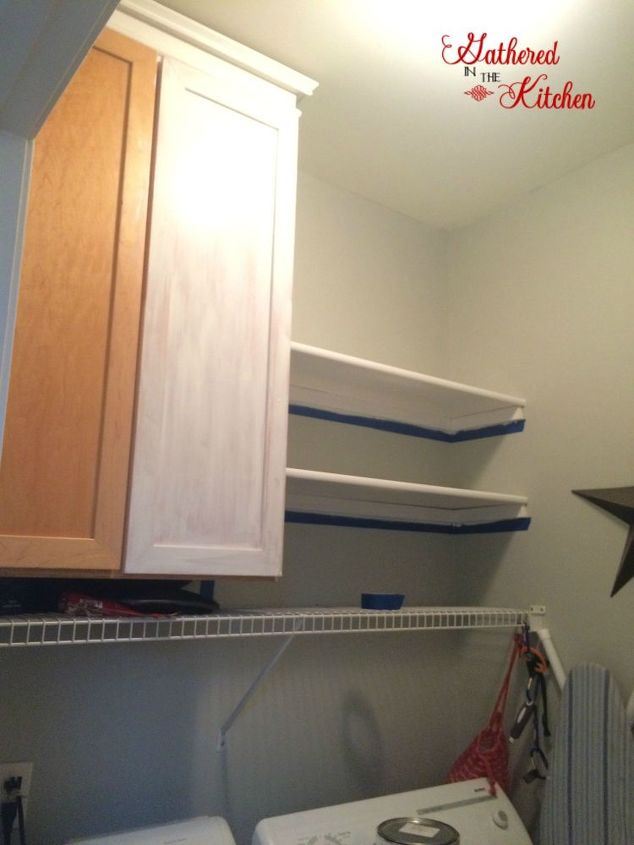
Building The Shelves:
Step 1:
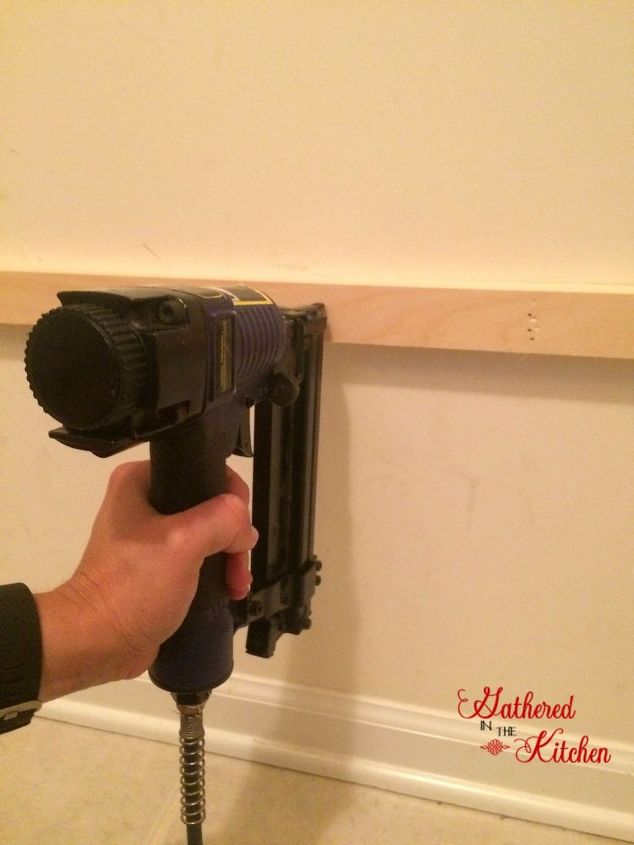
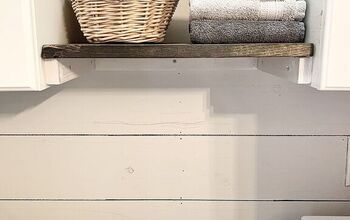
Step 4:
Finally, caulk where necessary...I actually still need to do this, blah! It's so easy to do, but just isn't the most fun...the most fun part is decorating and throwing away junk that you didn't need in the first place! ;-)
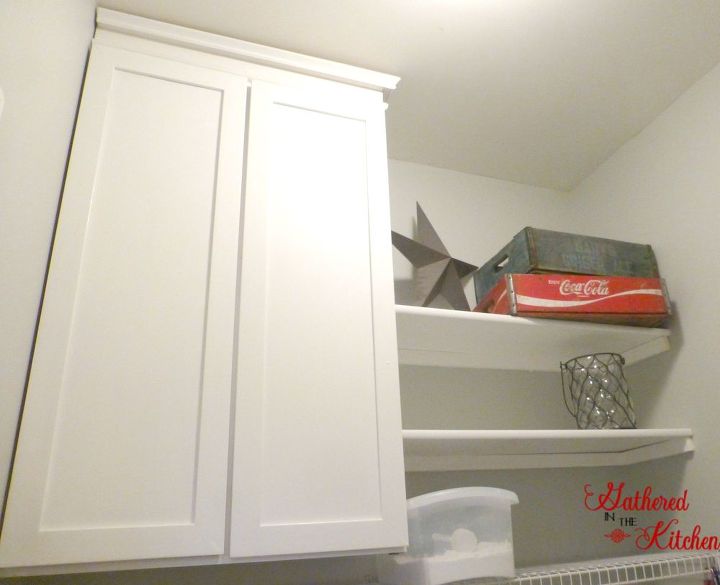
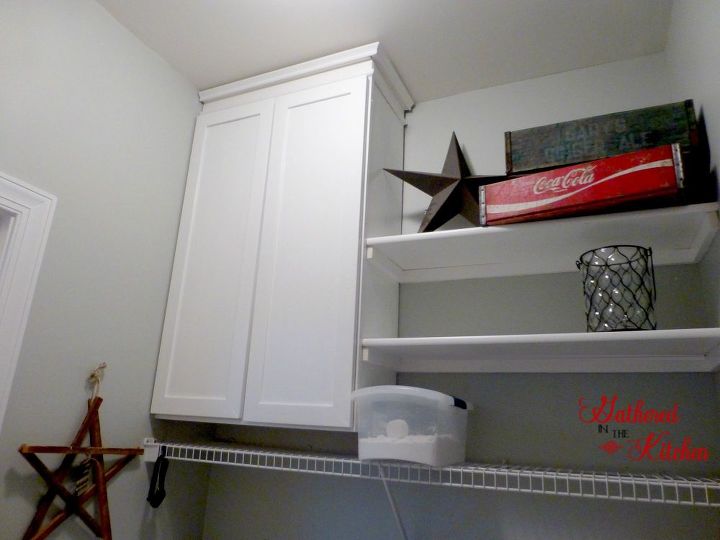
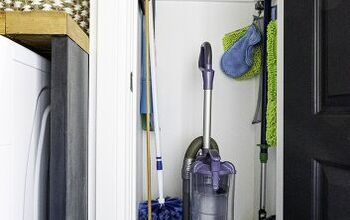
I can't believe the difference a few bucks and 2 hours can make!!


Want more details about this and other DIY projects? Check out my blog post!
Comments
Join the conversation
2 of 6 comments
-
Great idea! Would better if you replaced the wire shelf with amother laminate one! It would match better!
-
Finally, I see the shelves I want to do in a gap I got above my little office desk at home..... I just hope I can show it to someone that can help me do that, and I just wonder did they use nails or screws to get that to the wall? Since I got three walls (one is the side of the chimney) that I will use at the back and side of the shelve


Frequently asked questions
Have a question about this project?