


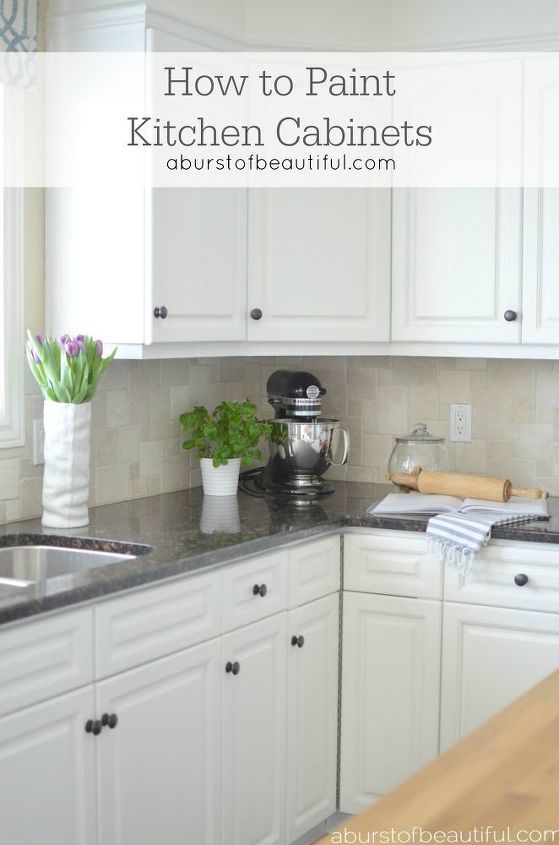
How to Paint Kitchen Cabinets
One of the first posts we ever published was about our kitchen. That post has garnered much attention and we felt we should update it to better reflect the changes made along the way.

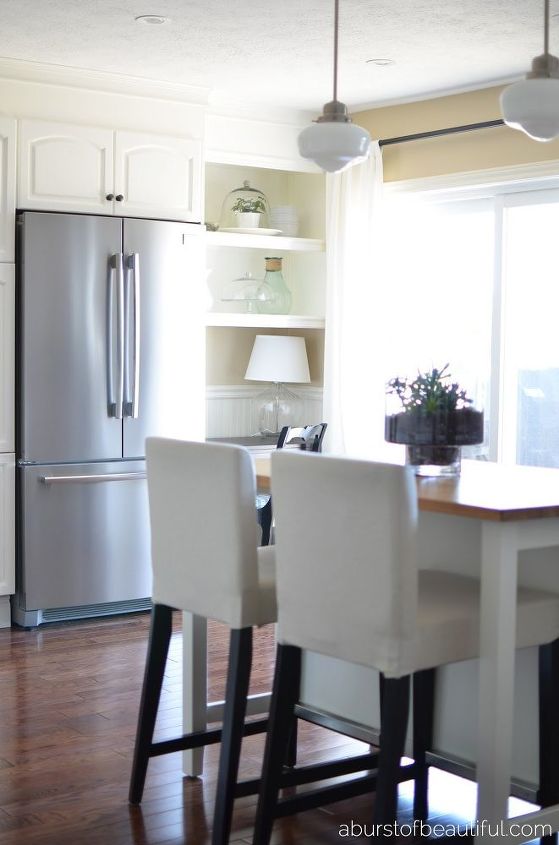
When we moved into our home over three years ago the kitchen was the first project we tackled. It was spacious, but dated and lacking character. I truly believe the kitchen is the heart of the home. It’s is a gathering place for family and friends to savor delicious meals while spending time together. We knew our kitchen had potential and we wanted to create a space we would love and truly enjoy spending time in.
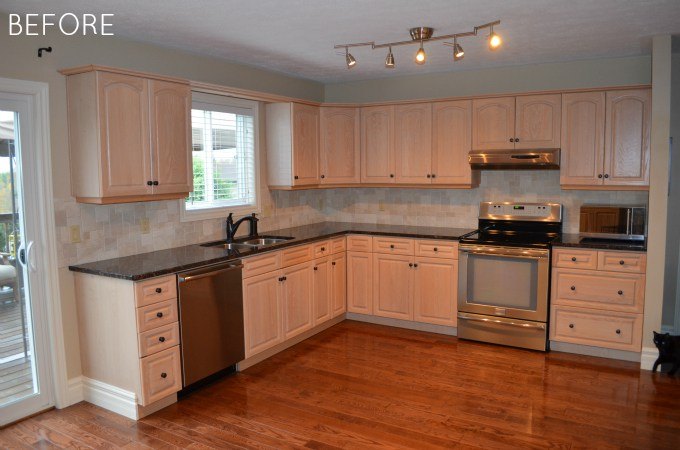
We gravitate towards bright, light and airy spaces and love decorating with neutrals, so we knew for certain our kitchen must encompass that feeling. We also wanted to create a custom look at a fraction of the cost. Everyone knows that a custom kitchen can ‘make’ a house. When cabinetry and furniture are built custom to fit a particular space it creates a more cohesive and luxurious look. Everything feels like it belongs and becomes part of the home.
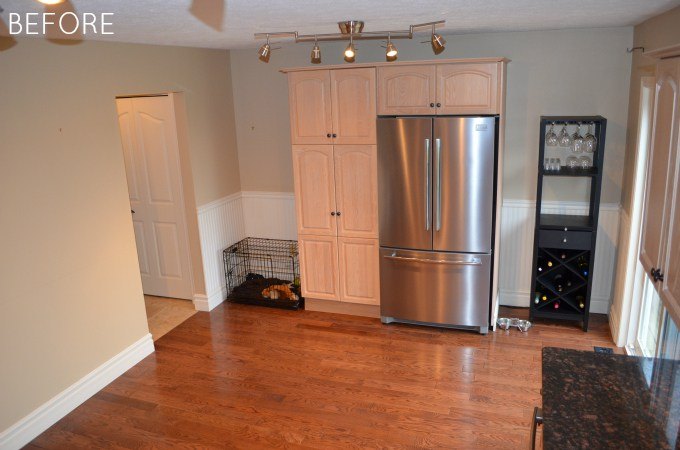
The other issue we faced in the kitchen was an awkward layout. There was a bank of cabinets, along with our fridge on the back wall. It seemed ill placed and inconvenient, so we knew it had to be moved (the second before picture shows where we moved them to, they were originally along the wall with the door to the garage entry).
How to Paint Kitchen Cabinets
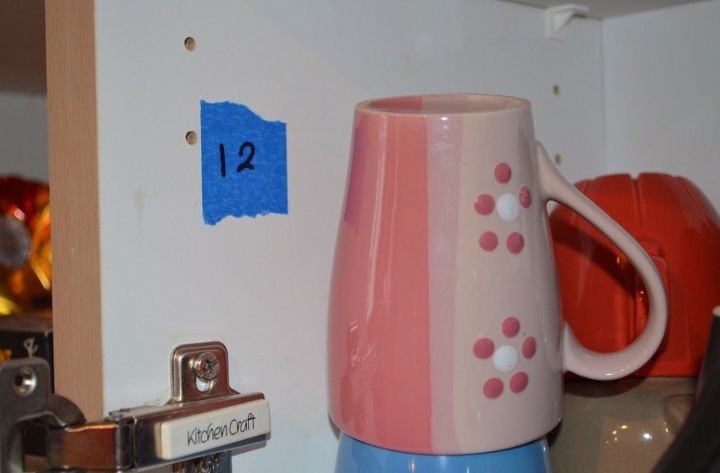
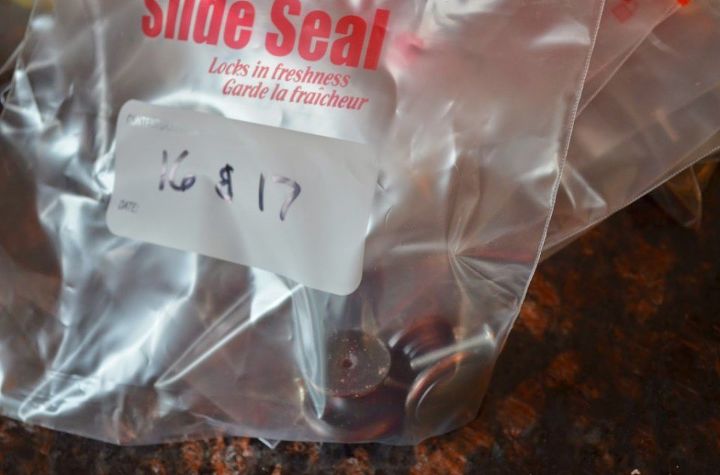
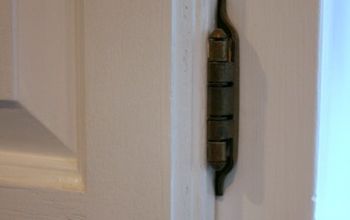
Once you have done this you can remove your door and hardware. Mark the same number on the door with the marker in the hole the hinge was sitting in (you won’t need to paint this spot so it will allow you to still see the number once you are finished painting and re-installing the cabinetry). Label the Ziploc bag with the door number and add all hardware. Believe me, this may have been the most important step of the whole job!
You will need a large space that you can spread out all of the doors and drawers, it’s important to remember to keep the temperature consistent, and not too cold or too hot. I did this project in the fall, so I put a heater in the garage for the nights when the temperature would drop. We got creative and used 2×4’s propped on ladders or bins to keep the cabinets off the ground, it’s much easier on your back when painting.
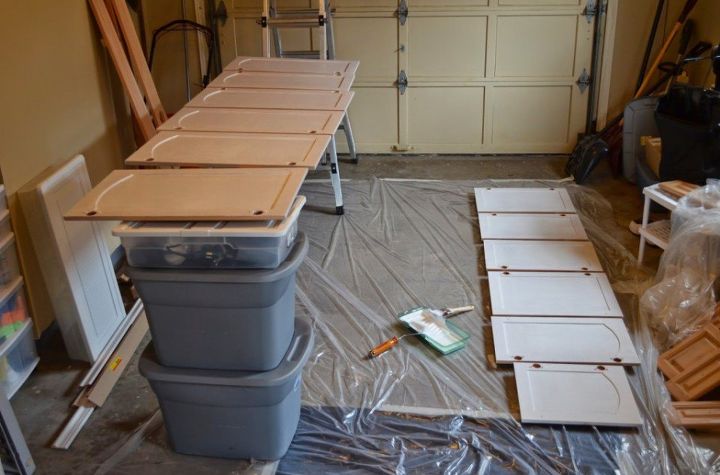
Once the doors and drawers are completely dry you can begin to prepare them for paint. Lightly sand them in the direction of the grain using a fine grit sandpaper. The goal is to remove any gloss and create a texture that will allow the paint to adhere. When you are finished vacuum the dust from them and a wipe them down with damp cloth (you may need to do this twice to really get the dust off).
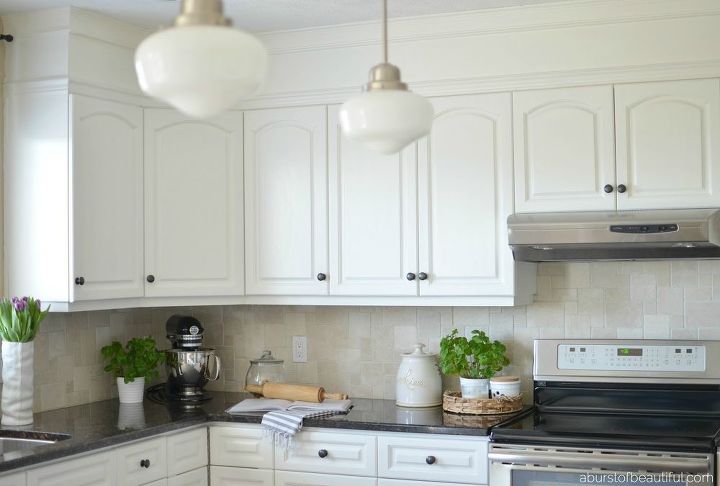
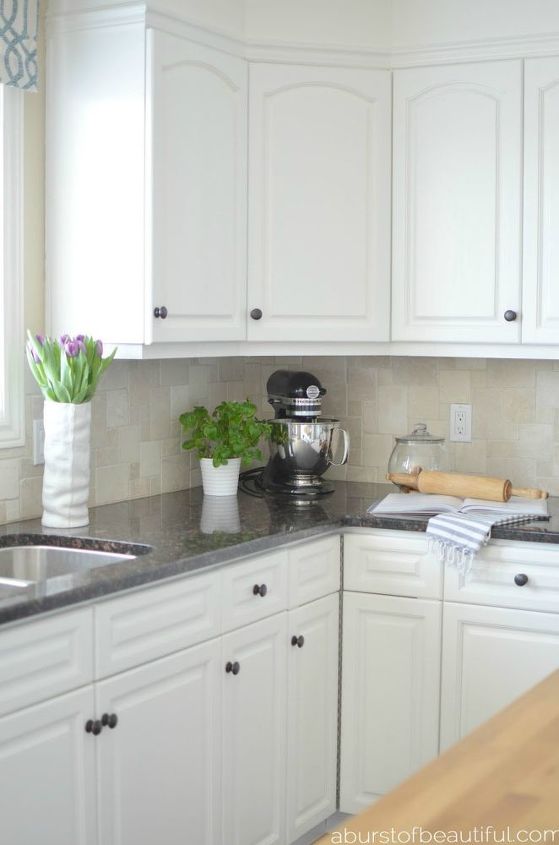
I want to offer a word of caution to anyone considering painting their kitchen cabinets. This is not a weekend project! Be prepared to work mornings, nights and weekends for a significant period of time. It took me at least six weeks to complete our kitchen because I also enclosed all bulkheads to make the cabinets look like they go to the ceiling and built in some shelving on either side of the fridge and pantry so my wife can create display areas. It is so important to take your time and do it right. Do not rush through it, you will end up with mistakes and you will be unhappy with the end result. I typically don’t have a lot of patience because I like to see results right away, but I knew I had to take my time with this project and the payoff was well worth it.
There you have it, from my cabinet-painting expert husband! I encourage you not to feel overwhelmed or daunted by this project. It simply takes patience and a time commitment, but the end results are absolutely beautiful.

Want more details about this and other DIY projects? Check out my blog post!
Comments
Join the conversation
2 of 10 comments
-
Would like to see after picture from same view of before
-
Your cabinets came out stunning!


Frequently asked questions
Have a question about this project?