


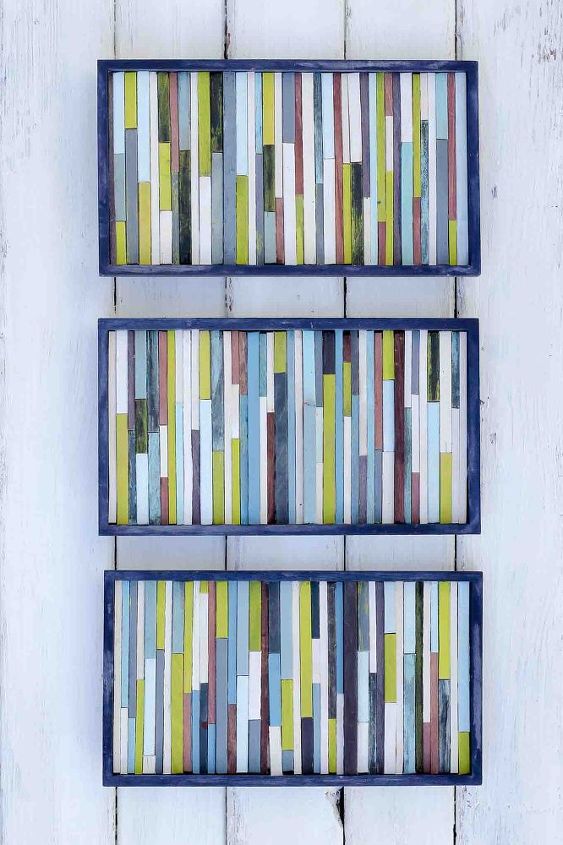
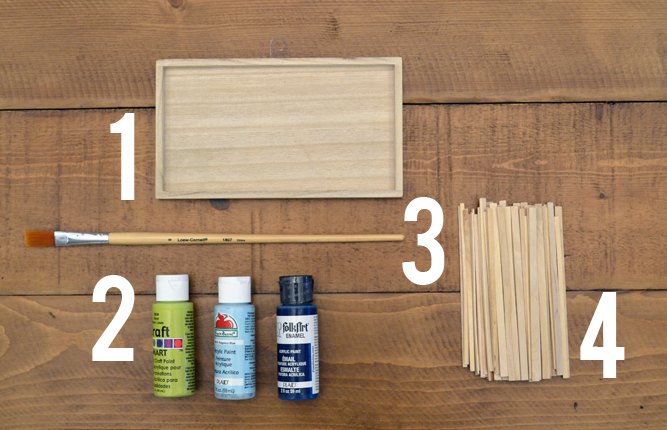
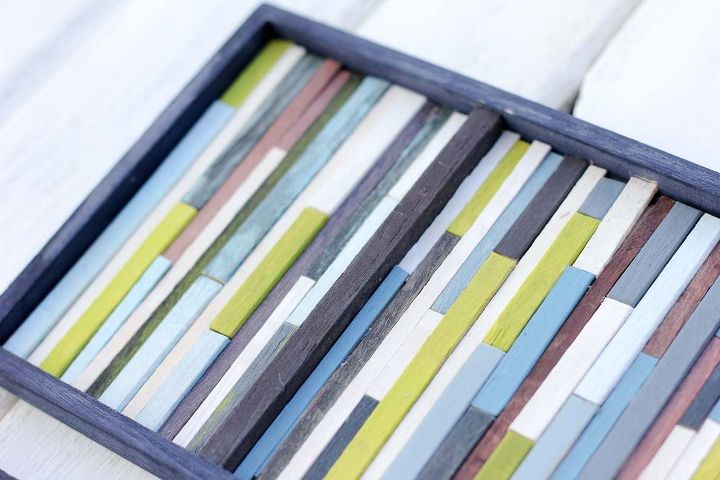
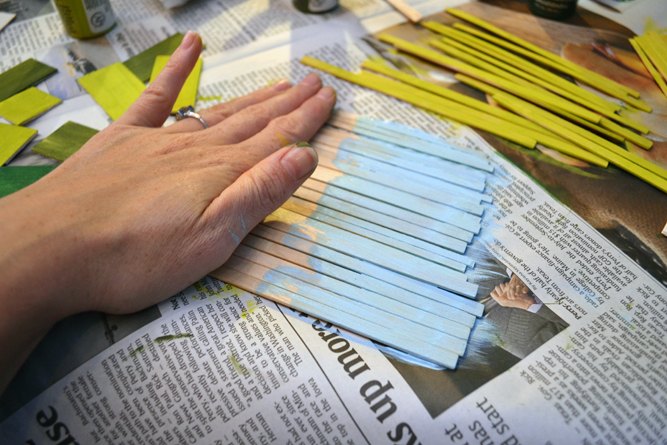
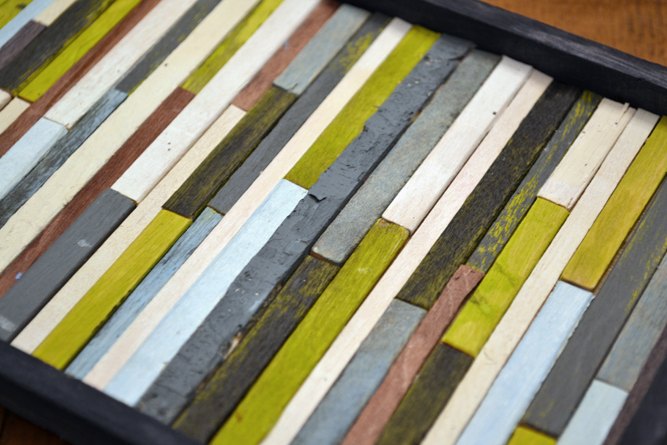
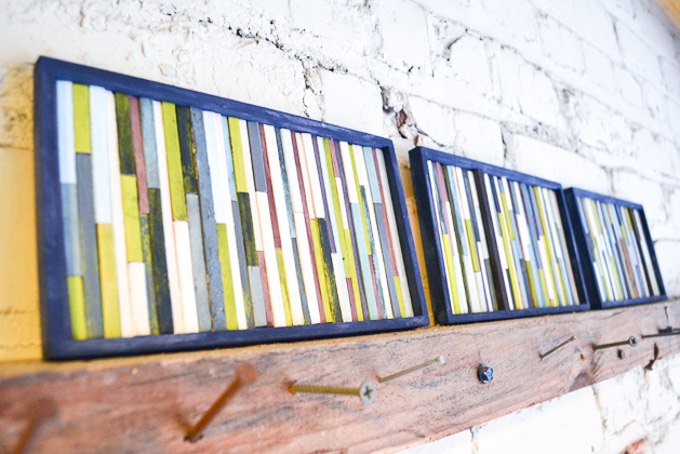
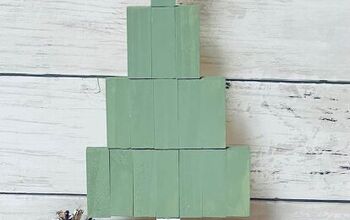
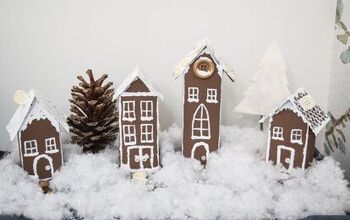
Coffee Stirrer DIY Wall Art
And how do we ensure we get this awesome organic woody texture? Coffee stirrers.
Yup, you heard me, coffee stirrers.


Comments
Join the conversation
-
I absolutely love this !!!!
-
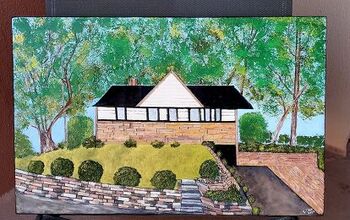
I love this. i haven't seen anyone make something using coffee stirrers. However, I had a crazy idea this winter and made a picture of my friend's lake house. First, I bought a large wooden picture, from GoodWill, then I painted over the picture that was on the board. Then I used coffee stirrers, (plastic for the window frames & wood for the bottom of the house and the wall by the driveway), styrofoam, (from take-out containers) for the siding, the brick wall and stairs, sand paper (for the roof), paper towels, (mixed with glue & paint) for the shrubs, and some (painted) red pepper flakes for the gravel, around the front shrub
. It was such a fun project! I've never been to my friend's lake house, but found picture of it on Google maps. My friends were so surprised, when I gave them their gift.


Frequently asked questions
Have a question about this project?
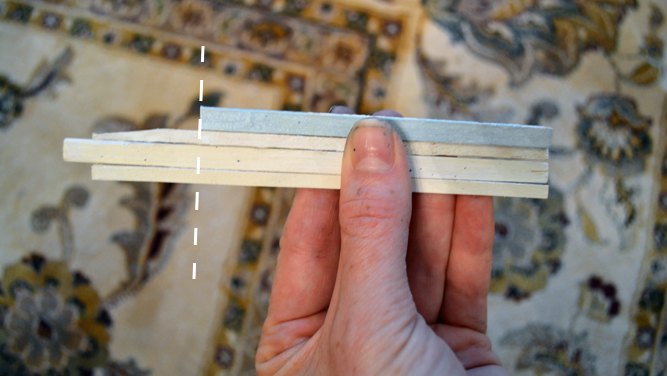
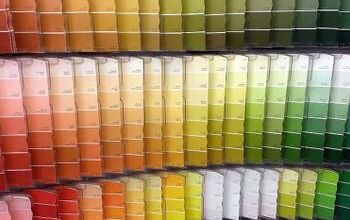
What did you use to trim them to the sizes? Looking for clean cuts. May cost a little more money yet better color choices getting paint samples from home improvement stores.
I wonder if this would work with paint stirrers too - much larger scale of course but the wood might be nicer. Another variation might be to dye the wood with food coloring (diluted with water) it would preserve the wood grain I think. Love this project.
How did you make the paint look crackled and old?